Oh, friend, do you remember those rainy afternoons as a kid? The kind where you’d press your nose against the windowpane, watching the drops race down and wondering about the magic of the clouds above? Well, today, I’ve got something truly special for you that brings that wonder right into your kitchen. We’re going to make a ‘Rain Cloud in a Jar,’ and trust me, it’s as enchanting as it sounds!
This isn’t a recipe you eat, but it’s a recipe for pure joy and a dash of science magic. It’s incredibly easy, comes together in minutes, and creates a mesmerizing visual that captivates both kids and adults. Forget complicated setups – all you need are a few household items, and you’re ready to create your very own mini weather system. It’s a fantastic way to spark curiosity and enjoy some simple, quality fun at home. And if you love simple, captivating experiments like this, you might also enjoy making your own DIY Color Changing Crystal Stones for another touch of magic!
Why You’ll Love Rain Cloud in a Jar
- Fast: Seriously, you’ll be making it rain in just a few minutes!
- Easy: No tricky steps, just simple assembly for instant gratification.
- Giftable: While you can’t wrap this up, the wonder and knowledge shared are truly a gift!
- Crowd-pleasing: A definite hit with curious minds of all ages, perfect for a rainy day activity or a fun science lesson.
Ingredients
Gathering your supplies for this magical experiment is a breeze. Most of these you probably already have around the house!
- Clear Jar or Cup (e.g., Mason Jar): Something see-through is key so you can watch the entire beautiful process unfold. A pint or quart-sized mason jar works perfectly!
- 1 Can Foaming Shaving Cream (not gel): This is our cloud! Make sure it’s the good old fluffy, foamy kind, not the gel. The fluffier, the better for a dense, cloud-like effect.
- Water: Just regular tap water works perfectly – no need for anything fancy here.
- Blue Food Coloring: For that iconic rain cloud shade! A few drops are all you need to create vibrant “rain.”
- Small Cup or Bowl: For mixing your blue rain drops. Any small dish will do the trick.
- Dropper, Straw, or Spoon: Your essential tools for gently adding the “rain” to your cloud. A dropper gives the most precise control, but a straw or spoon works just fine too!
How to Make Rain Cloud in a Jar
Alright, let’s get this rainy day party started! Follow these simple steps, and you’ll have your own personal rain shower in no time.
- Fill Your Jar with Water: First things first, grab your clear jar and fill it up about three-quarters of the way with water. This gives your cloud plenty of room to float and for the rain to fall!
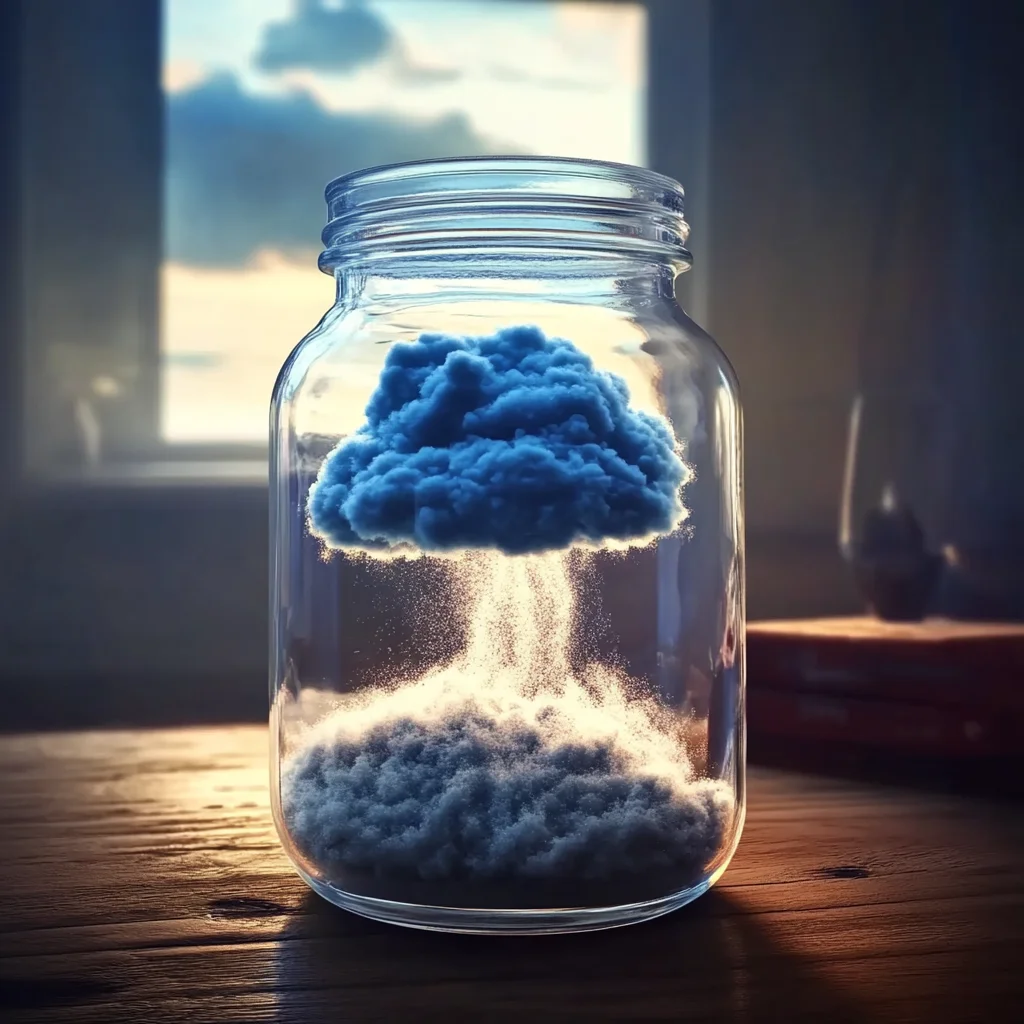
- Create Your Fluffy Cloud: Now for the fun part! Give your can of foaming shaving cream a good shake. Then, spray a generous, thick, and fluffy layer right on top of the water’s surface. You want it to look like a big, puffy cloud sitting on a blue sky (which will be the water once the rain starts!). Don’t be shy; a good thick cloud works best.
- Mix Your Rainwater: In your separate small cup or bowl, put a few drops of blue food coloring. Then, add a tiny splash of water to it and stir gently. You’re essentially creating concentrated blue “rainwater” that will look super cool when it drips.
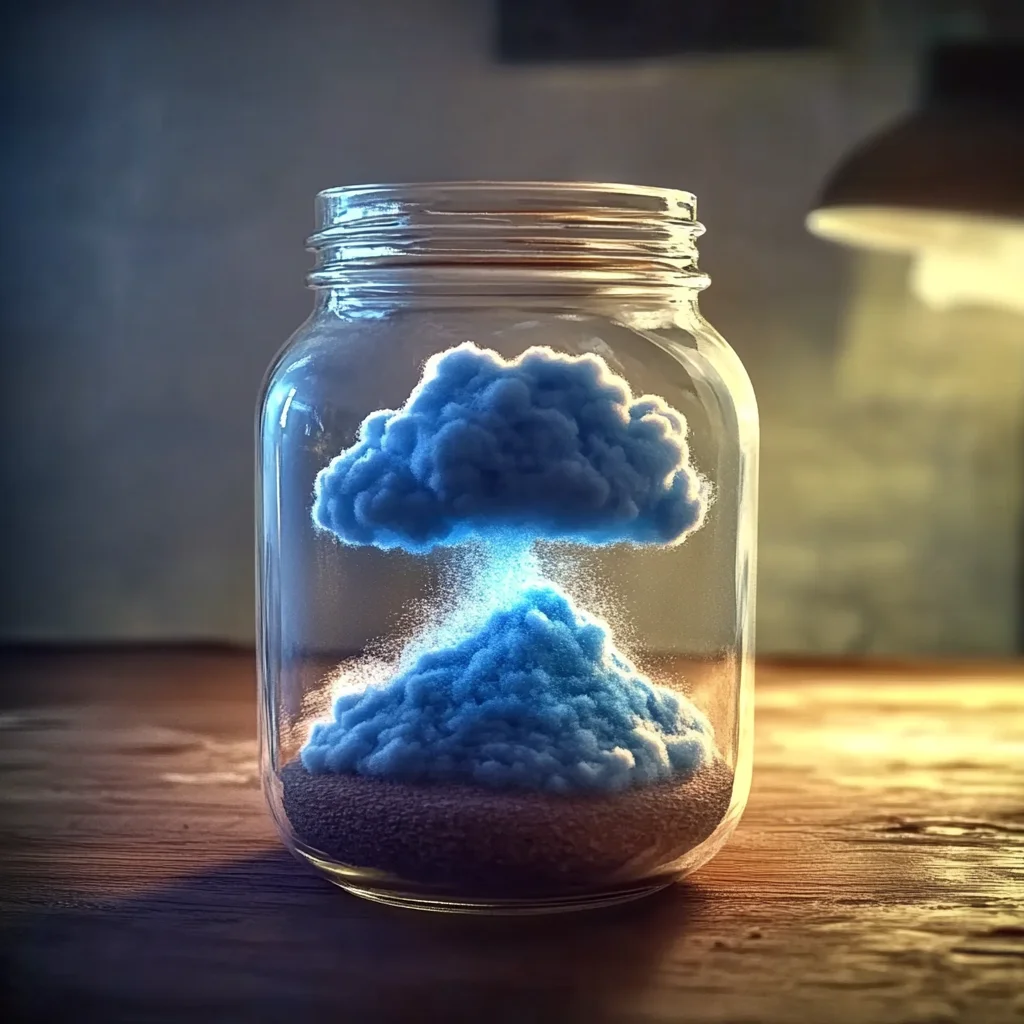
- Make It Rain! Here’s where the magic happens! Using your dropper, straw, or spoon, gently start adding the blue mixture onto the shaving cream cloud. You’ll notice the blue liquid slowly seeping through the white cloud, getting heavier and heavier until… drip, drip, drip… it starts to rain blue into the water below! It’s so cool to watch it accumulate and then fall. Keep adding drops until you get the desired rainfall effect.
Substitutions & Additions
This experiment is wonderfully adaptable! Don’t be afraid to get creative once you’ve mastered the basic rain cloud.
- Rainbow Rain: Instead of just blue, why not try different food coloring colors? You could have red, yellow, and green “rain” falling from separate sections of your cloud for a rainbow effect. How fun would that be?!
- Sparkling Shower: Want to add a touch of sparkle? Mix a tiny bit of fine glitter into your food coloring and water mixture before dripping. It will create a beautiful shimmering rainfall!
- Beneath the Cloud: For an extra element of play, try adding small plastic toys like tiny fish, sea creatures, or even little boats to the water before you add the shaving cream. They’ll be waiting patiently for the rain to fall!
- Different Containers: Experiment with different clear containers – a tall vase, a wide bowl, or even multiple small jars for a “cloud farm.”
Tips for Success
While this is a super easy experiment, a few little pointers can make your Rain Cloud in a Jar even more spectacular!
- Shaving Cream Type Matters: Always use foaming shaving cream, not gel. Gel won’t create the airy, cloud-like structure needed for the food coloring to properly seep through and drip.
- Don’t Go Overboard on Shaving Cream: While a thick layer is good, too thick and dense of a cloud might make it harder for the food coloring to break through. You want it fluffy, but still somewhat airy.
- Dilute Your Food Coloring: Mixing the food coloring with a little water beforehand helps it spread and drip more effectively. If you just drop undiluted food coloring directly on the cloud, it might sit on top for a long time before breaking through.
- Gentle Dropping: Apply the colored water gently. If you pour it too quickly or in one big blob, it can disrupt the cloud structure too much. Slow and steady wins the race for mesmerizing rain!
- Prepare Your Space: Food coloring can stain! Lay down some newspaper or a towel, especially if little hands are helping, to protect your surfaces.
- Explore More: Once you’ve mastered the rain cloud, why not try another mesmerizing visual trick like an Oil and Water Color Burst Experiment? It’s another easy way to explore colors and liquids!
How to Enjoy Your Rain Cloud in a Jar
This isn’t really a “stored” item in the traditional sense, but rather a temporary, dynamic display of science and wonder! The beauty of the Rain Cloud in a Jar is its immediate impact. You’ll want to watch the blue “rain” drip down right after you make it. The “rain” will eventually mix completely with the water below, and the shaving cream cloud will slowly dissolve over time. It’s meant to be enjoyed for a good 15-30 minutes of active dripping and watching. Once the colors are fully mixed and the cloud starts to dissipate, you can simply pour it out and start all over again whenever you’re ready for another rainy day adventure! It’s all about the process and the learning experience.
FAQs
Got a few more questions about your cloud experiment? I’ve got answers!
- Q: Can I use different colors for the rain?
A: Absolutely! Blue is classic for rain, but feel free to experiment with any food coloring colors you have on hand. Imagine a vibrant rainbow rain cloud! - Q: Why isn’t my rain dripping down through the cloud?
A: There are a couple of common culprits! Your shaving cream cloud might be too dense, or your food coloring mixture might not be diluted enough. Try making the shaving cream layer a little lighter next time, or adding a tiny bit more water to your food coloring. - Q: What’s the science behind this?
A: This experiment demonstrates density and saturation! The shaving cream acts as a cloud, and as the colored water (our “rain”) accumulates within it, it becomes heavier (denser) than the cloud itself. Once the cloud can no longer hold the water, gravity takes over, and it “rains” down into the clearer water below. - Q: How long does the rain cloud last?
A: The active dripping and visual effect are best right after you create it, usually lasting for about 15-30 minutes as the color continues to seep through. The shaving cream will eventually dissolve into the water, but the initial show is the real magic! Looking for more cool science fun? You’ll adore creating Bubbling Rainbow Lightning Bottles for another visual spectacle!
For even more delightful recipes and DIY projects, be sure to follow us on Pinterest!
Rain Cloud in a Jar
Ingredients
Equipment
Method
- Step 1: Fill Your Jar with Water. Grab your clear jar and fill it up about three-quarters of the way with water. This gives your cloud plenty of room to float and for the rain to fall!
- Step 2: Create Your Fluffy Cloud. Give your can of foaming shaving cream a good shake. Then, spray a generous, thick, and fluffy layer right on top of the water's surface. You want it to look like a big, puffy cloud sitting on a blue sky.
- Step 3: Mix Your Rainwater. In your separate small cup or bowl, put a few drops of blue food coloring. Then, add a tiny splash of water to it and stir gently to create concentrated blue 'rainwater'.
- Step 4: Make It Rain! Using your dropper, straw, or spoon, gently start adding the blue mixture onto the shaving cream cloud. Watch as the blue liquid slowly seeps through and begins to rain into the water below. Keep adding drops until you get the desired rainfall effect.