Hey there, fellow kitchen adventurers and curious minds! Do you ever find yourself looking for a little splash of magic in your day, something simple yet utterly captivating that sparks joy and wonder? I know I do! Sometimes, the most mesmerizing “recipes” aren’t for eating at all, but for experiencing. And today, I’ve got just the thing to bring a burst of vibrant color and a sprinkle of scientific marvel right into your home: the Vibrant Colorful Oil and Water Experiment!
Remember those childhood days when even the simplest things felt like pure enchantment? This experiment is a delightful trip back to that feeling. It’s incredibly easy, comes together in a flash, and leaves you with a stunning, ever-changing display that’s truly unforgettable. Forget complicated concoctions; this is pure, unadulterated visual fun that proves you don’t need a fancy lab (or even a fancy kitchen) to create something truly spectacular.
Why You’ll Love Dazzling Oil and Water Color Burst
- Fast: You’ll be enjoying the magic in mere minutes!
- Easy: No special skills required, just a few everyday items.
- Memorable: It’s an experience that captivates all ages and leaves a lasting impression.
- Crowd-pleasing: Perfect for entertaining little ones or sparking conversation at a gathering.
Ingredients for Your Colorful Creation
Gathering your supplies is the first step to unlocking this vibrant show. You probably have most, if not all, of these on hand!
- 1 Empty Jar: A clear glass jar is perfect for showcasing all that dazzling color. A mason jar, an old pickle jar, or even a tall drinking glass works wonders.
- 3 tablespoons Cooking Oil: Any light-colored cooking oil will do the trick – vegetable, canola, or even a light olive oil if that’s what you have. This is our canvas for the colors!
- Liquid Food Coloring: The star of our show! Grab a few different colors for the most dramatic effect. Think bright reds, blues, yellows, and greens.
- Water: Just plain old tap water!
- 1 Bowl: A small bowl is perfect for mixing your oil and colors.
- Paper Towels: Handy for any little drips or spills – because even scientists can be a little messy!
- 1 Spoon: For gently stirring the magic into existence.
How to Make Your Vibrant Colorful Oil and Water Experiment
Alright, let’s get this colorful party started! Follow these simple steps, and prepare to be amazed.
- First things first, grab your empty jar. You’re going to fill it approximately three-quarters full with water. Make sure to leave a good amount of space at the top – you want room for all the fantastic oil to do its dance without overflowing.
- Next, take your separate bowl and measure three tablespoons of cooking oil into it. Don’t worry too much about being perfectly precise here; a little more or less won’t ruin the fun.
- Now for the really exciting part: add 3 to 5 drops of liquid food coloring to the oil. This is where you can get really creative! Use just one color, or mix a few different ones for a rainbow effect. I love seeing how the individual drops suspend in the oil before they even hit the water – it’s a preview of the magic to come!
- With your spoon, gently stir the oil and food coloring together. You’ll notice the food coloring won’t truly “mix” with the oil, but instead, it’ll break into tiny little colorful beads, creating beautiful swirls and patterns. Don’t stir too vigorously; a gentle swirl is all you need to get those little droplets distributed.
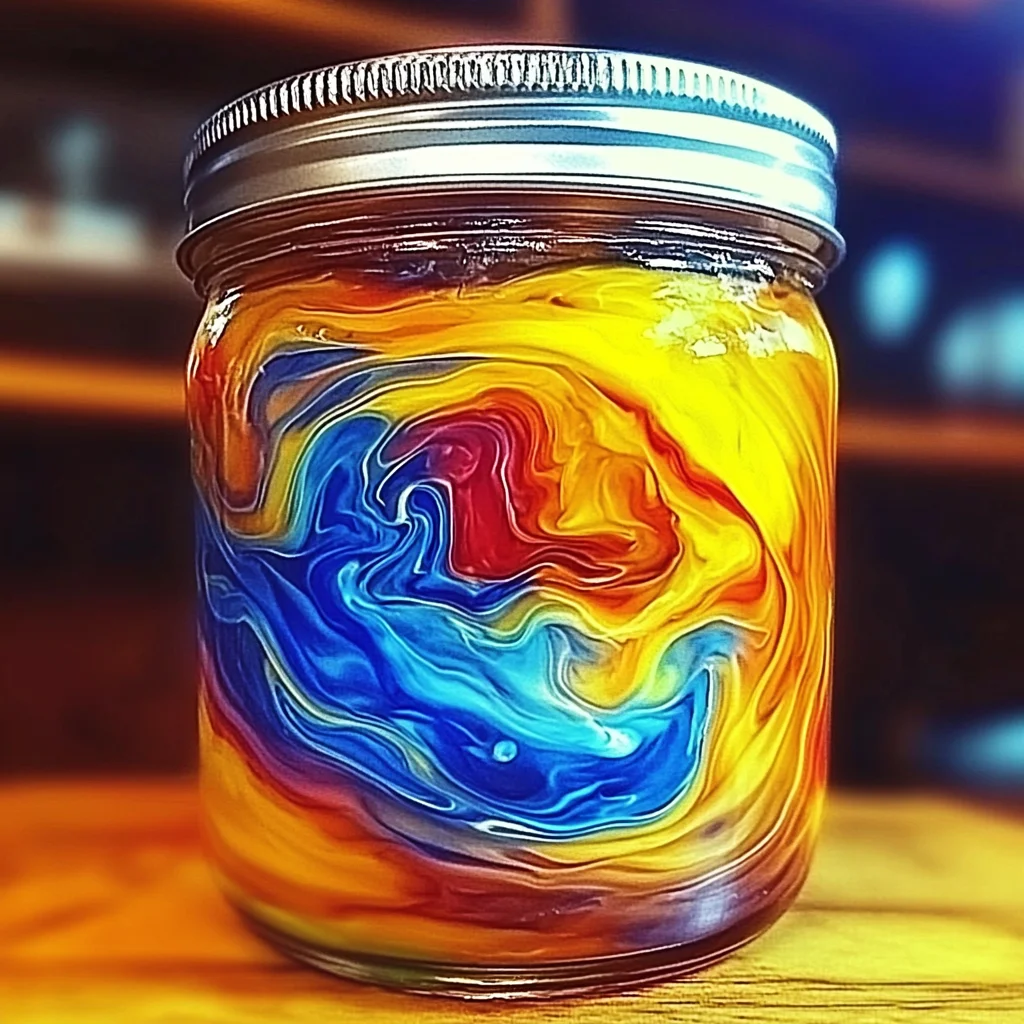
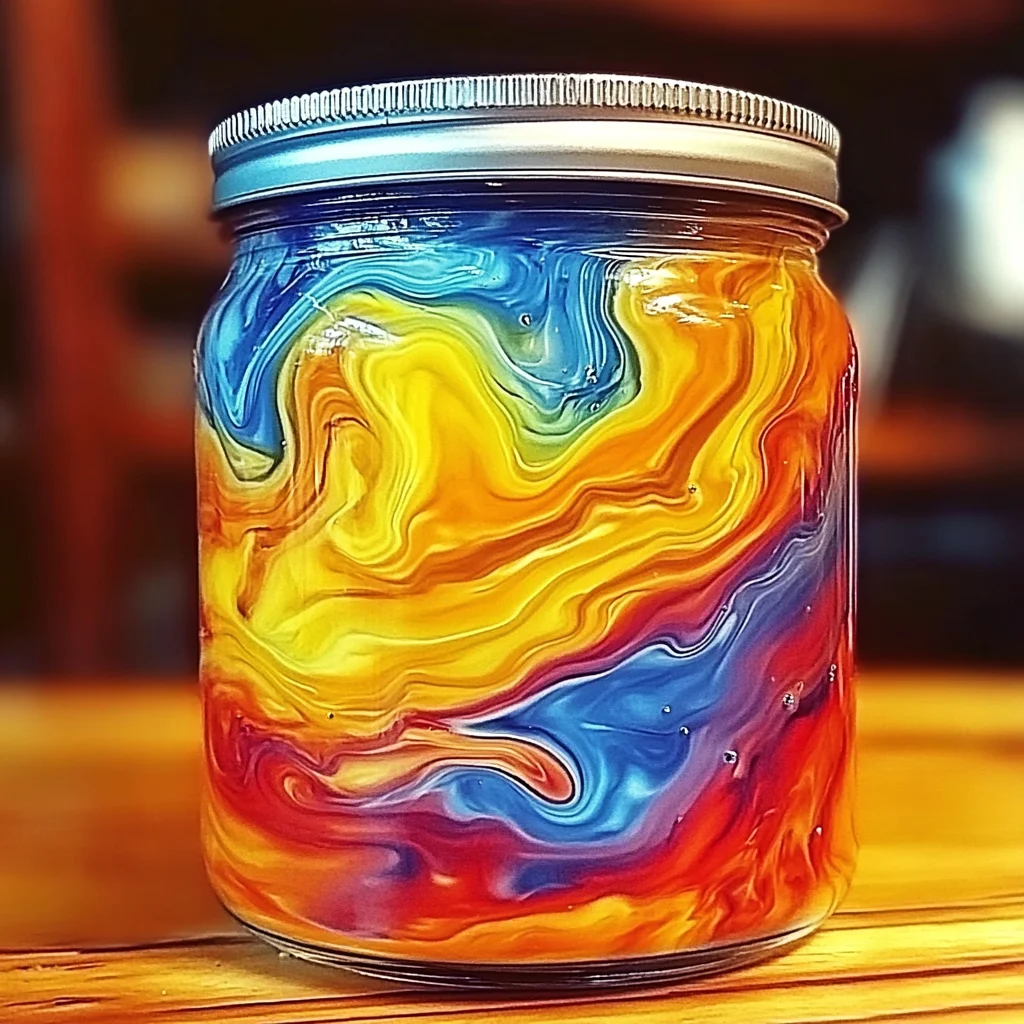
- Finally, with a steady hand, carefully pour the colorful oil mixture into the jar of water. Now, step back and watch! The oil will float on top of the water (because it’s less dense, a little science bonus!), and then, those tiny beads of food coloring will slowly begin to sink through the oil, bursting into trails of color as they hit the water. It’s like a fireworks show in a jar!
Substitutions & Additions for Even More Fun
Once you’ve mastered the basic experiment, feel free to get adventurous!
- Spice Up Your Oil: While cooking oil is standard, you could try baby oil for an even clearer base, though it might be harder to find in your kitchen.
- Glitter Galore: Want extra sparkle? Add a pinch of fine glitter to your oil mixture along with the food coloring. It will drift down with the colors, adding an enchanting shimmer to your “rain.”
- Larger Scale Magic: Try a bigger container like a clear vase or a fishbowl for an even grander display. Just scale up your oil and food coloring measurements accordingly.
- Fizzing Fun: After the initial color show, drop in an Alka-Seltzer tablet (or a similar effervescent tablet). It will create bubbles that carry oil and color back up, making a temporary “lava lamp” effect! For even more kitchen science fun, why not try our Baking Soda Vinegar Balloon Experiment next?
- Themed Colors: Planning a holiday or party? Use themed food coloring! Red and green for Christmas, orange and black for Halloween, or red, white, and blue for patriotic celebrations.
Tips for Success in Your Colorful Experiment
Even the simplest experiments have a few tricks to make them shine!
- Gentle Stirring is Key: When mixing the food coloring into the oil, don’t go wild. Gentle swirls help create those distinct little color droplets that make for a beautiful descent. Too much stirring can break the droplets too finely, making the bursts less dramatic.
- Don’t Overdo the Oil: Three tablespoons is usually perfect for a standard-sized jar. Too much oil will create a very thick layer on top, and it might take longer for the color to penetrate.
- Warm Water vs. Cold Water: While tap water works, slightly warm water can sometimes make the colors disperse a little more quickly and dramatically. Give it a try!
- Prep All Your Materials: Before you start, make sure everything is laid out. This experiment is quick, and having everything at your fingertips means you won’t miss a second of the captivating action.
- Clean Up is a Breeze: Since it’s mostly water and oil, cleanup is super easy with those paper towels!
How to “Store” Your Vibrant Colorful Oil and Water Experiment
Since this isn’t a recipe you eat, “storing” takes on a different meaning! It’s all about enjoying the moment and then responsible disposal.
- Enjoy the Show: The beauty of this experiment is its fleeting nature. Enjoy watching the colors fall and mix! The show typically lasts for several minutes, with secondary bursts appearing as the oil settles.
- Reuse the Jar: Once the experiment is over, you can pour out the contents, wash the jar, and reuse it for your next scientific adventure or, hey, even for storing some delicious homemade strawberry sorbet!
- Disposal: When you’re done, simply pour the water and oil mixture down the drain with plenty of hot water. The small amount of oil is usually fine for most residential plumbing, but if you have a lot of oil (which you won’t with this recipe!), it’s best to dispose of it in the trash.
FAQs About Your Oil and Water Experiment
Q: Why don’t oil and water mix?
A: This is a classic science lesson! Oil and water don’t mix because water molecules are “polar,” meaning they have a slight positive and negative charge, attracting them to each other. Oil molecules are “non-polar,” so they aren’t attracted to water molecules. They prefer to stick with other oil molecules, causing them to separate and form distinct layers.
Q: Can I use different types of oil, like olive oil or coconut oil?
A: Yes, you can! Lighter oils like vegetable or canola oil usually give the clearest results, but olive oil will work. Coconut oil might work if it’s in liquid form, but it could make the water cloudy. Experiment and see what you like best!
Q: What if my food coloring just floats on top of the oil?
A: Food coloring is water-based, so it usually won’t mix with the oil. It should form little droplets suspended within the oil. If it’s just sitting on top, try gently stirring it in more, or use liquid food coloring specifically, as gel food coloring might behave differently.
Q: Is this experiment safe for young children?
A: Absolutely! It uses non-toxic household ingredients. However, as with any activity involving liquids, adult supervision is always recommended, especially with very young children, to prevent accidental ingestion or spills. If you loved the magic of this one, you’ll definitely want to check out our DIY Rain Cloud Jar experiment next for more kid-friendly science fun!
I hope this vibrant experiment brings a little spark of joy and wonder to your day. Enjoy the mesmerizing show!
For more delicious recipes and fun kitchen adventures, follow us on Pinterest!
Vibrant Colorful Oil and Water Experiment
Ingredients
Equipment
Method
- Step 1: Grab your empty jar and fill it approximately three-quarters full with water, leaving space at the top for the oil.
- Step 2: In a separate small bowl, measure three tablespoons of cooking oil.
- Step 3: Add 3 to 5 drops of liquid food coloring to the oil in the bowl. Use one color or mix a few for a rainbow effect.
- Step 4: With your spoon, gently stir the oil and food coloring together. The food coloring will break into tiny colorful beads.
- Step 5: Carefully pour the colorful oil mixture into the jar of water. Watch as the oil floats on top and the tiny beads of food coloring slowly sink through the oil, bursting into trails of color as they hit the water.