Do you remember those childhood moments, maybe in a science class or just playing in the backyard, when a simple experiment felt like pure magic? That gasp of wonder as colors swirled and unexpected reactions happened? Well, my friend, get ready to recapture that feeling! Or, if you’re looking for an incredibly fun, mesmerizing, and easy activity to do with your kids that doesn’t involve a huge clean-up, you’ve stumbled upon a real gem.
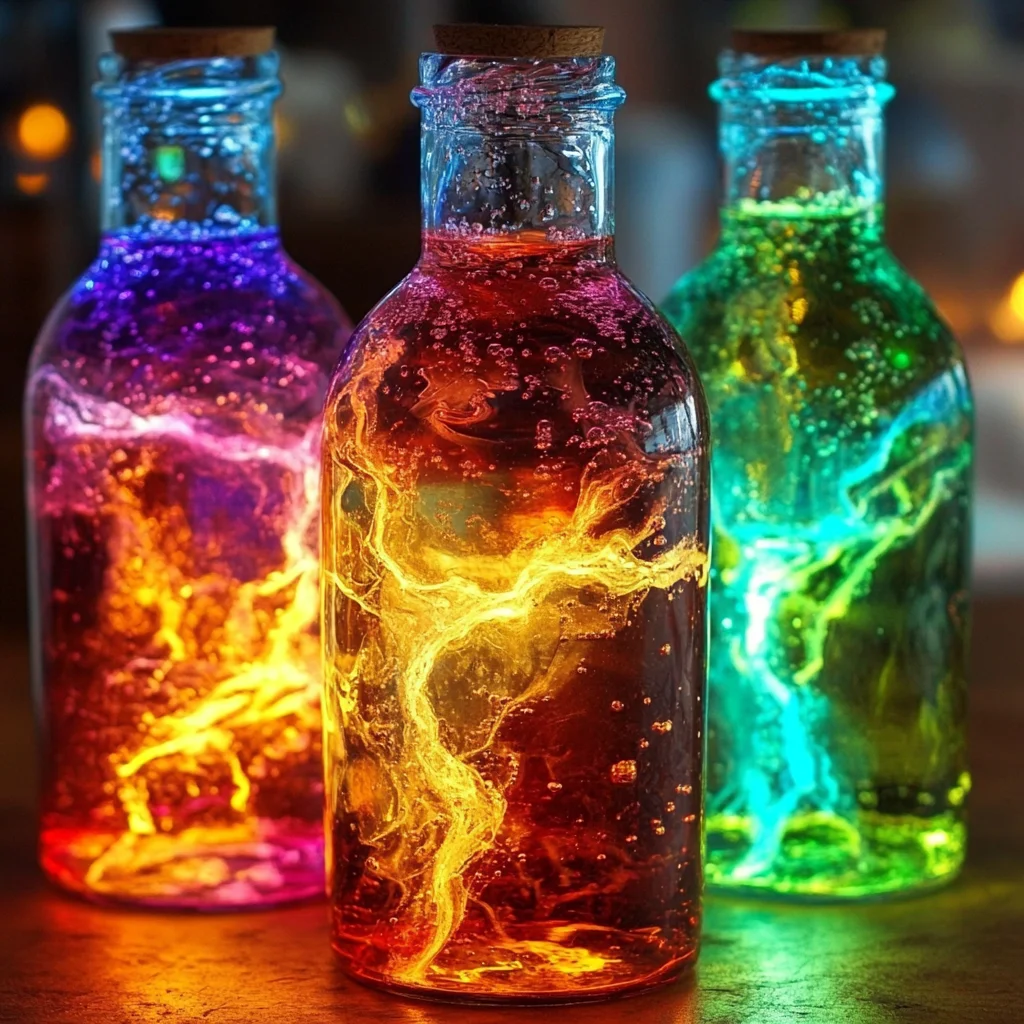
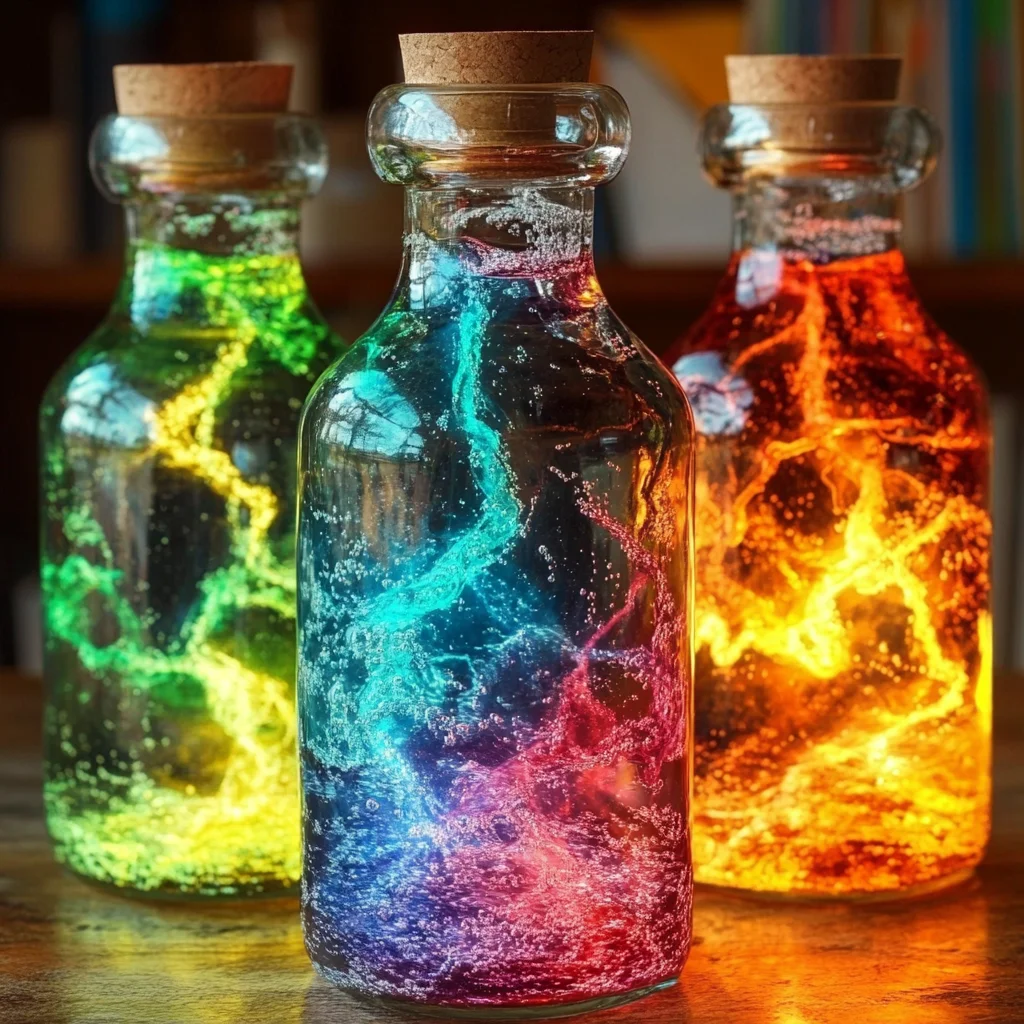
This recipe for Bubbling Rainbow Lightning Bottles is exactly that – pure, sparkling wonder that’s incredibly easy, super quick to set up, and creates a truly unforgettable visual spectacle. It’s not a treat you eat, but a treat for your eyes and a fantastic way to spark curiosity and joy. Imagine the delight on little faces (or even your own!) as vibrant colors bubble and glow like miniature thunderstorms in a bottle. It’s a sensory experience that’s surprisingly simple to create, making it a perfect rainy-day project or a fun party activity. Let’s dive in!
Why You’ll Love Bubbling Rainbow Lightning Bottles
- Fast: From start to “ooh” and “aah,” this project comes together in minutes.
- Easy: No complicated steps, just simple mixing and a sprinkle of magic!
- Mesmerizing & Giftable: The bubbling, glowing effect is captivating, and you can even package the dry ingredients as a DIY gift kit.
- Crowd-Pleasing: A guaranteed hit for kids’ parties, playdates, or just a quiet afternoon of creative fun.
Ingredients
Gathering your supplies for this dazzling experiment is super straightforward. You might even have most of these lying around your house already!
- 2 clear plastic bottles with lids: Think empty water bottles or soda bottles. Repurposing is always a win in my book!
- 1/2 cup warm water: Not boiling hot, just comfortably warm to help everything dissolve nicely.
- 1/4 cup vinegar: Our trusty science experiment friend! Plain white vinegar works perfectly.
- 1 tablespoon baking soda: The secret fizz-maker that creates all those delightful bubbles!
- 1 teaspoon citric acid: This really kicks up the bubble factor and prolongs the reaction for extra fun. You can usually find it in the baking aisle or where canning supplies are sold.
- 1 tablespoon rainbow glitter mix: Because who doesn’t love a little sparkle? The more colors, the better!
- 1 teaspoon glow-in-the-dark powder or paint: This is what gives us our “lightning” effect! Make sure it’s a type that can mix with liquid.
- A few drops each of red, yellow, blue, and green food coloring: Let’s make a vibrant rainbow! Feel free to use your favorite colors.
- 1 teaspoon dish soap: Just a little squirt to help those bubbles last longer and create a more substantial foam.
- 2 small glow sticks or waterproof LED lights: These are the core of our “lightning” effect, especially great for low-light viewing.
- 1 spoon for mixing: Any spoon will do the trick!
How to Make Bubbling Rainbow Lightning Bottles
Alright, let’s get to the fun part! This is where the magic truly happens, and I promise it’s easier than you think.
-
Prepare Your Glow Base
First things first, let’s get those bottles ready to light up! Carefully place one glow stick or waterproof LED light into each of your clear plastic bottles. If you’re using glow sticks, make sure to activate them first by bending and shaking them until they start to glow. This will be the enchanting light source for your rainbow lightning!
-
Mix Your Magical Potion
In a separate cup or bowl, combine your warm water, vinegar, dish soap, glow-in-the-dark powder (or paint), and a few drops of each food coloring. Give it a good stir with your spoon until everything is well mixed. You’re creating a colorful, shimmering base for your reaction! This is a great step to really appreciate how colors blend, much like when we mix up a batch of something vibrant like our DIY Rainbow Bouncy Balls.
Once your potion is mixed, divide it evenly and carefully pour half into each of your prepared bottles. You’ll already start to see some beautiful color and a hint of the glow!
-
Add the Glitter
Now for the sparkle! Sprinkle about half of your rainbow glitter mix into each bottle. Don’t be shy here; more glitter means more shimmer when the lightning strikes!
-
Start the Reaction!
This is the exciting part! Add half of the baking soda to one bottle, and then very quickly drop in half of the citric acid. Repeat for the second bottle. You’ll want to move fast here because the reaction starts almost immediately!
-
Seal and Swirl
As soon as you’ve added the baking soda and citric acid, quickly close the bottles tightly with their lids. Now, gently shake and swirl the bottles. Watch in amazement as the mixture begins to fizz, bubble, and glow, creating a mesmerizing, stormy rainbow effect right before your eyes! It’s such a cool visual, it reminds me of the wonder you get from other science-based crafts like making DIY Color Changing Crystal Stones.
Substitutions & Additions
Part of the fun of DIY projects is making them your own! Here are some ideas to customize your Bubbling Rainbow Lightning Bottles:
- Different Bottles: While plastic bottles are great for safety, you could experiment with glass jars (with adult supervision) for a different aesthetic. Just be extra careful!
- Themed Colors: Instead of a full rainbow, choose colors to match a holiday or party theme. Think spooky green and purple for Halloween, or red and white for Valentine’s Day.
- Extra Sparkle: Beyond glitter, you could add small sequins, tiny plastic beads, or even a dash of iridescent mica powder for a different shimmer effect.
- UV Glow: If you have a blacklight, use UV-reactive paint or powder for an even more intense glow when the lights are low!
- Scented Fun: For older kids or adults, a few drops of essential oil (like peppermint or lavender) could add a pleasant aroma to the experience. Just ensure they are safe to use in such a mixture.
Tips for Success
To ensure your lightning bottles are as spectacular as possible, keep these little tips in mind:
- Fresh Ingredients Matter: Make sure your baking soda and citric acid aren’t too old. Older ingredients can lose their fizzing power.
- Warm Water Helps: The warm water isn’t just for comfort; it helps the powders dissolve more efficiently, leading to a better reaction.
- Don’t Overfill: Leave a little bit of headspace in the bottles for the bubbles to expand without overflowing when you shake them.
- Shake Gently: You don’t need to go wild with the shaking. A gentle swirl and tilt will encourage the reaction and spread the glitter beautifully.
- Supervise Little Ones: While generally safe, always supervise children, especially during the mixing and sealing steps, to avoid accidental spills or ingestion of ingredients.
- Prep Ahead: You can pre-mix the water, vinegar, soap, glow powder, and food coloring base and have your glitter ready to go. Then, when it’s showtime, just add the baking soda and citric acid for instant fun!
How to Store Bubbling Rainbow Lightning Bottles
These bubbling bottles are definitely a “play now” kind of craft! The magical fizz and glow are at their peak right after the baking soda and citric acid are added.
While the initial, vigorous bubbling is best enjoyed fresh, you can keep the sealed bottles for a few hours of intermittent swirling fun. A gentle shake or tilt can often reactivate some smaller bubbles and keep the glitter moving. For a truly fresh and dynamic reaction, I always recommend dumping out the old mixture and starting over with new baking soda and citric acid. The glow sticks or LED lights can be reused until their light fades, and of course, the plastic bottles can be rinsed and saved for your next batch of lightning magic!
FAQs
Here are some common questions you might have about making your Bubbling Rainbow Lightning Bottles:
Q: Is this safe for kids?
A: Yes, with adult supervision, this is a fun and safe activity for children. The ingredients are common household items. Just ensure no one tries to drink the mixture, and keep an eye on small children with tiny glow sticks or LED lights.
Q: Can I use different sized bottles?
A: Absolutely! Feel free to use larger or smaller clear plastic bottles. You might need to adjust the ingredient ratios slightly – more liquid and powders for bigger bottles, less for smaller ones – but the general principle remains the same.
Q: How long does the bubbling and glow effect last?
A: The initial, intense bubbling reaction will last a few minutes. However, you can often reactivate smaller bubbles and keep the glitter swirling with gentle shakes for a longer period. The glow from the glow sticks or LED lights will last for several hours, making the bottles fun to look at even after the fizz has settled.
Q: What if my bottle isn’t glowing well?
A: First, ensure your glow-in-the-dark powder or paint is fresh and well mixed into the liquid. For glow sticks, make sure they were properly activated by bending them until they snapped and shook. If using LED lights, check the batteries. The glow is most visible in a dimly lit or dark room!
For more dazzling recipes and DIY projects, make sure to follow us on Pinterest!
Bubbling Rainbow Lightning Bottles
Ingredients
Equipment
Method
- Step 1: Prepare Your Glow Base Carefully place one glow stick (activated) or waterproof LED light into each of your clear plastic bottles. This will be the enchanting light source.
- Step 2: Mix Your Magical Potion In a separate cup or bowl, combine your warm water, vinegar, dish soap, glow-in-the-dark powder (or paint), and a few drops of each food coloring. Stir well until everything is mixed. Divide this potion evenly and carefully pour half into each of your prepared bottles.
- Step 3: Add the Glitter Sprinkle about half of your rainbow glitter mix into each bottle for extra shimmer.
- Step 4: Start the Reaction! Add half of the baking soda to one bottle, and then very quickly drop in half of the citric acid. Repeat for the second bottle. The reaction starts almost immediately!
- Step 5: Seal and Swirl As soon as you’ve added the baking soda and citric acid, quickly close the bottles tightly with their lids. Gently shake and swirl the bottles to watch the mixture fizz, bubble, and glow, creating a mesmerizing, stormy rainbow effect.