There’s something truly magical about walking into a home that smells wonderfully fresh and inviting, isn’t there? It’s not just about cleaning; it’s about creating an atmosphere, a feeling of warmth and welcome that just wraps around you like a cozy blanket. For years, I used to buy those fancy store-bought air fresheners, but deep down, I always craved something more personal, something I could customize and truly make my own. That’s when I discovered the delightful world of DIY aroma stones!
Imagine filling your spaces with scents that genuinely make you happy, without any harsh chemicals or artificial fragrances. This recipe is not just easy; it’s incredibly quick to whip up and so satisfying. Whether you’re looking for a thoughtful handmade gift, a little personal touch for your linen closet, or just a fun afternoon craft, these aroma stones are a dream come true. They’re similar to the joy you get from other creative projects, like making DIY Color Changing Crystal Stones – a simple process, beautiful results, and a touch of magic!
Why You’ll Love DIY Aroma Stones
- Fast: You can mix up a batch in under 15 minutes!
- Easy: No special skills or equipment needed, just a bowl and a spoon.
- Giftable: They make charming, personalized presents for any occasion.
- Crowd-pleasing: Everyone appreciates a lovely scent, especially when it’s natural and homemade.
Ingredients
Gathering your ingredients for these little scent wonders is a breeze. Most of these you might already have in your pantry!
- 1 cup baking soda: This is our main ingredient, creating the porous stone structure that holds the scent. It’s a household hero for so many things!
- 1/2 cup cornstarch: Helps bind everything together, giving our stones a smooth, sturdy finish.
- 1/2 cup water: The magic liquid that brings our dry ingredients to life, forming a moldable paste.
- 20-30 drops essential oils (of your choice): This is where the fun really begins! Lavender for relaxation, lemon for a burst of energy, eucalyptus for clarity—choose your favorite or create a custom blend!
- Food coloring (optional): Want to add a pop of color to match your decor or mood? A few drops will do the trick.
- Silicone molds (various shapes): These are key for shaping your stones. Think cute flowers, hearts, geometric shapes, or even mini animal molds!
- Wax paper or parchment paper: Essential for protecting your surfaces and making sure your stones dry perfectly without sticking.
How to Make DIY Aroma Stones
Let’s get crafting! You’ll be amazed at how simple it is to transform these humble ingredients into beautiful, fragrant stones.
1. Combine Your Dry Mix: Grab a medium-sized mixing bowl. Pour in your baking soda and cornstarch. Give them a good stir with a spoon or whisk until they’re thoroughly combined. You want a consistent, lump-free powder before adding any liquid.
2. Slowly Add Water: Now, for the wet part! Gradually pour in the water, stirring continuously as you go. This is important to prevent lumps. Keep mixing until you have a smooth, thick paste. It should resemble a pancake batter consistency – not too runny, not too stiff.
3. Infuse with Essential Oils: Drip in your chosen essential oils. I usually start with 20 drops and then give it a good sniff; if I want a stronger scent, I’ll add a few more. Stir well to make sure that lovely fragrance is evenly distributed throughout the mixture.
4. Add a Splash of Color (Optional): If you’re using food coloring, now’s the time! Add a few drops – remember, a little goes a long way. Mix it thoroughly until your paste has a uniform color. This step is all about making them visually appealing, just like when we had so much fun with DIY Melted Crayon Stars!
5. Prep Your Molds: Lay out your silicone molds on a flat, protected surface, like a baking sheet lined with wax paper. This makes them easier to move once filled.
6. Fill the Molds: Carefully spoon the mixture into your silicone molds. Don’t overfill them; aim for a level surface. Use a small spatula or the back of a spoon to smooth out the tops.
7. Release Air Bubbles: Gently tap the filled molds on the counter a few times. This helps any trapped air bubbles rise to the surface and ensures your aroma stones will have a smooth finish.
8. Let Them Dry Out: Place the molds in a warm, dry spot in your home. I like to put them in an out-of-the-way corner. Loosely cover them with a thin, clean towel to keep dust away while they dry. Air circulation is key here!
9. Patience, My Friend: Now, the hardest part: waiting! Allow your aroma stones to dry for at least 24 hours. They need to be completely hardened all the way through. If they still feel a little soft or damp, give them more time.
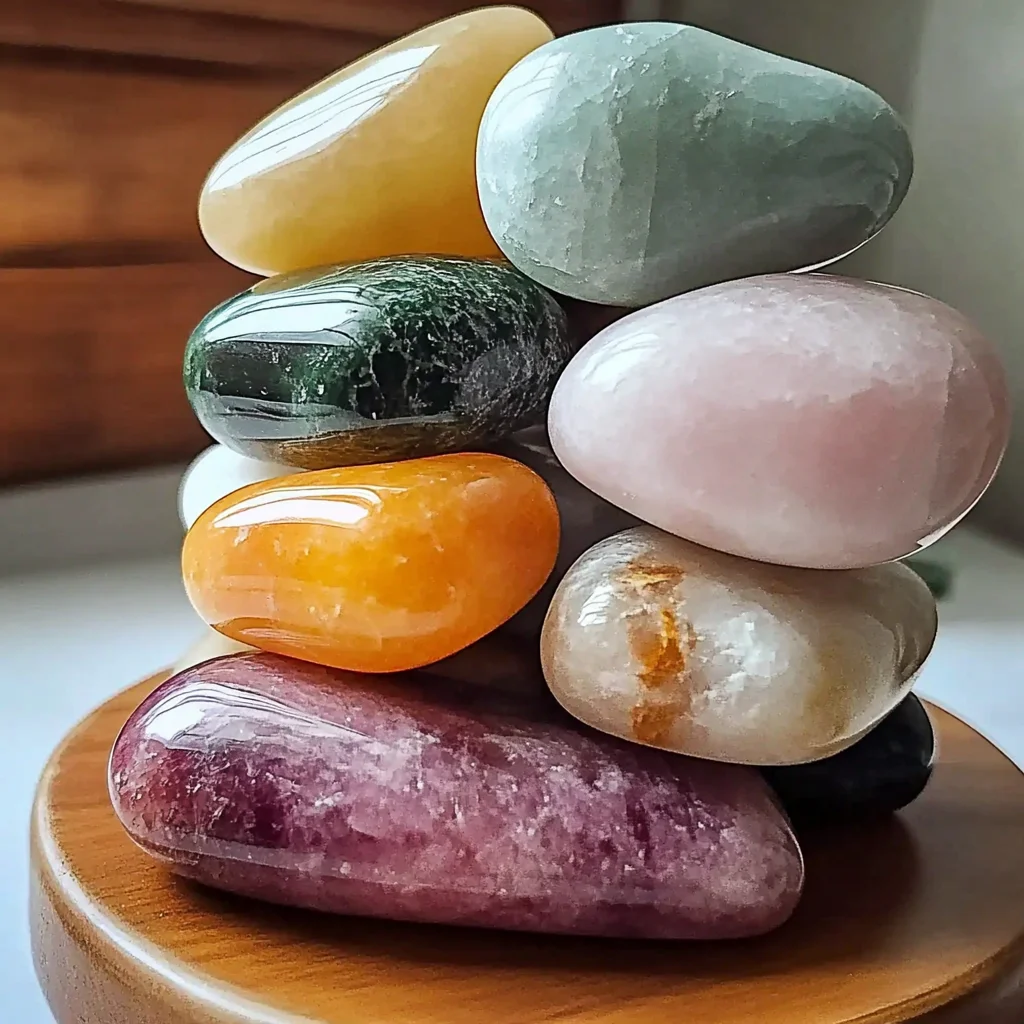
10. Unmold and Enjoy: Once they’re totally dry and solid, carefully pop them out of their silicone molds. They should come out easily. Voila! Your beautiful, fragrant aroma stones are ready to bring joy to your home.

Substitutions & Additions
The beauty of DIY is making it truly yours! Here are some ideas to customize your aroma stones:
- Essential Oil Blends: Get creative! Try lavender and chamomile for a bedroom, orange and peppermint for a kitchen, or cedarwood and bergamot for a cozy living space. You can also look for essential oil blends specifically marketed for diffusers.
- Natural Colorings: Instead of food coloring, try a pinch of turmeric for yellow, spirulina powder for green, or beet powder for a soft pink hue. Just be mindful that natural colors can sometimes fade over time.
- Dried Botanicals: Before the mixture fully sets in the molds, you could gently press in small dried flower petals (like rose or lavender), tiny sprigs of dried herbs, or even a dash of fine glitter for a touch of sparkle.
- Different Molds: While silicone molds are great, you could experiment with plastic candy molds or even small cookie cutters (just press the mixture in and carefully remove).
- Hanging Loops: If you want to hang your aroma stones (maybe in a closet or on a doorknob), use a toothpick to create a small hole at the top of each stone while they are still wet. Once dry, thread some twine or ribbon through the hole.
Tips for Success
Even though this recipe is super easy, a few pointers can ensure your aroma stones turn out perfectly every time!
- Consistency is Key: Pay attention to the texture of your mixture. If it’s too wet, they might take forever to dry or crumble. If it’s too dry, it won’t mix smoothly. Adjust with tiny amounts of water or cornstarch if needed.
- Mix Thoroughly: Don’t rush the mixing! Ensure the dry ingredients are fully combined before adding water, and the essential oils are evenly distributed for consistent scent.
- Patience with Drying: This is probably the most crucial tip! They really do need the full 24 hours (sometimes longer in humid climates) to completely harden. Rushing this step will result in fragile stones.
- Quality Oils Matter: The scent is the star here, so use good quality essential oils. You’ll notice a difference in the longevity and purity of the fragrance.
- Make a Big Batch: These are so fun to make that you might as well double or triple the recipe! They make fantastic last-minute gifts, and having a stash means you can easily refresh your home or even create different scents for different rooms, much like the versatility of making DIY Rainbow Bouncy Balls – it’s always fun to have extras!
How to Store DIY Aroma Stones
Once your aroma stones are perfectly dry and solid, you can store them in an airtight container if you’re not using them right away. This helps to preserve their fragrance for longer. However, they are meant to be displayed and exposed to the air to release their scent! Their “shelf life” for scent typically ranges from a few weeks to a couple of months, depending on the essential oils used and the air circulation in their location. To refresh them, simply add a few more drops of your favorite essential oil directly onto the stone. They’ll soak it right up and be good as new!
FAQs
Got questions? I’ve got answers!
How long does the scent last?
The scent can last anywhere from a few weeks to two months, depending on the essential oils you use and how exposed they are to air. Citrus scents tend to dissipate faster than woodsy or floral notes. But don’t worry, you can easily refresh them with a few more drops of oil!
Can I use fragrance oils instead of essential oils?
While you certainly can use fragrance oils, I personally prefer essential oils for their natural benefits and cleaner scent. Fragrance oils are often synthetic, but if you have a favorite fragrance oil you love, feel free to use it!
What if my aroma stones don’t harden?
The most common reason for soft stones is not enough drying time or too much water in the mixture. Make sure to let them dry in a warm, dry spot for at least 24-48 hours. If the mixture felt too wet initially, next time reduce the water by a tiny amount.
Are these safe for homes with pets or small children?
While the ingredients are generally safe, always use caution with essential oils around pets and children. Some oils can be toxic to animals or cause sensitivities. It’s best to place your aroma stones in areas where curious little hands or paws can’t reach them, or research pet-safe essential oils.
Happy crafting, my friends! Your home is about to smell amazing.
For more easy and delightful recipes and crafts, be sure to follow us on Pinterest!
DIY Aroma Stones for a Sweet-Smelling Home
Ingredients
Equipment
Method
- Step 1: Combine Your Dry Mix: Grab a medium-sized mixing bowl. Pour in your baking soda and cornstarch. Give them a good stir with a spoon or whisk until they're thoroughly combined. You want a consistent, lump-free powder before adding any liquid.
- Step 2: Slowly Add Water: Gradually pour in the water, stirring continuously as you go. This is important to prevent lumps. Keep mixing until you have a smooth, thick paste. It should resemble a pancake batter consistency – not too runny, not too stiff.
- Step 3: Infuse with Essential Oils: Drip in your chosen essential oils. Start with 20 drops; if you want a stronger scent, add a few more. Stir well to make sure that lovely fragrance is evenly distributed throughout the mixture.
- Step 4: Add a Splash of Color (Optional): If you're using food coloring, add a few drops. Mix it thoroughly until your paste has a uniform color.
- Step 5: Prep Your Molds: Lay out your silicone molds on a flat, protected surface, like a baking sheet lined with wax paper. This makes them easier to move once filled.
- Step 6: Fill the Molds: Carefully spoon the mixture into your silicone molds. Don't overfill them; aim for a level surface. Use a small spatula or the back of a spoon to smooth out the tops.
- Step 7: Release Air Bubbles: Gently tap the filled molds on the counter a few times. This helps any trapped air bubbles rise to the surface and ensures your aroma stones will have a smooth finish.
- Step 8: Let Them Dry Out: Place the molds in a warm, dry spot in your home. Loosely cover them with a thin, clean towel to keep dust away while they dry. Air circulation is key here!
- Step 9: Patience, My Friend: Allow your aroma stones to dry for at least 24 hours. They need to be completely hardened all the way through. If they still feel a little soft or damp, give them more time (up to 48 hours in humid climates).
- Step 10: Unmold and Enjoy: Once they're totally dry and solid, carefully pop them out of their silicone molds. They should come out easily. Your beautiful, fragrant aroma stones are ready to bring joy to your home.