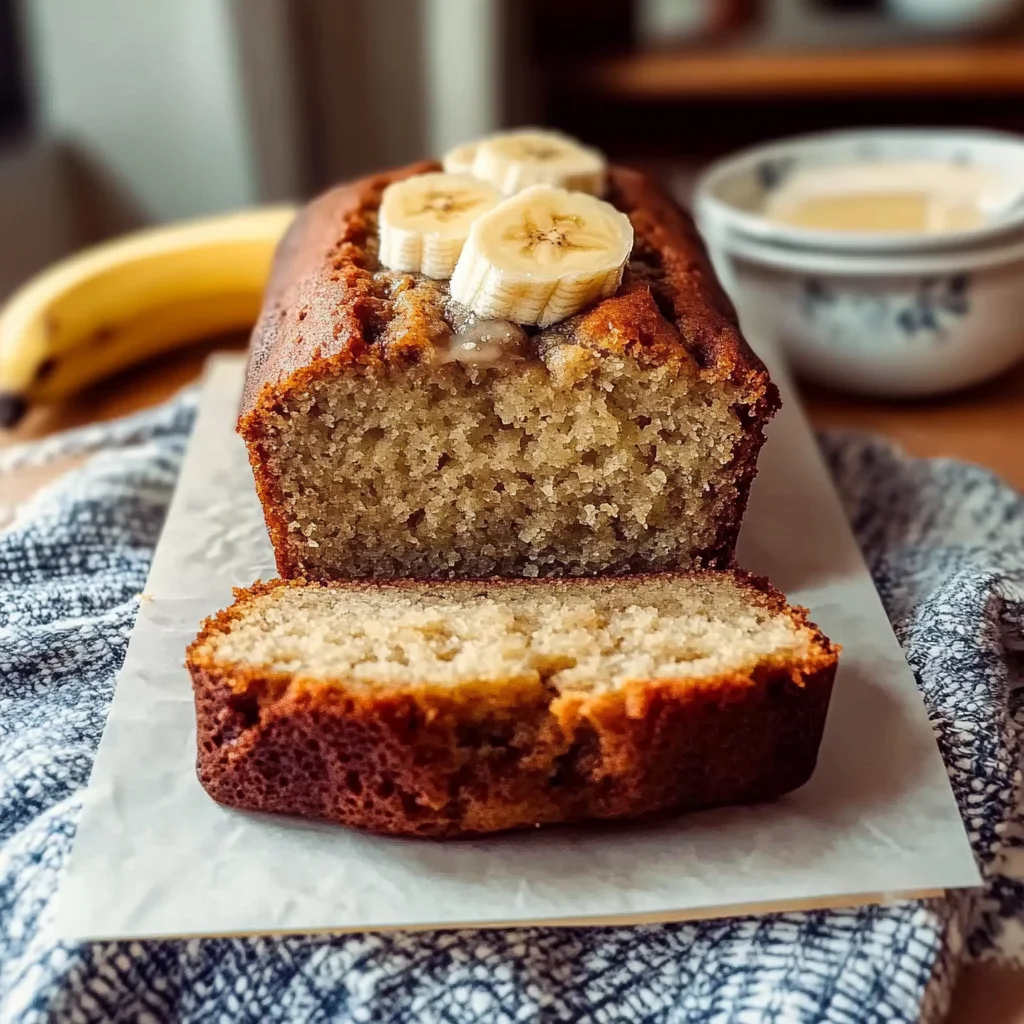
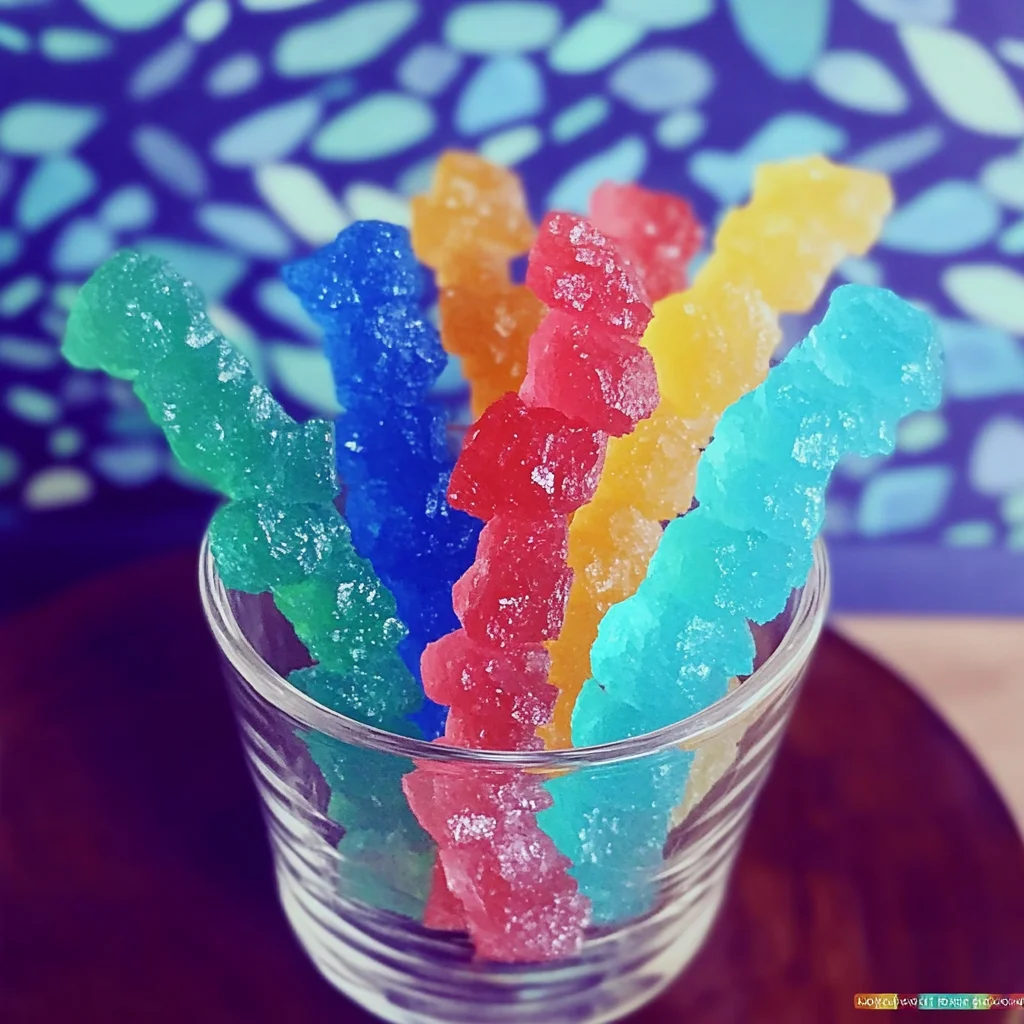
Do you remember those magical moments from childhood, holding a shimmering, crystal-covered stick of rock candy, watching the sunlight dance through the sugar crystals? There’s something so simple yet mesmerizing about making your own rock candy at home. It’s a sweet project that invites a little patience, a touch of science, and a whole lot of fun. Whether you’re making this with kids or just treating yourself to a nostalgic indulgence, homemade rock candy is surprisingly easy, rewarding, and memorable.
Today, I’m walking you through a classic rock candy recipe that’s straightforward but yields beautiful, sparkling results every time. With just a few ingredients and a little bit of waiting, you’ll have your very own crystalized sweet treat that’s not only fun to eat but also giftable and perfect for parties. Plus, it’s a fantastic way to dip your toes into the world of candy making without any fancy equipment.
Why You’ll Love Rock Candy
- Fast: The prep work takes less than 30 minutes, making it a quick start to a fun science experiment in your kitchen.
- Easy: No complicated steps or weird ingredients—just sugar, water, and a few kitchen basics.
- Giftable: Beautifully crystallized rock candy makes for charming homemade gifts that anyone will adore.
- Crowd-pleasing: Whether at a party or just as a unique dessert, rock candy always sparks curiosity and smiles.
Ingredients
Before we dive into the process, let’s talk about what you’ll need. Don’t worry—these are all easy to find and simple to use.
- 1 cup water: This is the base for dissolving your sugar and growing those crystals.
- 3 cups granulated sugar: The star of the show! Make sure to use good quality sugar to get those perfect crystals.
- Wooden lollipop sticks: These will hold your growing crystals. You can also use popsicle sticks if you don’t have lollipop sticks handy.
- Clothespins: To hold the sticks upright inside your jars. Old-fashioned but effective!
- Quart-size wide-mouth mason jars: Perfect containers to grow your crystals. The wide mouth lets you easily suspend the sticks.
- Food coloring (gel type preferred): Add a pop of color to your rock candy. Gel colors work best because they don’t affect the sugar solution too much.
- Flavor extract (optional): Vanilla, peppermint, or any flavor you like can add a delightful twist to your candy.
If you’re curious about other easy homemade sweets, you might enjoy checking out the No-Bake Peanut Butter Pie—it’s just as simple and perfect for those cozy nights in.
How to Make Rock Candy
Now that you have everything ready, let’s get to the fun part—making rock candy. I’ll guide you through each step so you can get those beautiful, sparkly crystals just right.
- Prepare your sticks: Dip each wooden stick into water, then roll the wet section in granulated sugar to coat it thoroughly. This gives the sugar crystals a surface to cling to as they grow. Lay the sticks flat on a clean surface and let them dry completely—this can take about 10-15 minutes. This prep step is key because it kickstarts the crystal formation.
- Make the sugar solution: In a large pot, combine 1 cup of water and 3 cups of granulated sugar. Heat the mixture over medium heat while stirring constantly. The sugar will dissolve into the water, and once it starts to boil, keep stirring until the sugar is fully dissolved and the liquid looks clear. This can take around 5-7 minutes. Avoid stirring once boiling to prevent crystallization in the pot.
- Add color and flavor: Remove the pot from heat and stir in your food coloring and flavor extract, if you’re using any. I love using peppermint extract for a fresh twist or lemon for a bright, sunny flavor. Just a teaspoon will do the trick.
- Cool the solution: Let your sugar solution cool for about 20 minutes. It should be warm but not hot—too hot, and it might dissolve the sugar coating on your sticks.
- Fill your jars: Carefully pour the cooled sugar solution into your mason jars, leaving about an inch of space at the top to avoid spills.
- Set up the sticks: Place a popsicle stick across the top of each jar. Attach your sugar-coated lollipop stick to a clothespin and rest it on the popsicle stick so the sugar-coated end is fully submerged in the solution but not touching the sides or bottom of the jar.
- Let the magic happen: Now, place your jars in a clean, undisturbed area. This is the hardest part—you want to avoid moving or shaking the jars at all. Let the crystals grow for about 5 days. Trust me, the wait is worth it!
- Harvest your crystals: After 5 days, you’ll notice beautiful sugar crystals covering your sticks. Gently break any sugar film on the surface and carefully remove the sticks. If any crystals are stuck to the sides, loosen them gently with a knife. Be patient here to avoid breaking your precious candy.
- Dry and display: Transfer your rock candy to a clean jar or stand the sticks upright in a cup to dry completely. Once dry, they’re ready to enjoy or gift.
This process of growing your own crystal candy reminds me a bit of the patience needed for slow-cooked dishes like the One-Pot Smoky BBQ Meatball Pasta, where the magic happens over time. It’s always fun to watch ingredients transform!
Substitutions & Additions
Feel free to get creative with your rock candy. Here are some fun ways to customize your candy crystals and make the experience your own:
- Sugar types: You can experiment with brown sugar or raw sugar for a different flavor and color, though they might not crystalize as clearly as white sugar.
- Flavors: Try almond, raspberry, or even cinnamon extracts to create unique candy flavors. Just remember a little goes a long way.
- Colors: Mix gel food colors to create your favorite hues. You can even make layered rock candy by letting one color crystallize for a couple of days, then gently adding another color on top.
- Stick alternatives: If you don’t have wooden sticks, you can use clean strings or skewers. Just make sure they’re properly prepared with sugar coating.
For more creative and easy dessert ideas, check out the Pineapple Cream Cheese Pound Cake. It’s a crowd-pleaser and just as inviting!
Tips for Success
Making rock candy is part science, part art. Here are some tips I’ve learned to help you get the best results without frustration:
- Don’t rush the drying of your sticks: The sugar coating on the sticks is the seed for crystal growth. If it’s not fully dry, your crystals won’t form properly.
- Keep jars still: Movement disturbs the crystals and can cause your candy to grow unevenly or not at all.
- Use clean jars: Any dust or grease can interfere with crystallization.
- Watch the temperature: Pour the sugar solution into jars when it’s warm but not hot. Too hot can dissolve the sugar coating on your sticks.
- Be patient: Crystal growth takes time. Resist the temptation to disturb the jars or sticks.
- Prep ahead: You can prepare your sugar-coated sticks a day before starting the sugar solution to save time.
How to Store Rock Candy
Once your rock candy is fully dried, storing it properly will keep those glittering crystals fresh and crunchy:
- Use airtight containers or jars: Exposure to moisture can cause your candy to become sticky or dissolve.
- Keep in a cool, dry place: Avoid humid kitchens or spots near the stove.
- Shelf life: Properly stored rock candy can last several weeks, making it perfect for gifting or enjoying over time.
- Avoid refrigeration: Cold, moist environments can cause the sugar crystals to melt or become sticky.
FAQs
Can I use regular liquid food coloring instead of gel?
You can, but gel food coloring is preferred because it doesn’t add extra liquid to the sugar solution, which can affect crystallization. If you only have liquid coloring, use just a drop or two.
Why isn’t my sugar crystallizing?
Common reasons include stirring after boiling, not coating the sticks properly, or moving the jars during the crystal-growing phase. Make sure to follow the steps carefully and keep everything still.
Can I reuse the sugar solution?
It’s best not to reuse the sugar solution once crystals have started forming. Fresh batches give the best results for crystal growth.
How long will it take for my rock candy to grow?
Typically, crystals start forming after about 3 days, but the full growth takes around 5-7 days for large, beautiful crystals.
If you’ve enjoyed this sweet project, you might also love trying some no-bake treats like the No-Bake Brownie Cheesecake Cups. They’re just as easy and perfect for satisfying your sweet tooth!
Thanks for hanging out in the kitchen with me today. I hope your rock candy turns out perfectly sparkly and delicious—don’t forget to share your creations with friends and family. There’s nothing like homemade candy to bring a little joy and wonder to any day.
For more sweet inspiration and crafty kitchen ideas, be sure to follow us on Pinterest. Happy candy making!
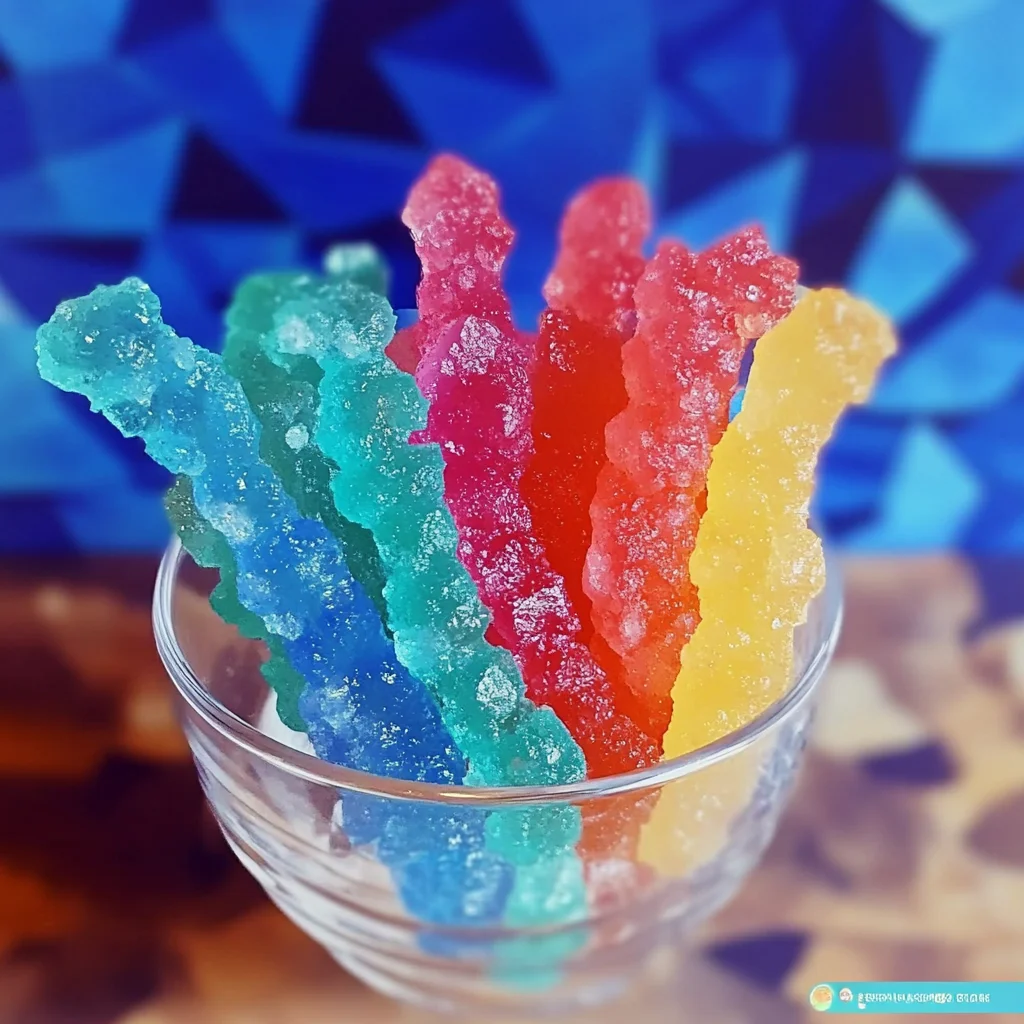
Perfectly Sparkling Homemade Rock Candy
Ingredients
Equipment
Method
- Step 1: Dip each wooden stick into water, then roll in granulated sugar to coat. Lay flat and let dry completely for 10-15 minutes to start crystal formation.
- Step 2: In a large pot, combine 1 cup water and 3 cups sugar. Heat over medium, stirring constantly until sugar dissolves and mixture boils. Avoid stirring after boiling starts. This takes about 5-7 minutes.
- Step 3: Remove pot from heat. Stir in food coloring and flavor extract if using.
- Step 4: Let the sugar solution cool for about 20 minutes until warm but not hot.
- Step 5: Pour cooled solution into mason jars, leaving about an inch at the top.
- Step 6: Place a popsicle stick across the top of each jar. Attach sugar-coated lollipop stick to a clothespin and rest it on the popsicle stick so it is submerged but not touching sides or bottom.
- Step 7: Place jars undisturbed in a clean area. Let crystals grow for about 5 days without moving the jars.
- Step 8: After 5 days, gently remove sticks covered in crystals. Loosen any crystals stuck to jar sides with a knife.
- Step 9: Transfer rock candy to a clean jar or stand sticks upright in a cup to dry completely. Once dry, enjoy or gift.