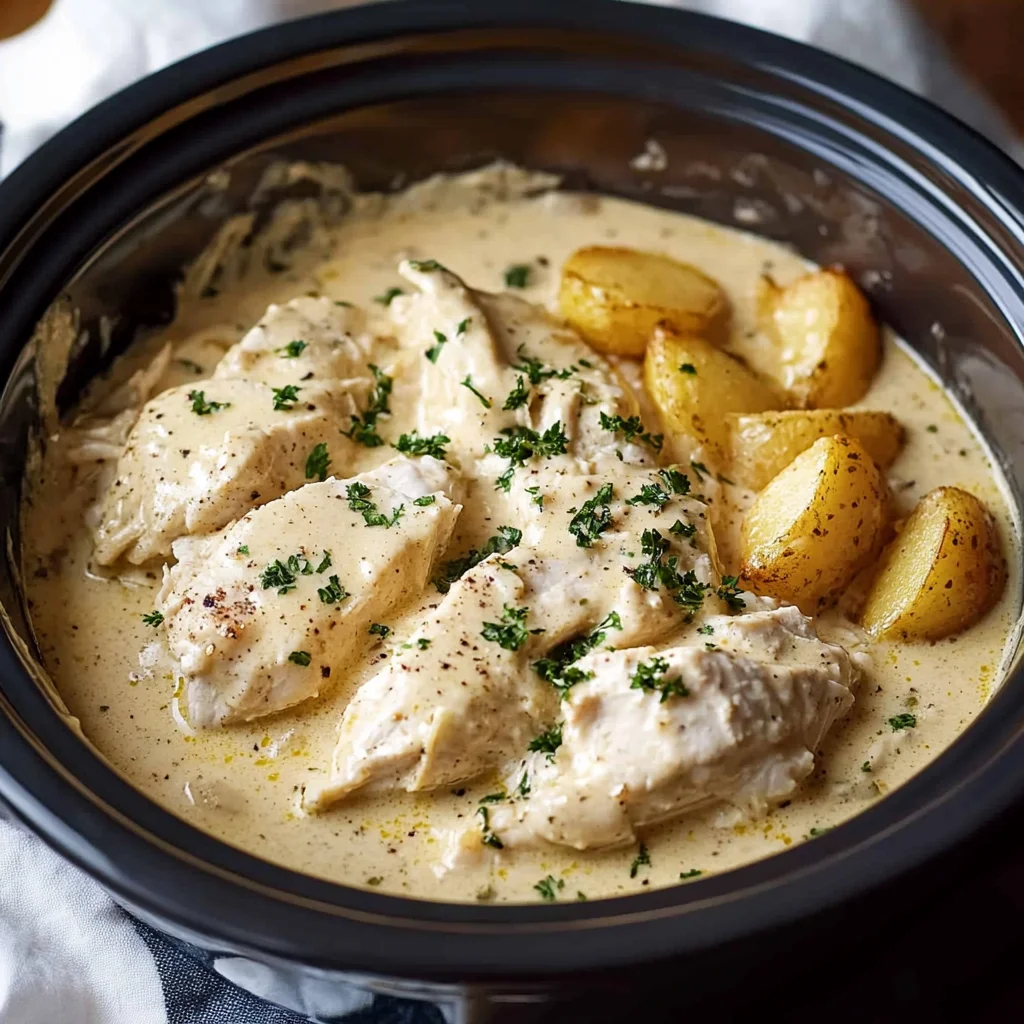
There’s something truly comforting about a no-bake peanut butter pie that instantly takes me back to cozy family gatherings and lazy Sunday afternoons. Maybe it’s the creamy, dreamy texture or that perfect balance between sweet and salty that makes every bite so memorable. If you’re anything like me, you love desserts that don’t require hours in the kitchen but still bring that wow factor when served. This no bake peanut butter pie recipe is exactly that—a quick, fuss-free treat that’s as simple to make as it is delicious to eat. Trust me, once you try this, it’ll become your go-to dessert for potlucks, casual dinners, or just when you want to treat yourself without turning on the oven.
Why You’ll Love No Bake Peanut Butter Pie
- Fast: Ready in minutes, with just a bit of chilling time.
- Easy: No complicated steps or baking skills needed.
- Giftable: Perfect for sharing with friends and family—who wouldn’t love a slice of this?
- Crowd-pleasing: It’s rich, creamy, and nutty—almost everyone adores peanut butter!
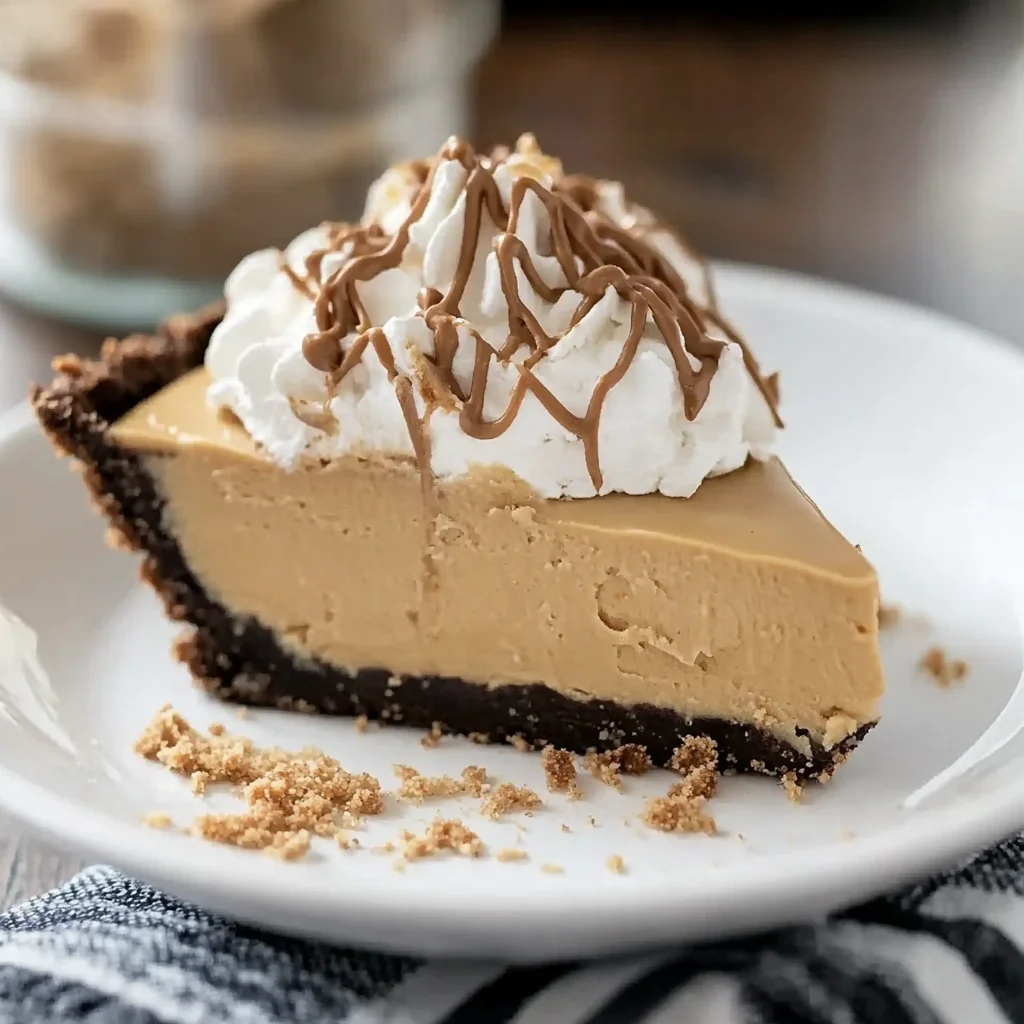
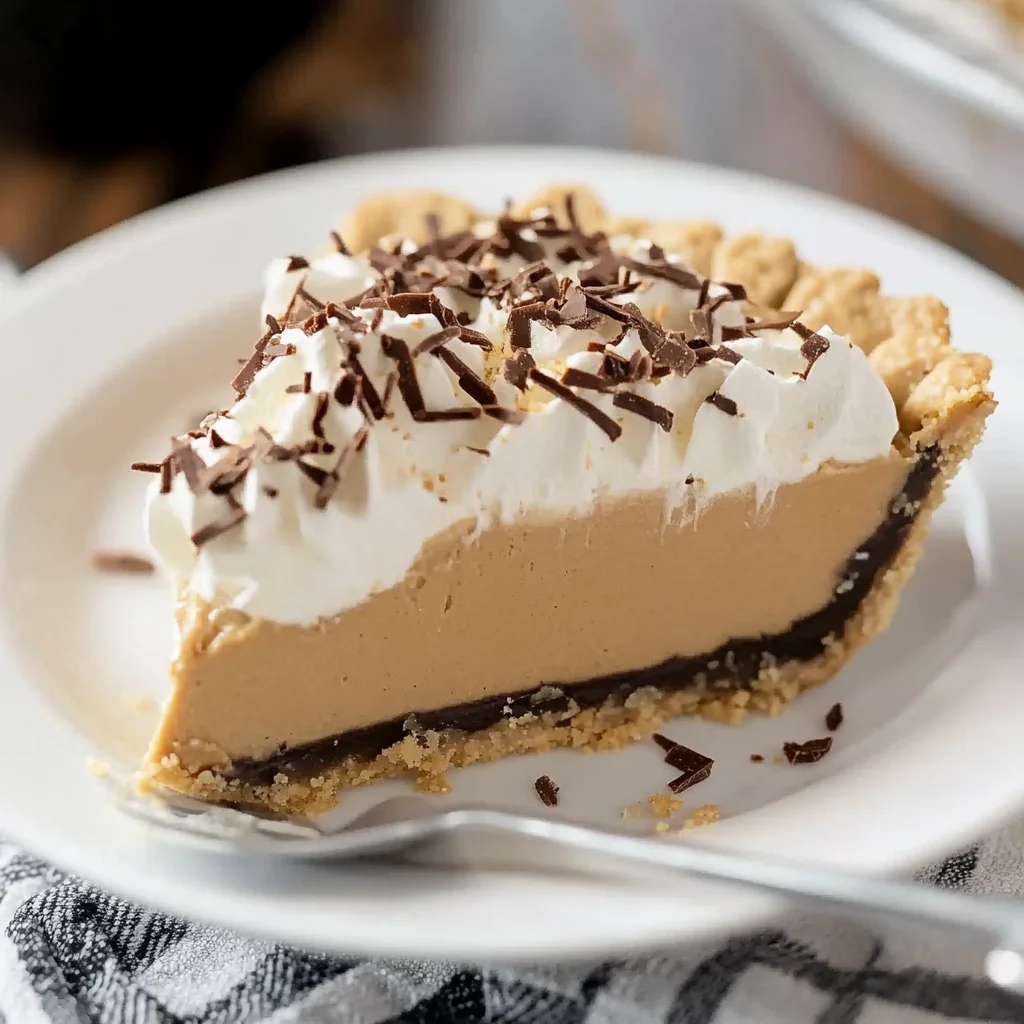
I love how this pie combines the rich, indulgent flavor of peanut butter with a smooth, fluffy filling that melts in your mouth. The chocolate graham cracker crust adds just the right amount of crunch and chocolatey goodness to complement the creamy peanut butter. You can whip this up in no time, then just let it chill while you relax or prepare the rest of your meal. It’s one of those desserts that feels fancy but is so simple, it’s almost like cheating.
Ingredients
Let’s talk about the ingredients you’ll need to make this pie—and why each one is important.
- 1 chocolate graham cracker crust: This adds a rich, chocolatey base with a bit of crunch. You can find these pre-made in most stores, which saves you time.
- 8 oz cream cheese, room temperature: This gives the pie its smooth, creamy texture and a slight tang that balances the sweetness.
- ½ cup sugar: Sweetens the filling just perfectly without overpowering the peanut butter flavor.
- 1 cup creamy peanut butter: The star of the show! Use creamy for the smoothest texture, but feel free to experiment with natural peanut butter if you prefer.
- 1 teaspoon vanilla extract: Adds warmth and depth to the flavor, pulling all the ingredients together.
- 8 oz frozen whipped topping, thawed: This lightens the filling and gives it that fluffy, airy feel. Make sure it’s thawed and gently folded in so it stays nice and fluffy.
- Whipped cream (optional): For serving, if you want to add an extra dollop of creamy goodness on top.
When I first made this pie, I was surprised at how just a few simple ingredients could come together to create such a rich and luscious dessert. If you’re looking for a similar no-bake treat, you might also enjoy the classic no bake peanut butter pie recipe that has a few different twists but just as much flavor.
How to Make No Bake Peanut Butter Pie
Ready to dive in? Here’s a step-by-step guide that will walk you through making this creamy pie with ease.
- Beat the cream cheese and sugar: Start by placing your softened cream cheese and sugar in a mixing bowl. Use a hand mixer or stand mixer to beat together until the mixture is silky smooth and free of lumps. This step is key because a smooth base makes for a silky pie filling.
- Add peanut butter and vanilla extract: Next, add in the creamy peanut butter and vanilla extract. Beat the mixture again until everything is fully combined and you have a luscious, uniform filling. I like to scrape down the sides of the bowl a couple of times to make sure no pockets of peanut butter or cream cheese remain.
- Fold in the whipped topping: Now, gently fold in the thawed whipped topping using a spatula. Be careful here—you want to keep as much air in the whipped topping as possible to maintain a light and fluffy texture. This step transforms the thick peanut butter mixture into a dreamy pie filling.
- Spread into the crust: Take your chocolate graham cracker crust and spread the filling evenly inside. Smooth the top with your spatula to create a beautiful, even surface.
- Chill to set: Refrigerate the pie for at least 4 hours, or ideally overnight. This chilling time lets the pie firm up so it slices beautifully and tastes even better.
- Serve and garnish: When you’re ready to enjoy, slice and serve the pie as is or add a generous dollop of whipped cream on top for an extra touch of indulgence.
This pie is such a crowd-pleaser that I often bring it to potlucks or family dinners. It pairs wonderfully with a hot cup of coffee or even a cold glass of milk. If you want to explore more no-bake dessert ideas that are just as simple and tasty, check out the no bake brownie batter dip—it’s another creamy, dreamy favorite.
Substitutions & Additions
One of the best things about this pie is how flexible it is! Here are some swaps and creative twists you can try to put your own spin on it.
- Crust alternatives: If you don’t have a chocolate graham cracker crust, you can use a regular graham cracker crust, chocolate cookie crust, or even a crushed pretzel crust for a salty-sweet vibe.
- Peanut butter variations: Try natural peanut butter for a more earthy flavor. If you’re allergic or prefer another nut butter, almond or cashew butter works great too.
- Sweetener swaps: You can replace sugar with honey or maple syrup, but reduce the amount slightly since they’re sweeter than granulated sugar.
- Add some crunch: Stir in chopped peanuts or chocolate chips into the filling just before folding in the whipped topping for extra texture.
- Chocolate drizzle: Melt some chocolate chips and drizzle over the top before chilling, or sprinkle cocoa nibs on the whipped cream topping for a beautiful finish.
- Make it a pie-in-a-jar: Layer the filling in individual mason jars with crushed cookies or crust pieces for a fun, portable treat.
If you love mixing up classic recipes with a twist, this pie is a great base to get creative. For instance, I paired it once with a tangy pineapple topping inspired by a pineapple cream cheese pound cake recipe, and it was a surprising but delightful combo that guests couldn’t stop raving about!
Tips for Success
To make sure your no bake peanut butter pie turns out perfect every time, here are some tips from my kitchen to yours.
- Use room temperature cream cheese: This makes beating easier and ensures a smooth filling free of lumps.
- Don’t overmix the whipped topping: When folding in the whipped topping, use a gentle hand to keep the airy texture intact.
- Chill thoroughly: The pie needs at least 4 hours to set properly. Overnight chilling is even better for clean slices.
- Prep ahead: This pie is a fantastic make-ahead dessert. You can prepare it a day in advance, freeing up your time on the day of your event.
- Keep your utensils cool: If your kitchen is warm, pop your mixing bowl and utensils in the fridge for a few minutes before starting. This helps keep the whipped topping firm.
- Serve cold: No bake pies are best served chilled. If left out too long, they can get too soft and lose their structure.
Following these tips will help you achieve that perfect balance of creamy, fluffy, and firm that makes this pie so irresistible. If you’re interested in other easy, no-fuss desserts, be sure to explore the no bake brownie cheesecake cups for another luscious treat.
How to Store No Bake Peanut Butter Pie
Storage is simple, but important for keeping your pie tasting fresh and looking its best. After chilling, cover the pie tightly with plastic wrap or store it in an airtight container. Keep it refrigerated and consume within 3 to 4 days for the best flavor and texture.
If you’ve made individual pie jars or cups, cover each with a lid or plastic wrap. You can also freeze the pie if you want to keep it longer—wrap it tightly in plastic wrap and then foil to avoid freezer burn. When ready to eat, thaw overnight in the fridge. Just note that freezing might slightly change the texture, but it will still taste delicious.
FAQs
Can I use crunchy peanut butter instead of creamy?
Yes! Crunchy peanut butter will add a nice bit of texture to the filling. Just be sure to beat it well with the cream cheese and sugar so it blends smoothly.
Do I have to use a chocolate graham cracker crust?
Not at all! You can use any pre-made crust like a regular graham cracker, Oreo crust, or even a nut-based crust. Each offers a different flavor twist.
Can I make this pie vegan or dairy-free?
You can try using dairy-free cream cheese and whipped topping alternatives along with a peanut butter that fits your diet. The taste and texture might be slightly different but still tasty.
How long should I chill the pie for best results?
At least 4 hours is necessary for the filling to firm up. Overnight chilling is ideal if you have the time.
If you’re hungry for more sweet inspirations, you might enjoy browsing through the wonderful recipes at Recettia’s recipe collection, where you’ll find everything from easy pies to savory dishes that’ll make your kitchen adventures even more delightful.
And if you want to keep your dessert game strong with fresh ideas and beautiful visuals, don’t forget to follow our Pinterest page for tons of inspiration and step-by-step guides!
Irresistible No Bake Peanut Butter Pie
Ingredients
Equipment
Method
- Step 1: In a mixing bowl, beat the room temperature cream cheese and sugar with a hand mixer or stand mixer until silky smooth and lump-free.
- Step 2: Add creamy peanut butter and vanilla extract to the bowl. Beat again until fully combined and smooth, scraping down the sides as needed.
- Step 3: Gently fold in the thawed whipped topping using a spatula, being careful to keep the mixture light and fluffy.
- Step 4: Spread the filling evenly into the chocolate graham cracker crust. Smooth the top with a spatula for an even surface.
- Step 5: Refrigerate the pie for at least 4 hours or preferably overnight to allow it to set properly.
- Step 6: Slice and serve the pie chilled. Optionally, top with whipped cream for extra indulgence.