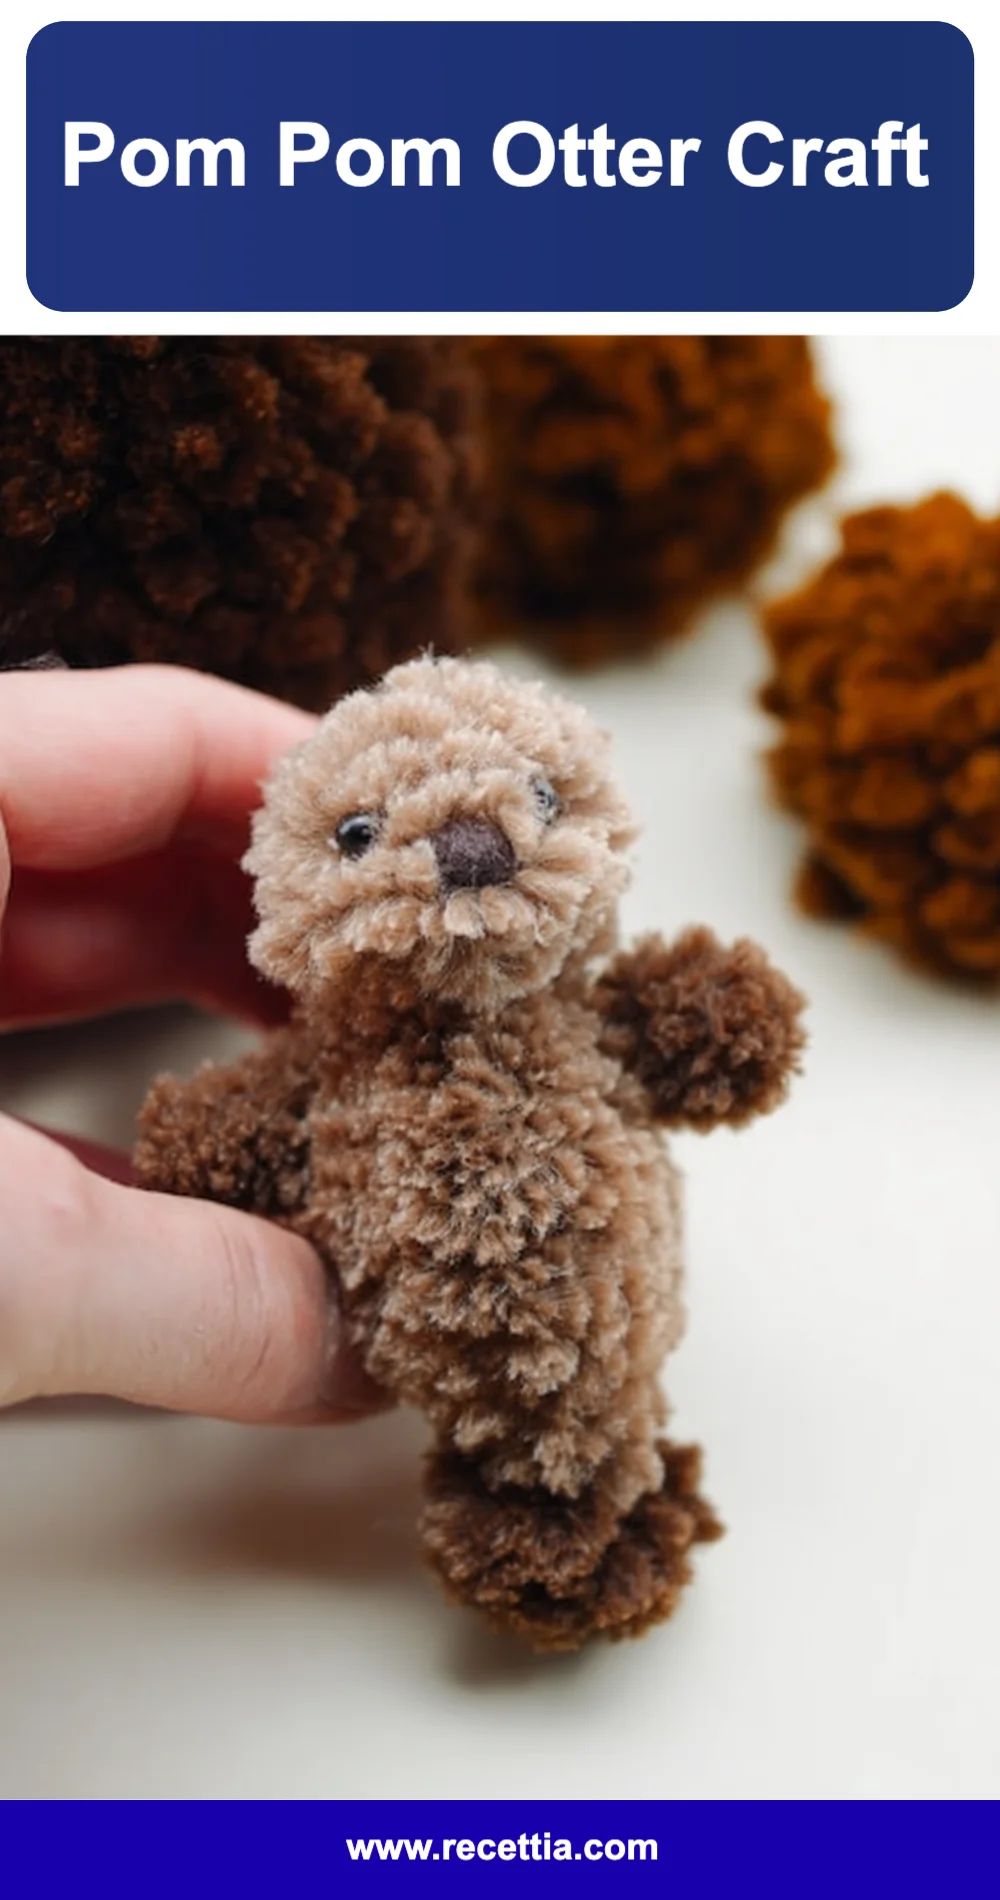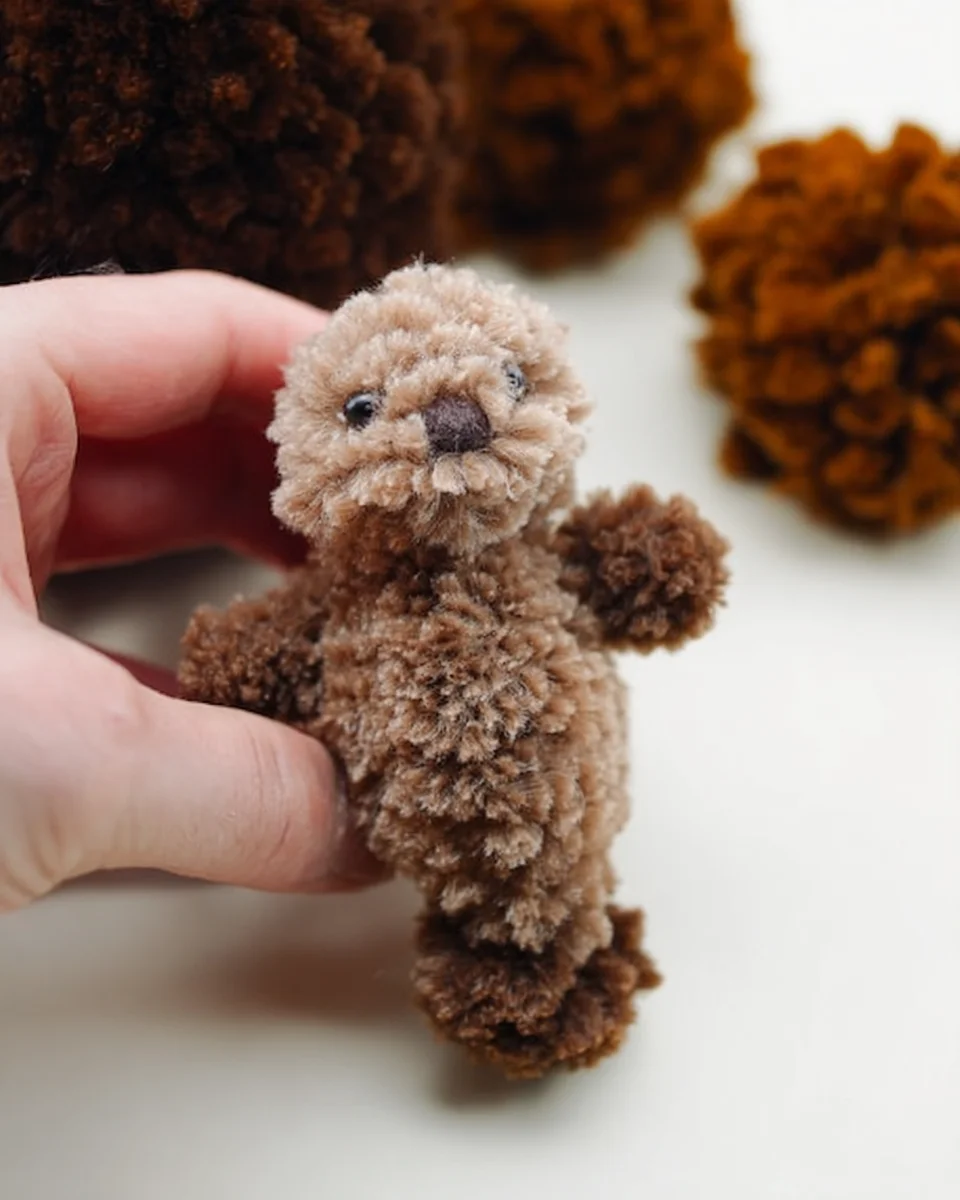
Remember those lazy afternoons spent crafting with friends or family? There’s something truly magical about creating something with your hands, especially when it’s as adorable as a Pom Pom Otter. This delightful craft is not only simple and quick to make, but it also brings a wave of nostalgia that will have you smiling as you work. Whether you’re a seasoned crafter or just looking for a fun activity to pass the time, you’ll find that this project is a joy to create and share.
Why You’ll Love Pom Pom Otter Craft
- Fast
- Easy
- Giftable
- Crowd-pleasing
Ingredients
Here’s what you’ll need to create your adorable Pom Pom Otter:
- Brown yarn: This will be the main color for your otter’s body.
- White yarn: Perfect for the belly and additional details.
- Black yarn: Use this for the eyes or any extra features you want to add.
- Scissors: Essential for cutting yarn and felt.
- Cardboard: You’ll need this to make your pom pom templates.
- Hot glue gun (or craft glue): To assemble your otter.
- Googly eyes (optional): These add a fun, whimsical touch.
- Felt: For making the ears and nose.
How to Make Pom Pom Otter Craft
Let’s dive into the fun part! Follow these steps to create your adorable Pom Pom Otter:
- Create Pom Pom Templates: Cut two circles out of cardboard. A diameter of about 3-4 inches is perfect for a medium-sized pom pom. Cut a smaller circle in the center of each circle to create a donut shape.
- Wrap Yarn: Take the brown yarn and wrap it around the donut-shaped template. Wrap it tightly and evenly until it is fluffy and full. The more you wrap, the thicker your pom pom will be.
- Cut Yarn: Once satisfied with the thickness, carefully cut the yarn along the outer edge of the cardboard. Hold the two cardboard pieces together while cutting to avoid losing the yarn.
- Tie the Pom Pom: Take a piece of yarn (about 10 inches long) and carefully slide it between the two cardboard pieces. Tie it tightly in a knot to secure the pom pom. Remove the cardboard templates.
- Shape the Pom Pom: Trim any uneven strands of yarn to make the pom pom round and fluffy.
- Make the Otter’s Face: Use a smaller piece of brown yarn to create a smaller pom pom for the otter’s head. Use white yarn to make two smaller pom poms for the otter’s belly.
- Create Ears and Nose: Cut out two small ear shapes from felt and a small triangle for the nose. Glue them onto the otter’s head pom pom.
- Attach Googly Eyes: If you have googly eyes, glue them onto the otter’s face. Alternatively, use small pieces of black yarn or felt to create eyes.
- Assemble the Otter: Glue the head pom pom onto the body pom pom. Then, attach the smaller white pom poms on the bottom for the belly.
- Final Touches: Add any additional decorations or details you like, such as whiskers made from thin yarn or felt.
Substitutions & Additions
If you want to get creative, consider using different colors of yarn to make a variety of otters or even other animals! You could also add accessories like tiny scarves or hats made from felt. The possibilities are endless!
Tips for Success
- Be patient when wrapping the yarn; a thicker pom pom will look fuller and fluffier.
- Try using different yarn textures for a unique look.
- Make sure to tie the pom pom tightly; this will keep it secure during trimming.
- If you’re crafting with kids, supervise the use of scissors and the hot glue gun.
How to Store Pom Pom Otter Craft
These cute little otters can be stored in a cool, dry place. If you want to keep them for a long time, consider placing them in a box or container to avoid dust. They can also make wonderful gifts, so feel free to share your creations with friends and family!
FAQs
Can I use other materials instead of yarn? Absolutely! You can use strips of fabric or even paper to create pom poms.
How long does it take to make one Pom Pom Otter? Generally, it takes about 30-45 minutes, depending on your crafting speed!
Can I make a larger otter? Yes! Just increase the size of your cardboard templates and use more yarn.
Crafting your Pom Pom Otter is not just a fun activity but also a great way to unwind and express your creativity. For more delicious recipes, check out the Cinnamon Orange Jam Linzer Cookies or the No-Bake Peanut Butter Pie for treats you will love!
Happy crafting, and don’t forget to check out our Pinterest for more fun ideas and inspiration!
Ingredients
Method
- Create Pom Pom Templates: Cut two circles out of cardboard. A diameter of about 3-4 inches is perfect for a medium-sized pom pom. Cut a smaller circle in the center of each circle to create a donut shape.
- Wrap Yarn: Take the brown yarn and wrap it around the donut-shaped template. Wrap it tightly and evenly until it is fluffy and full. The more you wrap, the thicker your pom pom will be.
- Cut Yarn: Once satisfied with the thickness, carefully cut the yarn along the outer edge of the cardboard. Hold the two cardboard pieces together while cutting to avoid losing the yarn.
- Tie the Pom Pom: Take a piece of yarn (about 10 inches long) and carefully slide it between the two cardboard pieces. Tie it tightly in a knot to secure the pom pom. Remove the cardboard templates.
- Shape the Pom Pom: Trim any uneven strands of yarn to make the pom pom round and fluffy.
- Make the Otter’s Face: Use a smaller piece of brown yarn to create a smaller pom pom for the otter’s head. Use white yarn to make two smaller pom poms for the otter’s belly.
- Create Ears and Nose: Cut out two small ear shapes from felt and a small triangle for the nose. Glue them onto the otter’s head pom pom.
- Attach Googly Eyes: If you have googly eyes, glue them onto the otter’s face. Alternatively, use small pieces of black yarn or felt to create eyes.
- Assemble the Otter: Glue the head pom pom onto the body pom pom. Then, attach the smaller white pom poms on the bottom for the belly.
- Final Touches: Add any additional decorations or details you like, such as whiskers made from thin yarn or felt.