Do you remember those magical afternoons as a kid, sitting by the window and watching colorful sunlight dance through stained glass or sparkling suncatchers? There’s something truly nostalgic and heartwarming about catching those beams of sunshine and seeing colors come alive right before your eyes. Today, I want to share a simple, fun, and absolutely charming craft that will bring that same joy into your home: the Clear Glue Turtle Suncatcher. It’s quick, easy, and perfect for all ages — trust me, once you make one, you’ll want to make a whole family of turtles lighting up your windows!
This project doesn’t just brighten your windows; it brightens your spirit. It’s a perfect way to introduce kids to crafting or to spend a cozy afternoon relaxing with a creative touch. Plus, it’s a fantastic gift idea that’s personal, handmade, and sure to impress without requiring a lot of time or fancy supplies.
Why You’ll Love Clear Glue Turtle Suncatcher
- Fast: You can whip this up in under an hour, though drying takes a bit longer.
- Easy: No complicated tools or messy techniques—perfect for beginners or kids.
- Giftable: These suncatchers make unique, thoughtful gifts for friends, family, or teachers.
- Crowd-pleasing: Bright, colorful, and fun—everyone loves them!
Ingredients
Now, let’s talk about the ingredients you’ll need. The beauty of this craft is that the supplies are simple and budget-friendly. Here’s what you’ll want to gather:
- Black construction paper: This will serve as your turtle’s frame and outline, creating that lovely stained-glass effect when the colors shine through.
- Wax paper or plastic sheet: Acts as your “canvas” to hold the clear glue and colors together while drying.
- Clear glue: The heart of the suncatcher! It dries transparent and holds everything in place.
- Food coloring or liquid watercolors: These bring your suncatcher to life with vibrant hues. I love mixing the colors directly on the glue for a natural, flowing look.
- Glitter or sequins (optional): For a little extra sparkle that catches the sunlight beautifully.
- Paintbrush or dropper: To apply the glue and color drops precisely.
If you happen to have kids with a flair for colors, liquid watercolors can give you those rich, bright tones, but food coloring works just as well for a more classic look. I often like to keep a small stash of glitter on hand for projects like this—it adds just the right amount of magic without being overwhelming.
How to Make Clear Glue Turtle Suncatcher
Ready to get started? This step-by-step guide will walk you through the process. Don’t worry, it’s easier than it sounds, and I’ll share little tips along the way to make sure your suncatcher turns out beautifully.
- Draw and cut out your turtle template: Using the black construction paper, sketch a turtle outline. It doesn’t have to be perfect—this is a craft, after all! Once drawn, carefully cut it out to create a sturdy frame. I like to make the shell and legs bold enough to hold the glue without breaking.
- Prepare your workspace: Lay the wax paper or plastic sheet down on a flat surface. Place your black turtle template underneath so you can see the outline through the wax paper.
- Apply the clear glue: Using a paintbrush or dropper, carefully spread clear glue over the turtle outline on the wax paper. Try to stay within the lines of the turtle so the colors don’t bleed outside the frame.
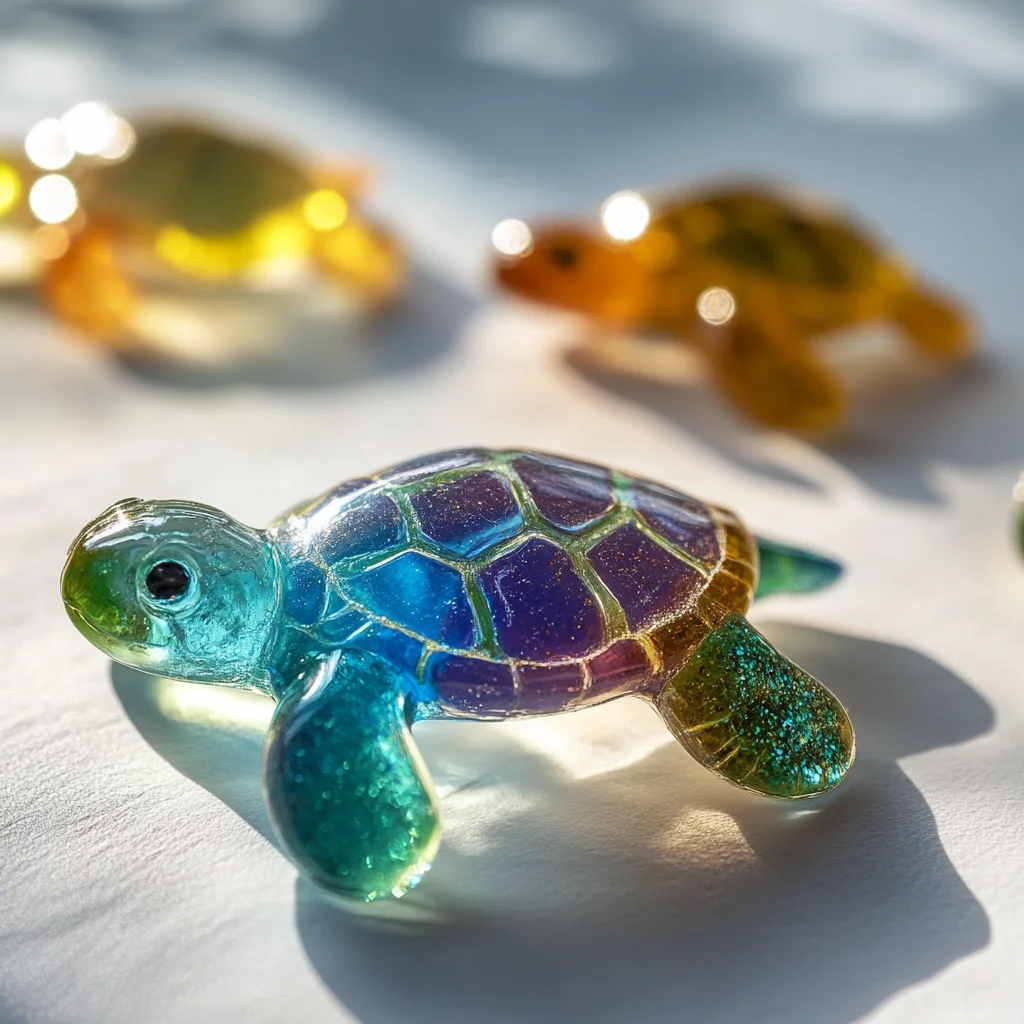
- Add color drops: Drop food coloring or liquid watercolors onto the wet glue. Let the colors mingle naturally—you can even tilt the wax paper slightly to encourage blending. This part is so fun because no two suncatchers will ever look the same!
- Sprinkle glitter or sequins (optional): If you want a little sparkle, sprinkle some glitter or place sequins onto the glue while it’s still wet. It catches the sun beautifully and adds a whimsical touch.
- Drying time: Allow your suncatcher to dry completely. This can take several hours or even overnight, so be patient. I usually leave mine on a flat surface in a sunny spot to speed up the drying process.
- Remove and hang: Carefully peel the suncatcher off the wax paper. It should come off gently without sticking. Now, find a sunny window, grab a suction cup hook or string, and hang your colorful turtle so it can catch the light.
The first time I made this, I was amazed at how the simple materials transformed into something so bright and beautiful. If you want a bit more inspiration on easy crafts that light up your day, you might enjoy checking out the blue crayon suncatchers for another colorful twist!
Substitutions & Additions
One of the best parts about this project is how customizable it is. While the recipe calls for a specific set of materials, feel free to get creative with substitutions or add-ons to make the suncatcher your own.
- Paper alternatives: Instead of black construction paper, you can try dark cardstock or even thin cardboard for a sturdier frame. Just make sure it’s thick enough to hold up during the glue and drying.
- Color options: Don’t limit yourself to just food coloring or liquid watercolors. Acrylic paints diluted with water can work if you want richer colors, though they may take longer to dry.
- Texture and shine: Add tiny beads, small pieces of tissue paper, or glitter glue for fun textures.
- Shape variations: While turtles are adorable, why not try other designs like butterflies, stars, or even hearts? This craft is perfect for holidays or special occasions—for example, check out these DIY melted crayon stars for a similar effect in a different shape.
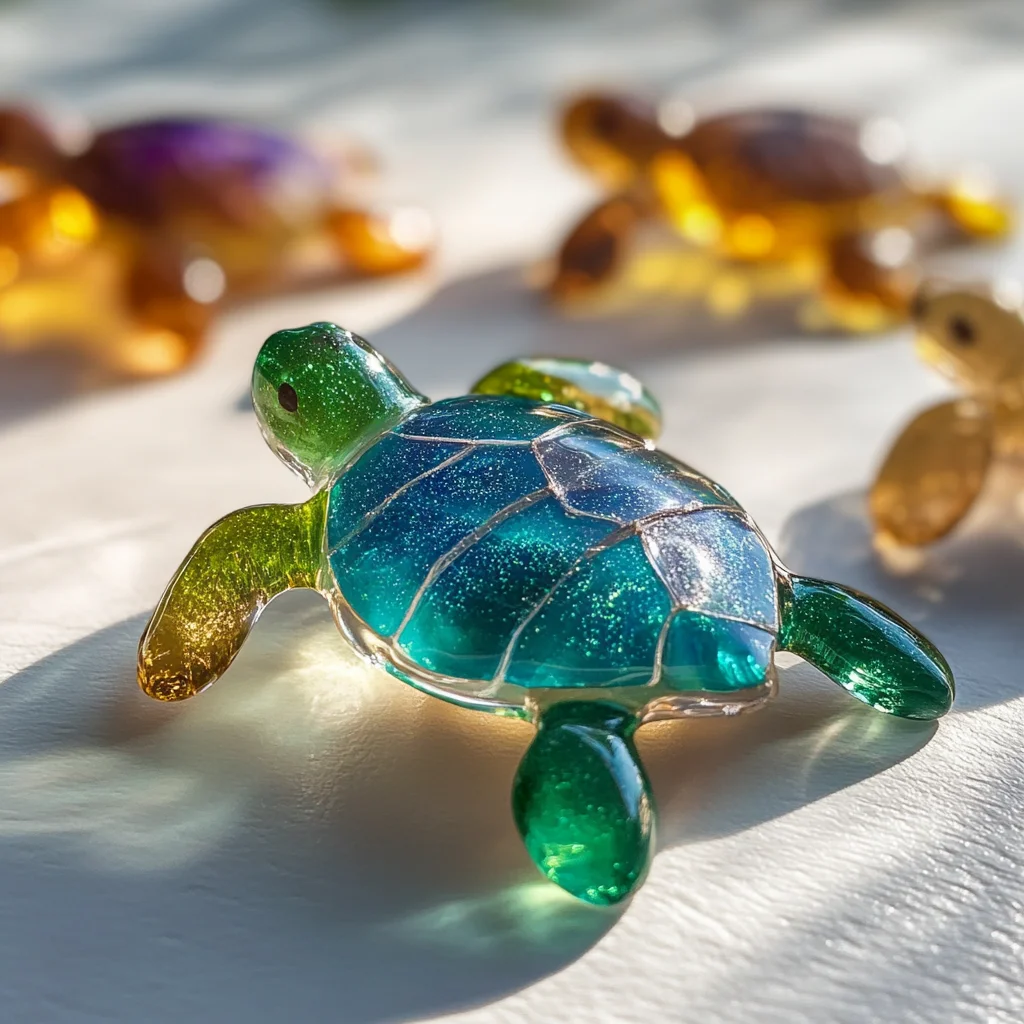
Personally, I like mixing a bit of turquoise and green food coloring for the turtle shell to mimic real turtle colors, then sprinkling a light dusting of glitter to add that sun-kissed shimmer. It’s all about experimenting and having fun!
Tips for Success
Making your own suncatcher is a breeze, but I’ve learned a few tricks along the way that really help the process go smoothly and ensure your finished piece shines beautifully.
- Don’t rush the drying: Clear glue needs time to harden fully. If you peel it off too soon, it might be sticky or tear. Overnight drying is best.
- Use minimal glue at first: Applying too much glue can cause puddling and longer drying times. A thin, even layer works best.
- Protect your workspace: Lay down newspaper or a plastic tablecloth to catch any drips or spills. It’s easy to clean up but better to be safe!
- Test colors on a small spot: Some food colorings are more vibrant than others. Try a tiny drop first to see how it looks once dry.
- Prep ahead: You can cut out multiple turtle frames in advance and store them flat in a folder. This way, when you’re ready to craft, everything’s prepared.
If you love crafts like this, pairing your suncatcher afternoon with a delicious treat is the ultimate cozy combo! You might want to try the easy pecan pie recipe for a sweet snack while you work.
How to Store Clear Glue Turtle Suncatcher
Once your suncatcher is dry, you’ll want to keep it safe so it lasts and continues to brighten up your space for months or even years. Here’s how to store it properly:
- Avoid direct pressure: The dried glue can be delicate, so don’t stack heavy items on top.
- Flat storage: Store your suncatcher flat between sheets of wax paper or parchment paper to prevent sticking and bending.
- Cool, dry place: Keep it away from high humidity areas, which can affect the glue’s integrity over time.
- Long-term display: Hanging your suncatcher in a sunny window is best for showing it off. Just be mindful of extreme heat or cold near windows that could cause warping.
With proper care, these suncatchers make lovely keepsakes or seasonal decorations that you can even gift year after year without losing their charm.
FAQs
Q: Can I use school glue instead of clear glue?
A: It’s best to use a clear-drying glue because white school glue often dries cloudy and won’t let the colors shine through as beautifully.
Q: How long does it take for the suncatcher to dry completely?
A: Drying times can vary, but expect at least 6-8 hours. Overnight drying ensures the glue hardens fully.
Q: Can I reuse the black paper template?
A: Yes! If you laminate it or cover it with clear tape, it can be reused multiple times to make more turtles.
Q: Is this craft safe for young children?
A: Absolutely! Just supervise small kids when handling scissors and glue. It’s a great project for developing fine motor skills and creativity.
Making this Clear Glue Turtle Suncatcher was such a joyful experience for me, and I hope you find the same delight in creating your own colorful masterpieces. If you love crafts that bring a splash of color and happiness, check out more fun ideas like the DIY color-changing crystal stones for an exciting twist on homemade decor.
Thanks for stopping by, friend! Don’t forget to share your beautiful suncatchers with loved ones or on social media—there’s nothing like spreading a little sunshine.
And hey, if you want to see even more creative inspiration and easy projects, be sure to follow us on Pinterest. It’s a treasure trove of ideas waiting for you!
Clear Glue Turtle Suncatcher
Ingredients
Equipment
Method
- Step 1: Draw and cut out a turtle template from black construction paper to create the frame and outline.
- Step 2: Lay wax paper or plastic sheet on a flat surface and place the black turtle template underneath so the outline is visible through the wax paper.
- Step 3: Using a paintbrush or dropper, carefully spread clear glue over the turtle outline on the wax paper, staying within the lines.
- Step 4: Drop food coloring or liquid watercolors onto the wet glue, allowing colors to mingle naturally. Tilt the wax paper slightly to encourage blending.
- Step 5: Optionally, sprinkle glitter or sequins onto the glue for added sparkle while still wet.
- Step 6: Allow the suncatcher to dry completely, which can take several hours or overnight.
- Step 7: Carefully peel the dried suncatcher off the wax paper and hang it in a sunny window to catch the light.