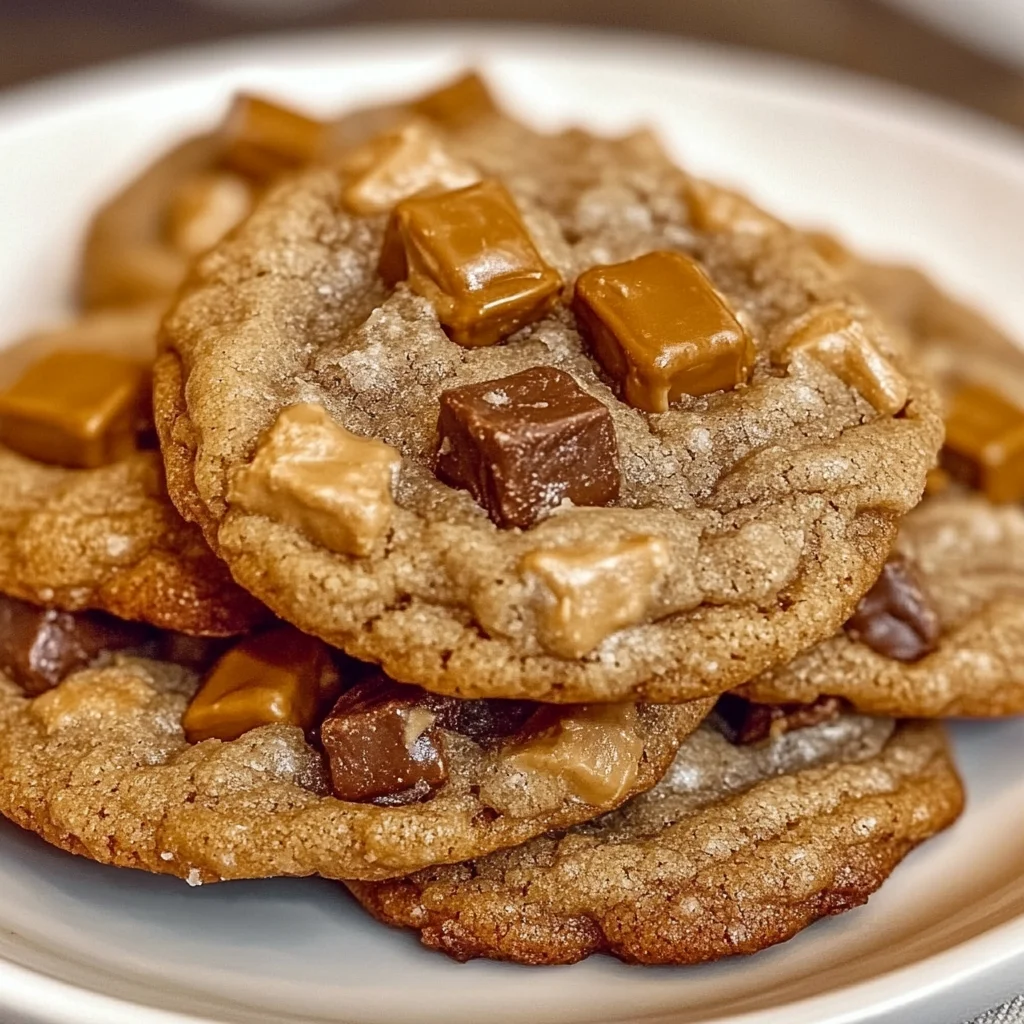
There’s something magical about the smell of freshly baked cookies wafting through the kitchen — it’s like an instant hug from childhood. Whenever I bake these Peanut Butter Butterfinger Cookies, I’m instantly transported back to cozy afternoons spent with friends, sharing laughs and sweet bites. These cookies are not just any peanut butter cookies; they have that delightful crunch and buttery sweetness from Butterfinger candy bars folded right inside. If you’re looking for a cookie that’s quick to whip up but unforgettable in flavor, you’re in the right place.
What I love most about this recipe is how easy it is to make, even when you’re juggling a million things. Plus, the combination of creamy peanut butter and crunchy Butterfinger candy gives these cookies a fun, nostalgic twist that everyone seems to adore. Whether you’re baking for a last-minute gathering or want to surprise your family with a special treat, these cookies are sure to become a favorite. Let me walk you through everything you need to know to bake these perfect cookies — from ingredients to storage, substitutions, and helpful tips along the way.
Why You’ll Love Peanut Butter Butterfinger Cookies
- Fast: They come together quickly, with no complicated steps.
- Easy: Simple ingredients and straightforward instructions make baking a breeze.
- Giftable: These cookies make a thoughtful homemade gift that anyone would love to receive.
- Crowd-pleasing: The crunchy candy bits inside make them a hit at parties and family gatherings.
Ingredients
Before you start baking, let’s talk about the ingredients you’ll need and why they matter:
- Unsalted Butter (¾ cup, softened): Using unsalted butter lets you control the salt level. Softening it to room temperature ensures it creams perfectly with the sugars for a light, fluffy dough.
- Granulated Sugar (½ cup) & Light Brown Sugar (½ cup): The mix of sugars balances sweetness and moisture. Brown sugar adds a slight caramel flavor and chewiness.
- Creamy Peanut Butter (1 cup): The heart of these cookies! Creamy peanut butter blends smoothly with butter and sugar, creating that classic rich flavor.
- Large Egg (room temperature): Eggs bind the dough and add moisture, making the cookies tender.
- Pure Vanilla Extract (1½ teaspoons): Vanilla enhances all the flavors, giving the cookies a warm, homemade aroma.
- All-Purpose Flour (1½ cups): The structure of your cookies. Spoon and level the flour for accuracy and to avoid dense cookies.
- Baking Soda (½ teaspoon) & Baking Powder (½ teaspoon): These leavening agents help the cookies rise just right — giving you thick, soft centers with lightly crisp edges.
- Kosher Salt or Fine Sea Salt (¼ teaspoon): Salt balances the sweetness and brings out the peanut butter flavor.
- Butterfinger Candy Bars (16 ounces, coarsely chopped): The star add-in! These crunchy, peanut-buttery candy pieces melt slightly but hold their texture, making every bite exciting.
How to Make Peanut Butter Butterfinger Cookies
Ready to bake? Follow these simple steps, and I’ll share a few little tricks I’ve picked up along the way:
- Cream the Butter and Sugars: Start by beating your softened butter on medium speed until it’s smooth and creamy. Then add both sugars and beat on medium-high for about 2-3 minutes until the mixture is light and fluffy. Don’t forget to scrape down the bowl to mix everything evenly.
- Add Peanut Butter, Egg, and Vanilla: Mix in the creamy peanut butter until fully combined. Then add your egg and vanilla extract, blending until everything is incorporated. This step is where the dough starts to come alive with flavor.
- Prepare the Dry Ingredients: Spoon the flour into your bowl without mixing. Sprinkle the baking soda, baking powder, and salt evenly over the flour, then whisk them gently with a fork. This helps distribute the leavening agents so your cookies bake evenly.
- Combine Wet and Dry Ingredients: Mix on low speed until only a few streaks of flour remain. Be careful not to overmix — overworked dough can lead to tougher cookies. Scrape the sides and bottom of the bowl to make sure everything is well blended.
- Fold in the Butterfinger Pieces: Add the chopped Butterfinger candy and mix gently on low speed for just 5-10 seconds, or fold in by hand. You want the candy pieces evenly distributed but not broken down too much.
- Shape and Chill the Dough: Use a large cookie scoop (about 3 tablespoons) to form dough balls. For thicker cookies, roll the dough taller rather than wider. Place the balls on a parchment-lined baking sheet and chill them in the refrigerator for at least 30 minutes. This step helps prevent spreading during baking, giving you those perfectly thick cookies.
- Bake Your Cookies: Preheat your oven to 350°F (175°C) while the dough chills. Arrange the chilled dough balls on parchment-lined baking sheets, spacing them at least 3 inches apart. Bake for 10-13 minutes until the edges are set and lightly golden but the centers still feel soft.
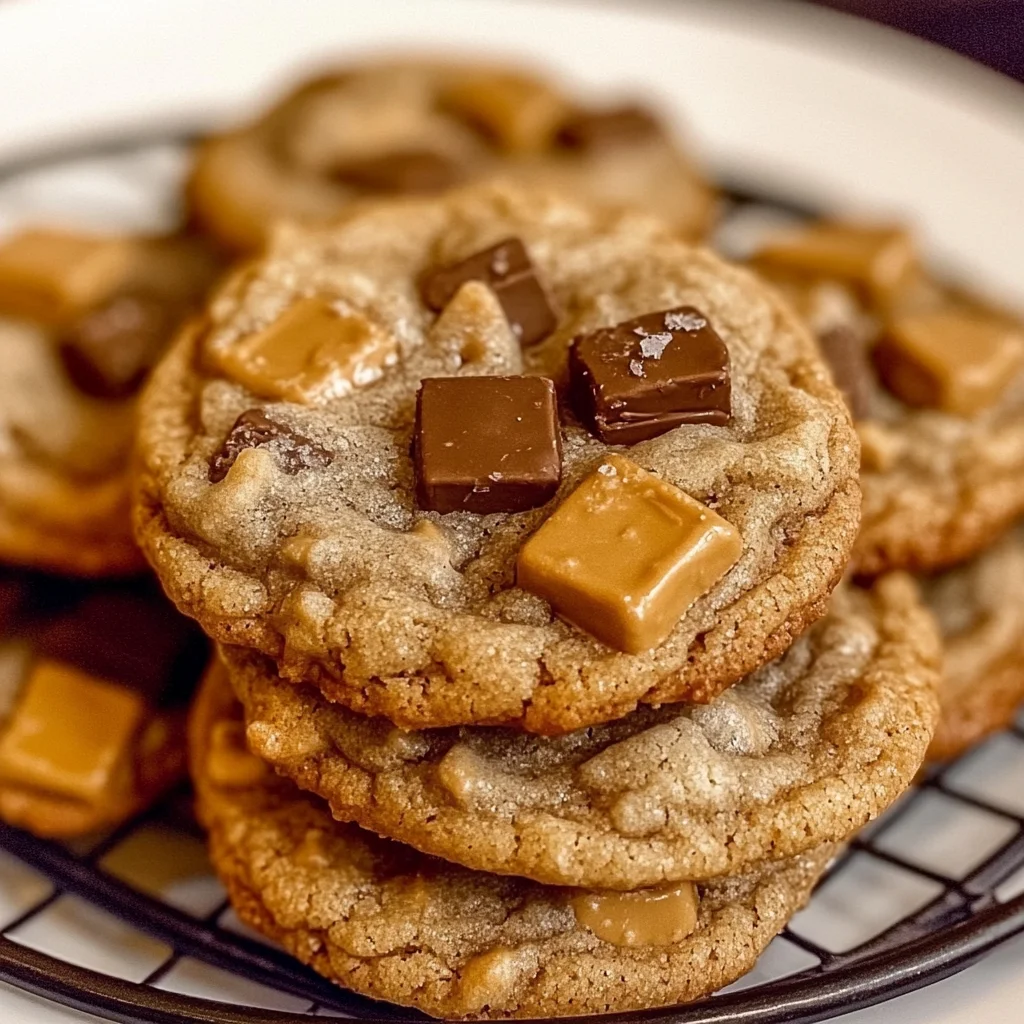
- Shape and Cool: When you take the cookies out, gently tap the baking sheet on the counter to deflate them slightly. Use the edge of a spoon or spatula to scoot the edges inward, shaping the cookies thicker and more uniform — this little trick makes a huge difference in presentation! Let them cool on the baking sheet for 10 minutes, then transfer to a wire rack to cool completely.
Substitutions & Additions
Feel free to customize this recipe to suit your taste or what you have on hand. Here are some ideas I love to mix in or swap out:
- Peanut Butter Alternatives: If you’re not a peanut butter fan, try almond butter or sunflower seed butter for a twist. Keep in mind the flavor will change, but the texture should stay similar.
- Candy Variations: Instead of Butterfinger, chopped Heath bars or Reese’s Pieces add a different kind of crunch and flavor. For a chocolatey spin, toss in some chocolate chips alongside the candy.
- Nut-Free Version: Use a seed butter like sunflower seed butter and swap out candy for your favorite nut-free chocolate or toffee bits.
- Extra Crunch: Add a handful of chopped roasted peanuts or pretzel pieces for even more texture contrast.
- Chocolate Drizzle: Once cooled, drizzle melted chocolate over the cookies for an elegant finish and extra indulgence.
Tips for Success
I’ve baked these cookies dozens of times, so here are some insider tips to help you get them just right:
- Don’t Skip Chilling: Chilling the dough is crucial for thick, chewy cookies. It also helps the Butterfinger pieces stay intact instead of melting into the dough.
- Softened Butter is Key: Make sure your butter is soft but not melted. It should be easy to press with your finger without sinking in completely.
- Use a Cookie Scoop: For uniform cookies and even baking, a large cookie scoop is your best friend. It saves time and keeps portions consistent.
- Watch Your Bake Time: These cookies look soft when you take them out, but they firm up as they cool. Avoid overbaking to keep that perfect chewy center.
- Shape While Warm: The step of gently tapping the baking sheet and scooting the edges inward right after baking is a game changer. It gives your cookies a professional, thick look without flattening.
- Prep Ahead: You can make the dough and freeze it in balls wrapped in plastic wrap. When ready, bake straight from the freezer, adding a few extra minutes to the baking time.
How to Store Peanut Butter Butterfinger Cookies
Once you’ve baked these beauties, you’ll want to keep them fresh and tasty for as long as possible. Here’s what I do:
- Room Temperature: Store cooled cookies in an airtight container at room temperature for up to 4 days. Place a slice of bread in the container to help keep them soft — it’s a simple trick that really works!
- Refrigeration: If you like your cookies a bit firmer, store them in the fridge in an airtight container for up to a week. Just bring them back to room temperature before serving for the best texture.
- Freezing: These cookies freeze wonderfully. Place them in a single layer on a baking sheet to freeze, then transfer to a freezer-safe bag or container. They keep well for up to 3 months. Thaw at room temperature before enjoying.
FAQs
Can I use crunchy peanut butter instead of creamy?
You can, but I recommend creamy for the best dough consistency. Crunchy peanut butter will add extra texture but might make the dough a bit more crumbly. If you love crunch, try adding chopped nuts instead.
What if I don’t have Butterfinger bars? Can I use something else?
Absolutely! You can use any crunchy candy bar like Heath bars, Snickers, or even chopped toffee bits. Just keep the quantity about the same to maintain the right balance.
Why do I need to tap the baking sheet after baking?
This little step deflates the cookies just enough so they don’t puff up too much and keeps their shape nice and thick. It’s a neat trick I learned from a bakery-style recipe that really elevates the look and texture.
Can I make these cookies gluten-free?
Yes! Substitute the all-purpose flour with a gluten-free blend that measures cup-for-cup. Just make sure it contains xanthan gum or a similar binder for the best results.
Once you’ve mastered these Peanut Butter Butterfinger Cookies, you might want to explore other delicious recipes on Recettia. If you’re looking for your next baking adventure, their easy pecan pie recipe is an absolute delight, perfect for cozy holidays or anytime you want a rich, nutty treat. And if you’re craving something with a tropical twist, the pineapple cream cheese pound cake recipe is a sweet and moist crowd-pleaser that pairs wonderfully with a cup of tea or coffee.
These cookies have become one of my go-to treats when I want something quick, satisfying, and unique — and I hope they become yours too. Happy baking, friend!
Don’t forget to check out more sweet inspirations and kitchen fun on Pinterest!
Peanut Butter Butterfinger Cookies
Ingredients
Equipment
Method
- Step 1: Preheat oven to 350°F (175°C). Line baking sheets with parchment paper.
- Step 2: Cream softened butter on medium speed until smooth. Add granulated and brown sugars and beat on medium-high for 2-3 minutes until light and fluffy. Scrape down bowl as needed.
- Step 3: Mix in creamy peanut butter until fully combined. Add egg and vanilla extract, blending well.
- Step 4: Spoon flour into a bowl. Sprinkle baking soda, baking powder, and salt over the flour and whisk gently to combine.
- Step 5: Mix dry ingredients into wet on low speed until just combined with a few streaks of flour remaining. Scrape sides and bottom of bowl to ensure even mixing.
- Step 6: Fold in chopped Butterfinger pieces gently by hand or mix on low speed for 5-10 seconds, distributing candy evenly.
- Step 7: Use a large cookie scoop (~3 tablespoons) to form dough balls. For thicker cookies, roll dough taller rather than wider. Place balls on prepared baking sheets.
- Step 8: Chill dough balls in the refrigerator for at least 30 minutes to prevent spreading and ensure thick cookies.
- Step 9: Bake cookies for 10-13 minutes until edges are set and lightly golden but centers remain soft.
- Step 10: Immediately after baking, gently tap the baking sheet on the counter to deflate cookies slightly. Use a spoon or spatula edge to scoot edges inward for a thicker shape.
- Step 11: Let cookies cool on the baking sheet for 10 minutes, then transfer to a wire rack to cool completely.