Oh, friend, there are just some desserts that take you right back, aren’t there? For me, this No-Bake Peanut Butter Pie is one of those magical recipes. It reminds me of summer potlucks, easy family gatherings, and those times when you just need something sweet, creamy, and utterly delicious, but don’t want to turn on the oven. This pie? It’s a lifesaver! It comes together in a snap, chills to perfection, and delivers that unbeatable peanut butter goodness in every single bite. Trust me, once you make this, it’ll become your go-to whenever a craving for pure comfort strikes. If you’re new to the world of no-bake desserts, prepare to be amazed, and if you love them as much as I do, you’ll want to check out our recipe for Easy No-Bake Caramel Pretzel Bars next!
Why You’ll Love No Bake Peanut Butter Pie
- Fast: Seriously, just minutes of active prep time!
- Easy: No baking, no complicated steps, just pure dessert joy.
- Giftable: It makes a beautiful, impressive gift for neighbors or hosts.
- Crowd-pleasing: Who doesn’t love peanut butter and chocolate? It’s a universal winner!
Ingredients
- 8 ounces (225 g) cream cheese, softened to room temperature: This is your creamy base, so make sure it’s lovely and soft for a lump-free filling.
- 1 ¼ cups (660 g) creamy peanut butter, divided: The star of the show! We’ll use most of it for the filling and a little extra for that dreamy drizzle on top. Stick to creamy for the silkiest texture.
- ¾ cup (90 g) powdered sugar: Also known as confectioners’ sugar. This sweetens the pie and helps create that smooth, melt-in-your-mouth consistency.
- 8 ounces (750 ml) whipped topping, thawed: Like Cool Whip! Thaw it in the fridge for a few hours before you start so it’s perfectly light and fluffy.
- 1 9-inch chocolate graham cracker crust: The perfect companion to peanut butter. You can find these pre-made in most grocery stores, making this recipe even easier!
- 1 cup mini peanut butter cups, chopped (optional): For an extra layer of peanut butter bliss and a little textural fun. Don’t skip these if you’re a true fan!
How to Make No Bake Peanut Butter Pie
Ready to whip up some magic? Let’s do this!
- First things first, grab a large mixing bowl. You’ll want to add your softened cream cheese, 1 cup of that glorious creamy peanut butter, and the powdered sugar. Now, get out your electric mixer and beat these ingredients together until everything is wonderfully smooth and combined. No lumps allowed!
- Next, it’s time to gently fold in the thawed whipped topping. You want to be delicate here – imagine you’re folding clouds into your peanut butter mixture. This keeps the pie light and airy, not dense. Mix until it’s just fully combined, don’t overdo it.
- Once your filling is perfectly blended, carefully spoon it into your waiting chocolate graham cracker crust. Use a spatula to gently spread it out, making sure the top is nice and smooth. It doesn’t have to be perfect, but a smooth surface makes for a pretty slice!
- Now comes the hardest part: the waiting game! Pop that pie into the refrigerator for at least 4 hours. Better yet, let it chill overnight. This is crucial for the pie to set up beautifully firm, so it holds its shape when you slice into it.
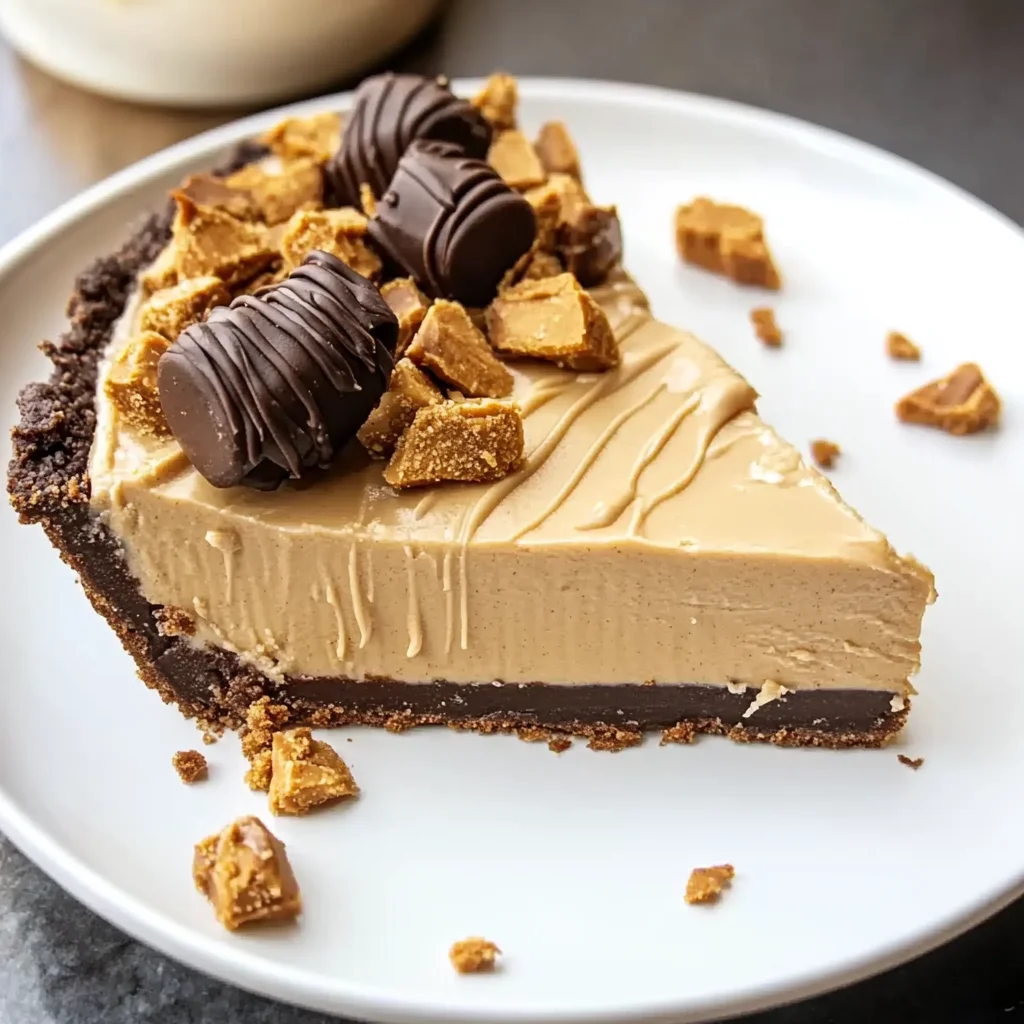
- Just before you’re ready to serve, grab those chopped mini peanut butter cups and sprinkle them generously over the top of the pie. For an extra touch of decadence, take the remaining ¼ cup of peanut butter, melt it slightly (a few seconds in the microwave works wonders!), and drizzle it artfully over the pie.
Substitutions & Additions
This pie is fantastic as is, but don’t be afraid to get creative and make it your own!
- Crust Swaps: Not a chocolate graham cracker fan? No problem! An Oreo crust or even a classic graham cracker crust would work beautifully.
- Extra Chocolate: Drizzle with chocolate syrup or a homemade chocolate ganache for an even more intense chocolate-peanut butter experience.
- Nutty Crunch: If you secretly love a bit of crunch, feel free to use crunchy peanut butter in the filling (though it won’t be quite as silky smooth), or sprinkle some chopped roasted peanuts on top with the peanut butter cups.
- Candy Craze: Instead of or in addition to mini peanut butter cups, try chopped Snickers, Reese’s Pieces, or even mini chocolate chips!
- A Touch of Salt: A tiny sprinkle of flaky sea salt over the top before serving really enhances the sweet and savory notes of the peanut butter. It’s a game-changer! And if you’re a true peanut butter fanatic, you might also go wild for our No-Bake Reese’s Peanut Butter Bars or even a fun Easy Peanut Butter Cup Dump Cake.
Tips for Success
- Softened Cream Cheese is Key: I really can’t stress this enough! If your cream cheese isn’t at room temperature, it won’t beat smooth, and you’ll end up with lumps in your filling.
- Don’t Overmix the Whipped Topping: Gentle folding preserves the airiness. Overmixing can deflate it and make your pie less fluffy.
- Chill Time is Your Friend: Resist the urge to cut into it early! The full chill time allows the pie to firm up properly, ensuring clean, beautiful slices.
- Prep Ahead: This pie is an absolute dream for entertaining because you can make it a day or even two in advance. Just cover it loosely with plastic wrap and keep it in the fridge.
How to Store No Bake Peanut Butter Pie
Once your masterpiece is complete, you’ll want to keep it fresh! Store any leftover No-Bake Peanut Butter Pie tightly covered with plastic wrap or in an airtight container in the refrigerator for up to 3-4 days. While you can freeze this pie (it makes a fantastic frozen treat!), the texture of the whipped topping can change slightly when thawed, becoming a bit softer. If freezing, wrap the entire pie (or individual slices) tightly in plastic wrap and then foil. It will last in the freezer for up to 1 month. Let it thaw in the fridge for a few hours before serving.
FAQs
Q: Can I use chunky peanut butter?
A: While creamy peanut butter gives the smoothest texture, you absolutely can use chunky if you prefer a little more bite and texture in your pie. It’s all about personal preference!
Q: Can I make my own chocolate graham cracker crust?
A: You bet! If you’re feeling ambitious, simply crush about 1 ½ cups of chocolate graham crackers (or Oreos!), mix with ¼ cup melted butter and 2 tablespoons of sugar, then press into a 9-inch pie plate. Chill for 30 minutes before adding the filling.
Q: How far in advance can I make this pie?
A: This pie is perfect for making ahead! You can prepare the entire pie, including toppings, up to 24 hours in advance. Just keep it covered in the refrigerator until serving.
Q: Is this pie gluten-free?
A: Not with a standard graham cracker crust. However, you can easily make it gluten-free by using a gluten-free chocolate cookie crust or a nut-based crust.
For more delicious and easy recipes, make sure to follow us on Pinterest!
No-Bake Peanut Butter Pie
Ingredients
Equipment
Method
- Step 1: In a large mixing bowl, combine softened cream cheese, 1 cup of creamy peanut butter, and powdered sugar. Beat with an electric mixer until wonderfully smooth and combined.
- Step 2: Gently fold in the thawed whipped topping until just fully combined. Be delicate to keep the mixture light and airy.
- Step 3: Carefully spoon the filling into the chocolate graham cracker crust. Use a spatula to gently spread it out, making sure the top is smooth.
- Step 4: Refrigerate the pie for at least 4 hours, or preferably overnight, to allow it to set up beautifully firm.
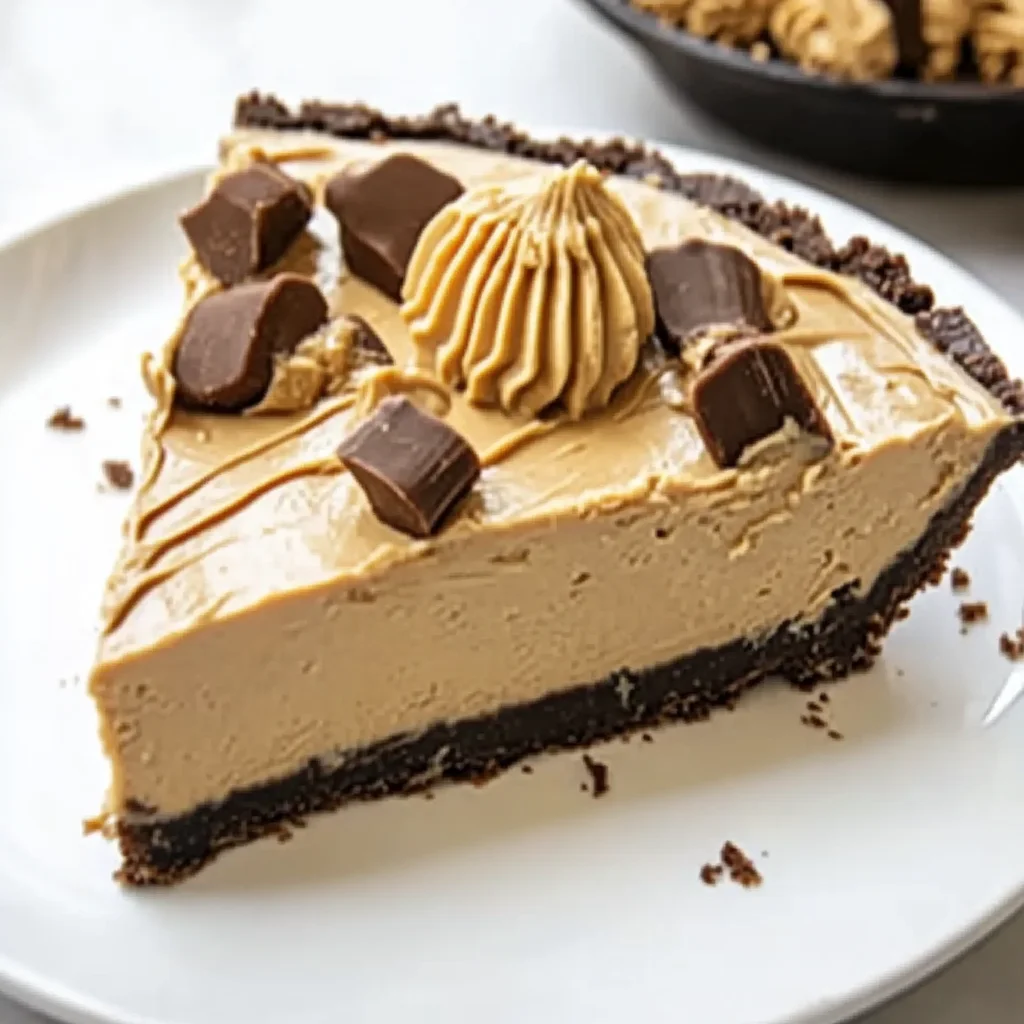
- Step 5: Just before serving, sprinkle chopped mini peanut butter cups generously over the top. For an extra touch, melt the remaining ¼ cup of peanut butter slightly and drizzle it artfully over the pie.