There’s something truly magical about creating sweets that warm the heart and bring a smile to anyone who tastes them. Valentine’s Day is the perfect occasion to whip up a batch of cozy, delightful treats that feel made just for sharing love—and what better than a rich, creamy, and beautifully swirled Valentine Hearts Fudge? I still remember the first time I made fudge with my grandma; it was a messy, joyful afternoon filled with laughs, sticky fingers, and that unforgettable chocolate aroma filling the kitchen. This Valentine Hearts Fudge recipe brings back that same nostalgic feeling but with a playful, festive twist that’s perfect for gifting or cozying up with someone special.
What I love most about this fudge is how easy and quick it is to make—no complicated candy thermometers or endless stirring required. Plus, the pink swirl adds a charming, romantic touch that makes it irresistible. Whether you’re new to fudge-making or a seasoned pro, this recipe is a keeper. And if you’re looking for other sweet treats to pair with your fudge, I highly recommend checking out the Strawberry Cream Cheese Pound Cake for a luscious dessert duo.
Why You’ll Love Valentine Hearts Fudge
- Fast: Ready in under 30 minutes (plus chilling time!), perfect for last-minute gifts.
- Easy: No candy thermometer or stovetop fuss—just microwave and mix.
- Giftable: Beautiful heart-shaped pieces that make a sweet homemade gift.
- Crowd-pleasing: A perfect blend of rich chocolate and creamy white chocolate with a festive flair.
Ingredients
Let’s talk about the stars of this recipe. You’ll find everything you need is simple, easy to find, and comes together to create that classic fudgy texture with a lovely Valentine’s Day vibe.
- Semi-sweet chocolate chips (2 cups): These give the base layer that rich, deep chocolate flavor we all crave in fudge.
- Sweetened condensed milk: You’ll use a whole 14 oz can for the chocolate layer and half a cup for the pink swirl. This ingredient is the secret to fudge’s creamy, smooth texture without needing to cook sugar to a specific stage.
- Unsalted butter (2 tbsp): Adds richness and helps the fudge set perfectly.
- Vanilla extract (1 tsp + ½ tsp): A splash of vanilla brightens and rounds out the chocolate and white chocolate flavors.
- Pinch of salt: Just a tiny bit to balance all the sweetness.
- White chocolate chips (1 cup): For the pink swirl—melts smoothly and tastes sweet and creamy.
- Gel food coloring (2 drops): Pink or red to create that festive Valentine’s look. I recommend gel coloring because it won’t thin out your fudge like liquid food coloring can.
- Decoration: Crushed nuts, dried raspberries, or cookie crumbs add texture and a lovely finishing touch. And if you want to get fancy, heart sprinkles or edible shimmer bring that extra sparkle!
How to Make Valentine Hearts Fudge
Now, let’s get into the fun part—making your fudge! I’ll walk you through every step, so you feel confident and ready to impress your loved ones.
1. Preheat and Prepare Your Pan
Start by lining an 8×8-inch baking pan with parchment paper. Make sure to leave an overhang on the sides—this makes lifting the whole block of fudge out a breeze when it’s time to cut. Lightly grease the parchment paper with butter or nonstick spray so the fudge doesn’t stick. Trust me, this little step saves a lot of frustration later!
2. Make the Chocolate Fudge Layer
In a microwave-safe bowl, combine your semi-sweet chocolate chips, butter, and the full can of sweetened condensed milk. Microwave in short bursts of 20 to 30 seconds, stirring well between each session. This keeps the chocolate from burning and helps it melt evenly. Once smooth and glossy, stir in the vanilla extract and a pinch of salt. The salt is subtle but essential—it cuts through the sweetness and deepens the chocolate flavor.
3. Pour and Level the Chocolate Layer
Pour the chocolate mixture into your prepared pan and use a spatula to spread it evenly. Don’t worry if it’s not perfectly smooth—any imperfections will look charming under the pink swirl. Let this layer rest at room temperature for a few minutes while you prepare the next step.
4. Prepare the Pink Swirl Layer
In a separate microwave-safe bowl, melt the white chocolate chips together with half a cup of sweetened condensed milk. Again, use short bursts in the microwave, stirring frequently until the mixture is silky smooth. Add the vanilla extract and then the gel food coloring, stirring gently until the color looks just right—a soft, romantic pink works beautifully.
5. Create the Swirls
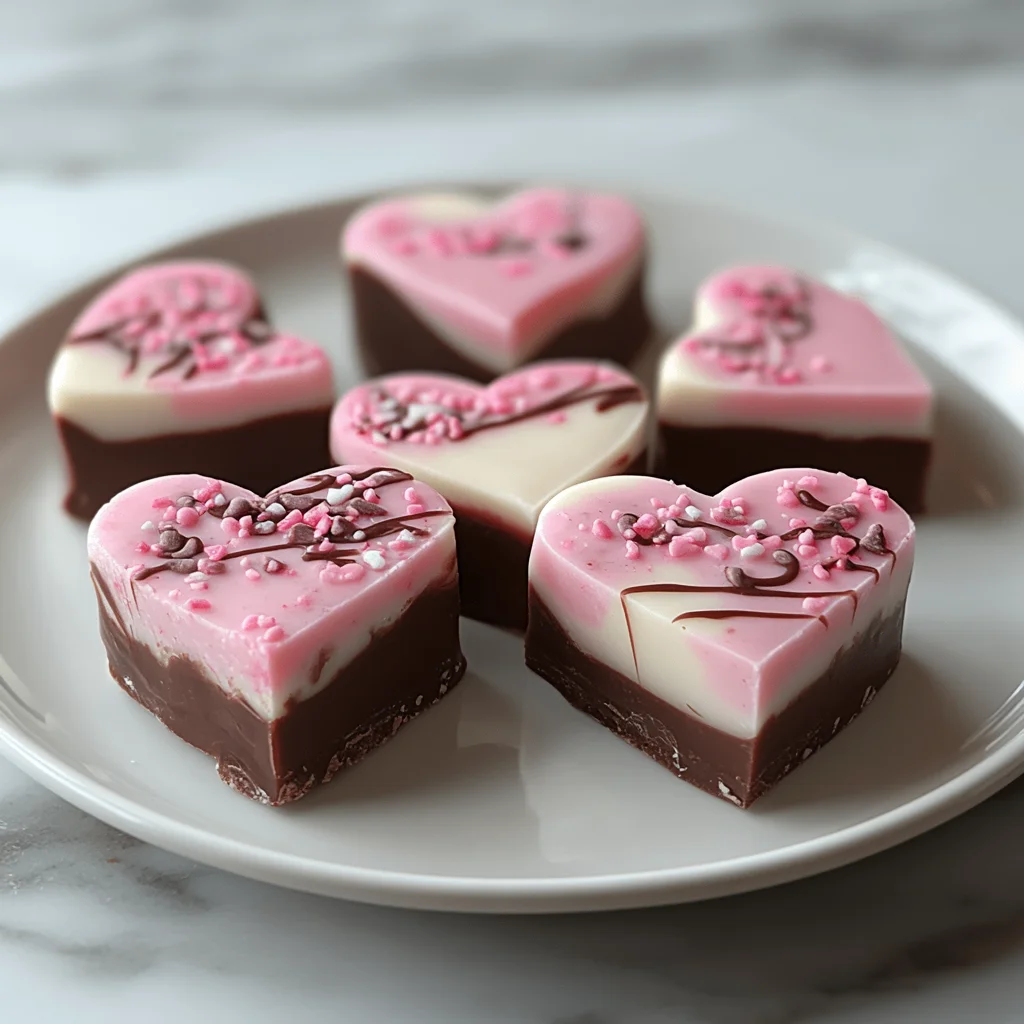
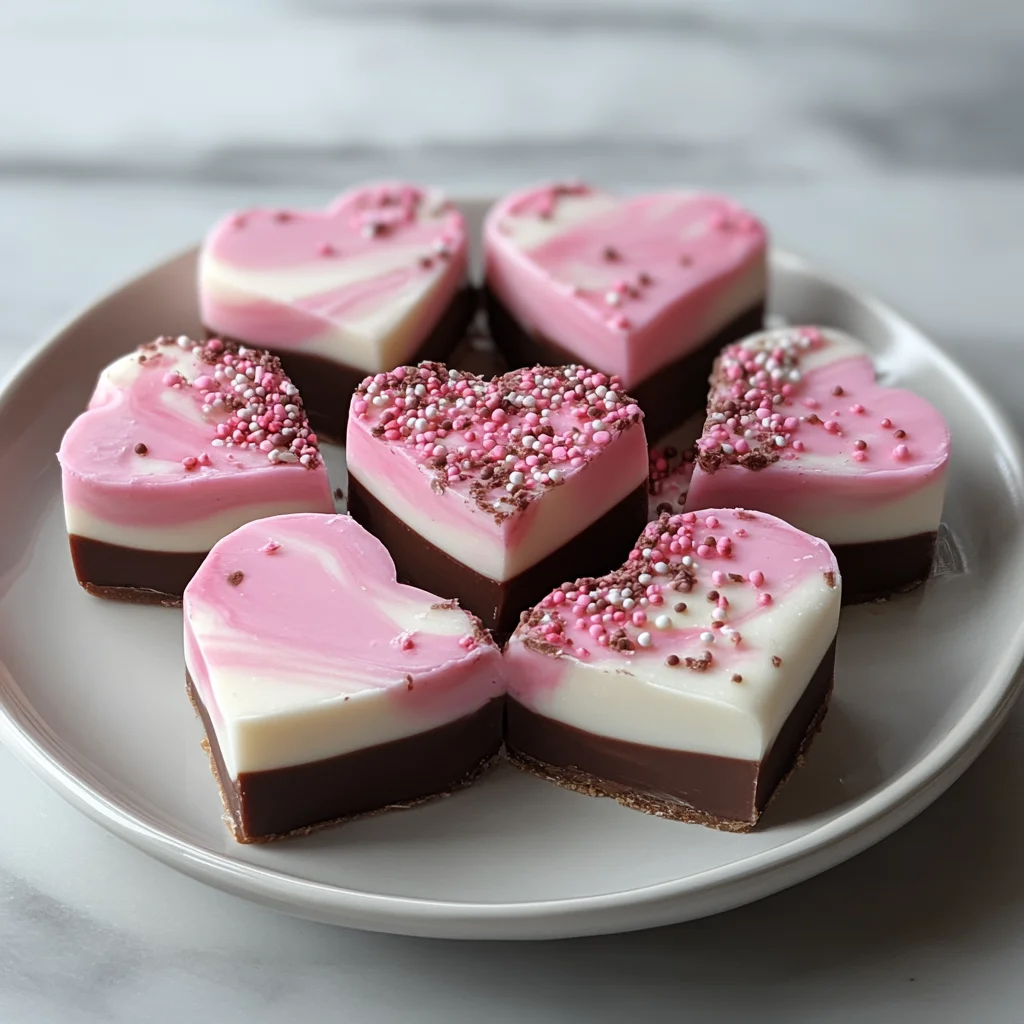
Spoon dollops of the pink fudge mixture over the chocolate base. You can be generous here; the more swirls, the prettier the marbling effect. Grab a skewer or toothpick and gently swirl the two layers together. Don’t overdo it—just a few twists back and forth will create those lovely heart-like patterns that make this fudge so special.
6. Add Your Decorations
Sprinkle your choice of crushed nuts, dried raspberries, or cookie crumbs over the top for added texture and flavor. If you want to go all out, add some heart-shaped sprinkles or a dusting of edible shimmer. It’s like adding a little Valentine’s Day magic to every bite!
7. Chill and Cut
Place the fudge in the refrigerator for at least 2 hours, or until it’s firm enough to cut cleanly. When it’s ready, use the parchment overhang to lift the fudge out of the pan. Here’s where the fun shapes come in—use a heart-shaped cookie cutter to cut out individual pieces. These make perfect gifts or charming party treats. And if you want to save time, you can cut into squares instead—still delicious and much easier!
8. Serve and Enjoy!
Arrange your Valentine Hearts Fudge on a pretty platter or package them up in a gift box lined with tissue paper. Either way, they’re sure to be a hit! If you’re looking for more easy and festive no-bake desserts, you might also enjoy the No-Bake Peanut Butter Pie, a perfect complement to your fudge’s rich sweetness.
Substitutions & Additions
One of my favorite things about fudge is how adaptable it is. Don’t have semi-sweet chocolate chips? No problem! You can swap in dark chocolate chips for a deeper, less sweet flavor, or milk chocolate chips if you prefer something creamier and sweeter. Just remember to adjust your sweetness accordingly.
If you’re feeling creative, try adding a splash of peppermint extract instead of vanilla for a minty twist that’s perfect for winter or Valentine’s. You could also sprinkle crushed peppermint candies on top for a festive crunch. For a nutty boost, chopped toasted pecans or almonds mixed into the chocolate layer add wonderful texture and flavor.
Want to make it even more colorful? Use different gel food coloring drops to create a rainbow swirl effect. Or layer in tiny bits of freeze-dried strawberries for a tart surprise in every bite.
Tips for Success
- Don’t overheat your chocolate: Melting in short bursts and stirring frequently prevents the chocolate from burning or seizing, which can ruin the texture.
- Use good quality chocolate: This really makes a difference in flavor and smoothness. I like to use brands that melt easily and have a rich taste.
- Line your pan properly: The parchment overhang is a game-changer for easy removal and clean edges.
- Be gentle when swirling: Too much swirling can blend the layers completely, losing that pretty marbled effect.
- Prep ahead: You can make this fudge a day or two in advance and keep it refrigerated. Just bring it to room temperature for about 10 minutes before serving to soften slightly.
How to Store Valentine Hearts Fudge
Once your fudge is cut, store the pieces in an airtight container. You can keep it at room temperature for up to a week if your kitchen isn’t too warm. For longer storage, refrigerate it for up to two weeks. If you want to freeze your fudge, wrap the pieces tightly in plastic wrap and place them in a freezer-safe container or zip-top bag. When you’re ready to enjoy, thaw in the fridge overnight and then bring to room temperature before serving—this preserves the creamy texture perfectly.
FAQs
Can I make this fudge without a microwave?
Absolutely! You can melt the chocolate and sweetened condensed milk using a double boiler on the stovetop. Stir gently over simmering water until smooth, then proceed with the recipe as usual.
What if I don’t have gel food coloring?
While gel food coloring is best for vibrant colors without affecting texture, you can use liquid food coloring. Just add it sparingly to avoid thinning your fudge. Alternatively, natural colorants like beet juice powder can provide a lovely pink hue.
Can I use a different shape cutter?
Yes! Heart shapes are perfect for Valentine’s Day, but you can use any cookie cutter you like. Stars, circles, or squares work just as well, especially if you want to make these fudge pieces for other occasions.
Why is my fudge grainy or crumbly?
This usually happens if the chocolate overheats or if you add ingredients too quickly. Always melt gently and stir well. Also, make sure your ingredients are at room temperature before mixing.
If you enjoyed this recipe and want to explore more sweet delights, I encourage you to browse the wonderful collection at Recettia. They have everything from classic American pies like the Easy Pecan Pie to no-bake indulgences such as their No-Bake Brownie Cheesecake Cups. It’s a treasure trove for anyone who loves baking and sharing comfort food.
Thanks for stopping by the kitchen today! If you recreate this recipe, I’d love to hear how it turned out or what creative spins you added.
Don’t forget to follow our Pinterest account for more cozy recipes, decorating tips, and seasonal treats that will keep your baking adventures inspired all year round.
Valentine Hearts Fudge
Ingredients
Equipment
Method
- Step 1: Line an 8×8-inch baking pan with parchment paper, leaving an overhang. Lightly grease the parchment with butter or nonstick spray.
- Step 2: In a microwave-safe bowl, combine semi-sweet chocolate chips, butter, and the full can of sweetened condensed milk. Microwave in 20-30 second bursts, stirring between each until smooth. Stir in vanilla extract and a pinch of salt.
- Step 3: Pour the chocolate mixture into the prepared pan and spread evenly. Let rest at room temperature for a few minutes.
- Step 4: In another microwave-safe bowl, melt white chocolate chips with half a cup of sweetened condensed milk in short bursts, stirring frequently until silky. Stir in vanilla extract and gel food coloring until the pink color is even.
- Step 5: Spoon dollops of the pink mixture over the chocolate layer. Use a skewer or toothpick to gently swirl together, creating a marbled heart-like pattern.
- Step 6: Sprinkle your chosen decorations over the top for added texture and flair.
- Step 7: Chill the fudge in the refrigerator for at least 2 hours until firm. Use the parchment overhang to lift the fudge out and cut into heart shapes or squares.
- Step 8: Serve on a platter or package as a gift. Enjoy your festive Valentine Hearts Fudge!