There’s something truly magical about desserts that remind you of childhood — those simple, sweet moments that make you smile just thinking about them. For me, Nutter Butter cookies are right up there with those nostalgic treats. Their rich peanut butter flavor wrapped in a crunchy cookie shell brings back memories of sneaking a few from the pantry as a kid. Now, imagine all that goodness transformed into a luscious, creamy pie that’s just as easy to make as it is to devour. That’s exactly what this no-bake Nutter Butter Pie offers: a silky peanut butter filling nestled in a crunchy cookie crust, topped with whipped cream and a drizzle of peanut butter. It’s quick to prepare, a crowd favorite, and perfect for any occasion — from casual family dinners to gifting at holiday parties.
Trust me, once you make this pie, it’ll become one of your go-to recipes whenever you want to impress without the fuss. Plus, if you love peanut butter, you’re in for a real treat!
Why You’ll Love Nutter Butter Pie
- Fast: No oven needed and only about 20 minutes of prep time.
- Easy: Minimal ingredients and straightforward steps anyone can follow.
- Giftable: Makes a thoughtful homemade gift that’s sure to wow friends and family.
- Crowd-pleasing: Rich, creamy, and perfectly balanced flavors that everyone loves.
Ingredients
This recipe keeps things simple but delivers on flavor. Here’s what you’ll need:
- 1 (16-oz) package Nutter Butter bars: These are the star of the crust and garnish. Crushing them fresh keeps the crust wonderfully crunchy.
- 6 tablespoons butter, melted: This binds the cookie crumbs into a crust that holds together without baking.
- 8 oz cream cheese, softened: Adds richness and creamy texture to the filling.
- 1 1/4 cups creamy peanut butter, divided: The peanut butter flavor shines here; creamy works best for smooth blending.
- 3/4 cup granulated sugar: Sweetens the filling just right without overpowering the peanut butter.
- 1 cup frozen whipped topping (thawed) or whipped cream: Lightens the filling and adds a fluffy texture.
Each ingredient plays a key role in creating the perfect balance of crunchy, creamy, and sweet. I always recommend using quality peanut butter for the best flavor. If you’re curious about more no-bake peanut butter recipes, you might enjoy my No Bake Peanut Butter Pie for another twist on this classic flavor.
How to Make Nutter Butter Pie
Let’s walk through this recipe step by step. I find it’s best to have all your ingredients prepped and ready to go before you start — it makes the process smooth and enjoyable.
Step 1: Prepare the Crust
Start by crushing the entire package of Nutter Butter bars. You can do this easily by placing them in a large zip-top bag and using a rolling pin to gently crush them into fine crumbs. Remember to set aside about 1/4 cup of these crumbs for garnish later — that little touch makes the pie look extra special. Then, in a mixing bowl, combine the rest of the crushed cookies with the melted butter. Stir well until every crumb is coated. Press this mixture firmly and evenly into the bottom and sides of a 9-inch pie pan. I like to use the bottom of a glass to press it down—it helps create a smooth, compact crust that holds its shape beautifully.
Step 2: Make the Filling
Next, in a large bowl, beat together the softened cream cheese, 1 cup of creamy peanut butter, and granulated sugar until you get a smooth, fluffy mixture. This usually takes about 2-3 minutes with a hand mixer. Then, gently fold in the thawed whipped topping (or whipped cream) until fully combined. The folding technique is important here to keep the filling light and airy—think gentle, wide strokes rather than vigorous mixing.
Step 3: Assemble the Pie
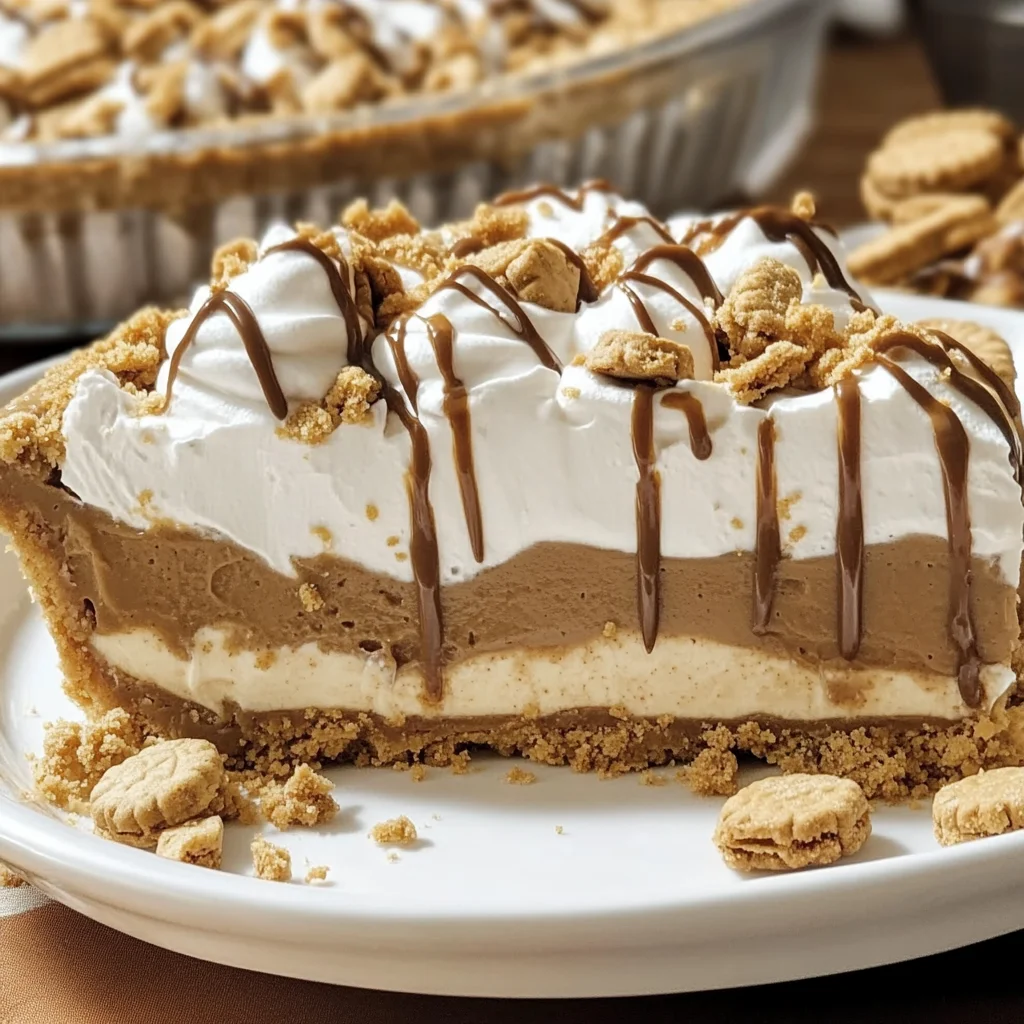
Spread the peanut butter filling evenly into your prepared crust, smoothing out the top with a spatula. Then, add a thin layer of whipped cream or whipped topping over the filling, carefully smoothing it out to create a beautiful, even surface.
Step 4: Add Toppings
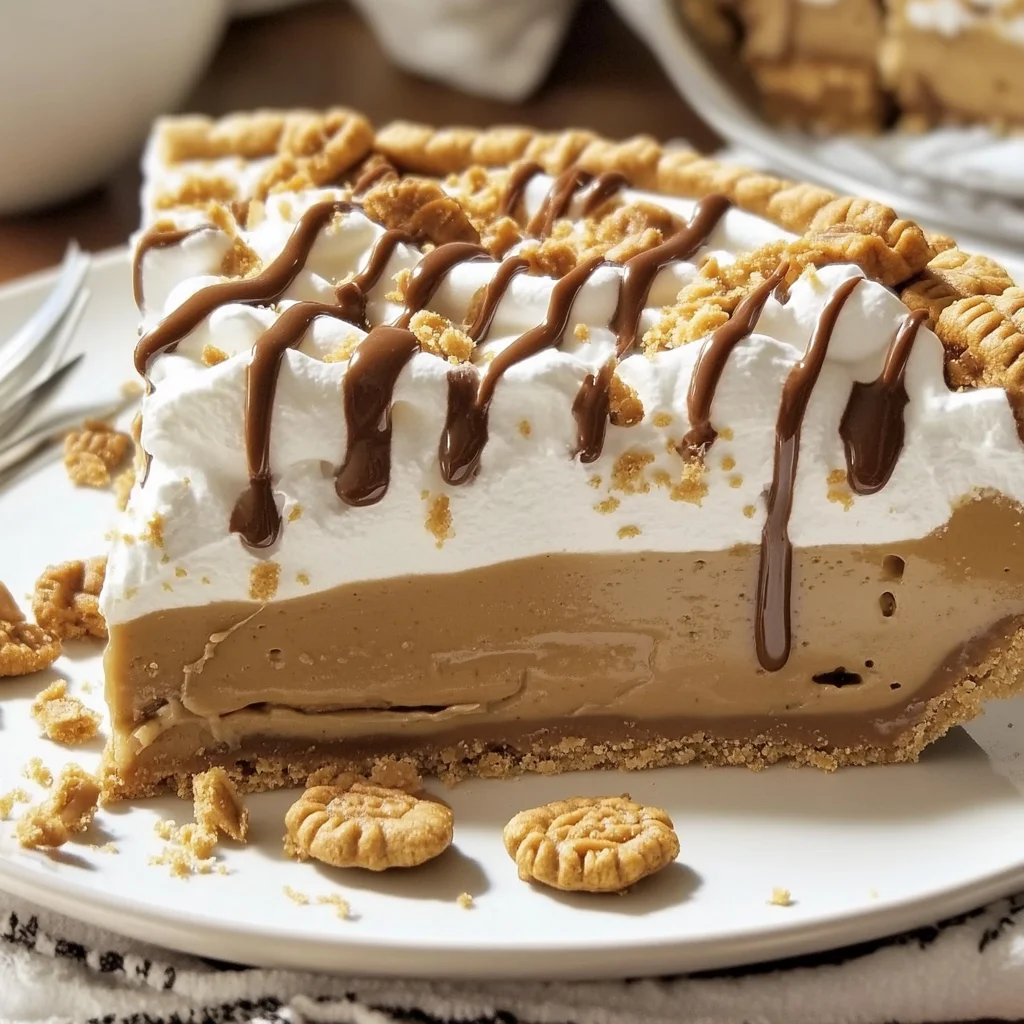
Here’s where your pie really starts to look irresistible. Warm the reserved 1/4 cup of peanut butter in the microwave for about 20-30 seconds until it’s pourable but not hot. Drizzle it over the top of the pie in a pretty crosshatch or swirl pattern. Sprinkle the reserved cookie crumbs around the edges for that classic Nutter Butter crunch. If you want to get fancy, pipe or dollop small swirls of whipped cream on top for decoration. This step always makes me smile because it’s like giving your pie a little personality.
Step 5: Chill
Finally, refrigerate the pie for at least 6 hours or ideally overnight. This chilling time lets the filling set perfectly, so when you slice into it, you get clean slices with that wonderful creamy texture. I always find that chilling also helps the flavors meld beautifully—making every bite a perfect balance of sweet and peanut buttery goodness.
Substitutions & Additions
While the original recipe is delicious as is, there’s always room to get creative or cater to what you have on hand. Here are some ideas I’ve tried or considered:
- Crust alternatives: If you can’t find Nutter Butter bars, crushed peanut butter cookies or even graham crackers mixed with a tablespoon of peanut butter can work in a pinch.
- Peanut butter swap: For a nut-free version, try sunflower seed butter or cookie butter — just make sure the flavor pairs well with cream cheese and sugar.
- Sweetener options: If you prefer less sugar, try swapping granulated sugar for honey or maple syrup. Just reduce the amount slightly to keep the filling from becoming too runny.
- Extra crunch: Sprinkle chopped roasted peanuts or chopped Nutter Butter cookies on top for an added texture boost.
- Chocolate twist: Add mini chocolate chips to the filling or drizzle melted chocolate instead of peanut butter for a peanut butter cup vibe.
If you love exploring no-bake peanut butter desserts, you might also want to check out this another no-bake peanut butter pie recipe that offers a slightly different but equally delightful take.
Tips for Success
Making this pie is pretty straightforward, but here are some tips that have helped me get perfect results every time:
- Soften cream cheese properly: Take it out of the fridge at least 30 minutes before mixing to avoid lumps in the filling.
- Don’t overmix the whipped topping: Gently fold it in to maintain a light, fluffy texture.
- Press the crust firmly: This helps prevent crumbling when slicing the pie later.
- Chill well: Give the pie enough time to set in the fridge; it’s tempting to dig in early, but patience pays off!
- Prep ahead: This pie actually tastes better the next day, so consider making it a day ahead when hosting a party.
Speaking of prep, if you enjoy easy, make-ahead dessert recipes that wow your guests, you might also appreciate my cozy Pineapple Cream Cheese Pound Cake — it’s a different flavor profile but just as effortless to prepare.
How to Store Nutter Butter Pie
Storage is simple with this no-bake pie:
- Refrigerate: Keep the pie covered with plastic wrap or in an airtight container in the fridge. It will stay fresh for up to 4 days.
- Freeze: You can freeze the pie for up to 1 month. For best results, thaw it overnight in the refrigerator before serving.
- Avoid room temperature: Because the filling is creamy and no-bake, it’s best not to leave the pie out for long periods.
If you plan to serve this pie at a gathering, I recommend chilling it in the pie pan and only removing it once you’re ready to slice. This helps maintain its structure and prevents any mess.
FAQs
Can I use crunchy peanut butter instead of creamy?
Yes, you can! Using crunchy peanut butter will add a bit more texture to the filling, which some people really enjoy. Just make sure to mix it well to keep the filling smooth overall.
Can I make this pie vegan or dairy-free?
Absolutely! Substitute the cream cheese with a vegan cream cheese alternative, and use a dairy-free whipped topping. Also, double-check that your peanut butter and cookie bars are vegan-friendly.
Do I have to use Nutter Butter bars for the crust?
While Nutter Butter bars give the pie its signature flavor, you can substitute with any peanut butter cookie or even graham crackers if needed. Just add a little extra peanut butter to the crust mix to keep that peanut buttery taste.
How long should the pie chill before serving?
At least 6 hours, ideally overnight. This chilling time lets the pie set up nicely and enhances the flavors.
Making this Nutter Butter Pie is like creating a little slice of comfort and joy — perfect for when you want a dessert that’s fuss-free but still feels special. If you’re looking to expand your dessert repertoire, exploring other no-bake treats or easy pies on Recettia will inspire all sorts of cozy kitchen adventures.
For more delicious recipes and kitchen inspiration, don’t forget to follow us on Pinterest — your next favorite recipe is just a pin away!
No-Bake Nutter Butter Pie
Ingredients
Equipment
Method
- Step 1: Crush the entire package of Nutter Butter bars into fine crumbs using a rolling pin inside a large zip-top bag. Set aside about 1/4 cup of crumbs for garnish.
- Step 2: In a mixing bowl, combine the remaining crushed cookies with melted butter. Stir well to coat all crumbs. Press the mixture firmly into the bottom and sides of a 9-inch pie pan to form the crust.
- Step 3: In a large bowl, beat softened cream cheese, 1 cup of creamy peanut butter, and granulated sugar with a hand mixer until smooth and fluffy, about 2–3 minutes.
- Step 4: Gently fold in the thawed whipped topping or whipped cream until just combined, keeping the filling light and airy.
- Step 5: Spread the peanut butter filling evenly into the prepared crust. Smooth the top with a spatula.
- Step 6: Add a thin layer of whipped cream or whipped topping over the filling and smooth it out evenly.
- Step 7: Warm the reserved 1/4 cup of peanut butter in the microwave for 20–30 seconds until pourable but not hot. Drizzle it over the top of the pie in a crosshatch or swirl pattern.
- Step 8: Sprinkle the reserved cookie crumbs around the edges of the pie. Optionally, pipe or dollop small swirls of whipped cream on top for decoration.
- Step 9: Refrigerate the pie for at least 6 hours or ideally overnight to allow it to set and the flavors to meld.