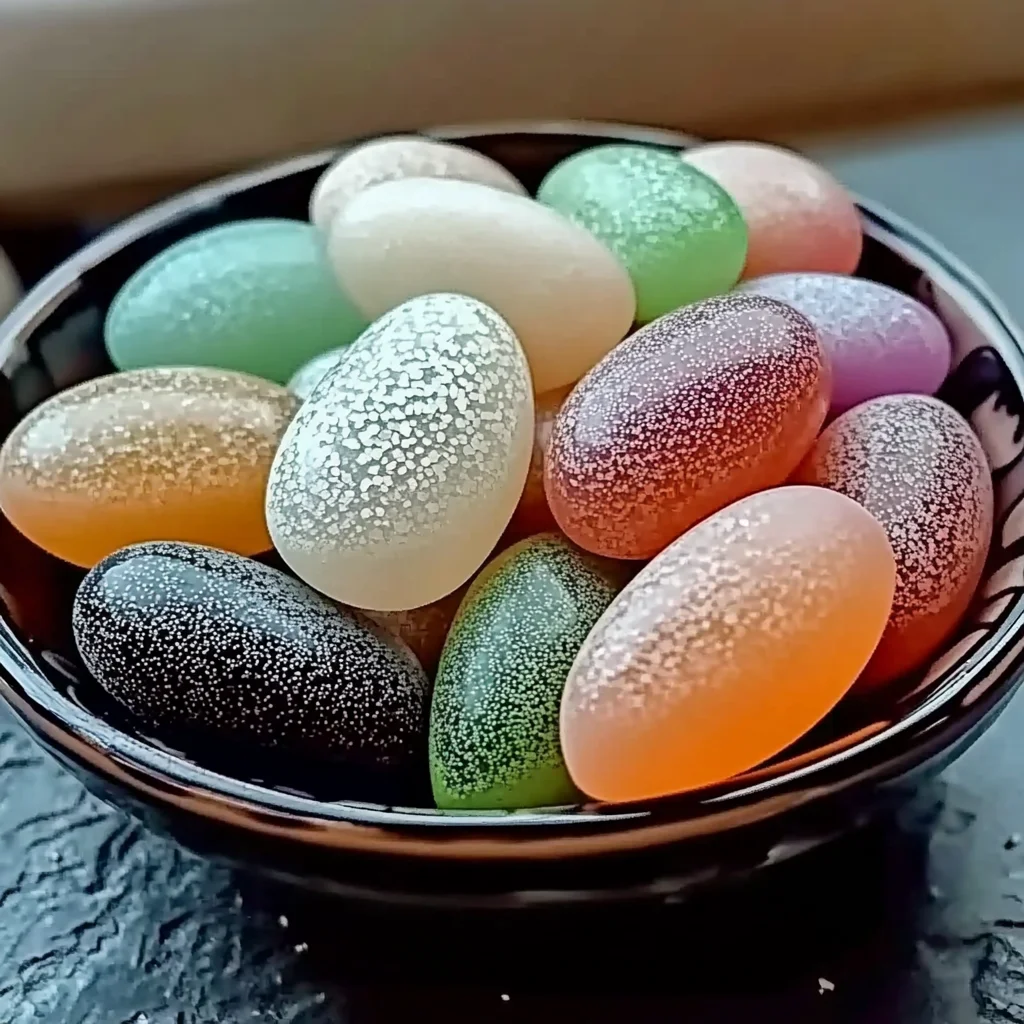
Oh, friend, do you ever find yourself longing for that perfect scent to waft through your home? You know, the kind that instantly makes you feel relaxed, happy, and utterly at peace? For me, it’s often the smell of fresh baked goods, or maybe a crisp, clean aroma that just makes the whole house feel brighter. But let’s be real, fancy diffusers can be pricey, and candles, while lovely, aren’t always ideal for every spot. That’s why I’m so excited to share one of my favorite little secrets with you today: DIY Aroma Stones! This project is so incredibly easy, wonderfully quick, and turns out beautifully every single time. Get ready to fill your space with personalized tranquility, all made by your own two hands.
Why You’ll Love DIY Aroma Stones
- Fast: From start to finish, you’ll be amazed at how quickly these come together.
- Easy: No complex steps or special skills required – if you can stir, you can make these!
- Giftable: Thoughtful, handmade gifts are always a hit. Package a few of these up with a tiny bottle of essential oil, and you’ve got a winner!
- Crowd-pleasing: Everyone loves a lovely-smelling home, and these stones let you customize the scent to perfection.
Ingredients
You probably have most of these hiding in your pantry already!
- 1 cup Baking Soda: This is our main player, the foundation for our little scent bombs.
- 1/2 cup Cornstarch: Helps bind everything together and gives our stones a smooth finish.
- 1/2 cup Water: Just enough to create that perfect moldable paste.
- 15-30 drops Essential Oils (of your choice): This is where the magic happens! Lavender for calm, lemon for a clean boost, peppermint for focus, or maybe a festive cinnamon blend. Pick your happy scent!
- Food Coloring or Mica Powder (optional): Want to add a pop of color? This is your chance! A little goes a long way.
- Dried Herbs or Edible Flowers (optional): For a beautiful, natural touch. Think dried lavender buds, rose petals, or even tiny sprigs of rosemary.
- Silicone Molds, Cookie Cutters, or Trays: Whatever shapes you fancy! Mini muffin tins, candy molds, or even just pressing them into flat discs work great.
How to Make DIY Aroma Stones
Let’s get crafting! This is the fun part, I promise.
- First things first, grab a medium mixing bowl. You’ll want one that gives you plenty of room to stir. Into that bowl, go your baking soda and cornstarch. Give them a good stir until they’re fully blended and you don’t see any lumps. We’re aiming for a smooth, powdery start.
- Now, for the water! Gradually pour it in, little by little, while continuously stirring. You’re looking for a thick, moldable paste – think of it like play-dough. If it feels too dry, add a tiny splash more water; if it’s too wet, a sprinkle of extra cornstarch can help.
- Time for the scent! Add your essential oils to the paste. Stir it really, really well to make sure that beautiful aroma is evenly distributed throughout the mixture. This is where your kitchen will start to smell amazing!
- If you’re feeling fancy and want to add some color, now’s the moment. Incorporate a small amount of food coloring or mica powder and mix until you reach your desired tint. It’s totally optional, but it can make your aroma stones extra pretty.
- Next, take your chosen molds. Gently fill them about three-quarters full with your mixture. Use the back of a spoon to smooth out the surface. If you’re using cookie cutters, press the mixture firmly into them and then carefully lift the cutter away.
- Once your molds are filled, place them on a piece of parchment paper in a dry, well-ventilated area. This is crucial for proper drying! Let them sit and do their thing for 6-24 hours, or until they are completely hardened. Depending on the humidity in your home, it might take a bit longer. I always give mine a gentle poke to ensure they’re rock-solid before moving on.
- Finally, once they’re perfectly dry and firm, carefully remove your beautiful aroma stones from their molds. They should pop right out!
Substitutions & Additions
The beauty of DIY is making it truly yours! Here are some ideas to get your creative juices flowing:
- Essential Oil Swaps: Don’t feel limited to just one! Try blending different essential oils to create unique scent profiles. Think calming lavender and chamomile, invigorating lemon and peppermint, or grounding frankincense and cedarwood. The possibilities are endless!
- Natural Dyes: Instead of food coloring, you could experiment with natural powders like spirulina for green, turmeric for yellow, or beetroot powder for a lovely pink hue.
- Sparkle & Shine: For a touch of glam, mix in a tiny bit of cosmetic-grade glitter with your mica powder.
- Texture Play: Besides dried herbs, consider adding a pinch of finely ground coffee for a subtle coffee house scent, or even a dash of cinnamon or nutmeg for a cozy, autumnal vibe.
- Other DIY Fun: If you love getting crafty like this, you might also enjoy making some DIY color-changing crystal stones! It’s another super fun project for adding a touch of magic to your home.
Tips for Success
- Don’t Rush the Drying: This is the most important tip! If your stones aren’t completely dry, they might crumble or stay soft. Patience is a virtue here.
- Consistency is Key: Aim for that play-dough consistency in your paste. Too wet, and they’ll take ages to dry and might lose their shape. Too dry, and they’ll be hard to mold.
- Ventilation Matters: A dry, airy spot helps speed up the drying process. Avoid humid rooms.
- Re-scent Away! When the scent starts to fade (and it will over time), simply add a few more drops of your favorite essential oil directly onto the stone. They’re totally reusable!
- Think About Placement: Place your aroma stones in small spaces like drawers, closets, bathrooms, or on your nightstand. While they won’t fill an entire large room, they’ll create a lovely localized scent. And just like a perfectly seasoned one-pot smoky BBQ meatball pasta can make your kitchen smell divine, these stones can bring a continuous, subtle aroma to your favorite nooks.
How to Store DIY Aroma Stones
Once your aroma stones are perfectly dry and fragrant, here’s how to keep them at their best:
- Keep Them Dry: Always store your aroma stones in a dry environment. Humidity is their enemy!
- Airtight for Freshness (Optional): If you’ve made a big batch and want to save some for later, you can store them in an airtight container to help preserve their scent for longer before use. Just like you’d carefully store a delicious easy pecan pie for the holidays!
- Shelf Life: The stones themselves will last indefinitely as long as they stay dry. The scent, however, will gradually dissipate, usually over a few weeks to a month, depending on the essential oils used and the environment. But remember, they’re super easy to refresh!
FAQs
Q: How long do the scents typically last?
A: The initial strong scent will last for about 1-2 weeks, and a more subtle aroma can linger for up to a month. The longevity depends on the quality and type of essential oils you use, as well as the ventilation in the area where they’re placed.
Q: Can I use these in my car?
A: Absolutely! They’re fantastic for small spaces like cars. Just place one or two in a breathable pouch or directly on your dashboard (out of direct sunlight to prevent overheating, especially in summer).
Q: Are they safe for pets?
A: When using essential oils around pets, it’s always best to exercise caution. Some essential oils can be harmful to animals. Do your research on pet-safe essential oils, keep the stones out of reach, and ensure good ventilation. When in doubt, stick to pet-free zones or skip the oils if you have sensitive furry friends.
Q: What if my aroma stones crumble after drying?
A: If your stones crumble, it’s usually a sign of too much water in the initial mixture or not enough drying time. Try reducing the water slightly in your next batch, or ensure they’re completely hardened before handling.
I hope you have the best time making these wonderful DIY Aroma Stones! They’re such a simple way to bring a little extra joy and custom comfort into your home. Happy crafting!
For more creative ideas and delicious recipes, be sure to follow us on Pinterest!
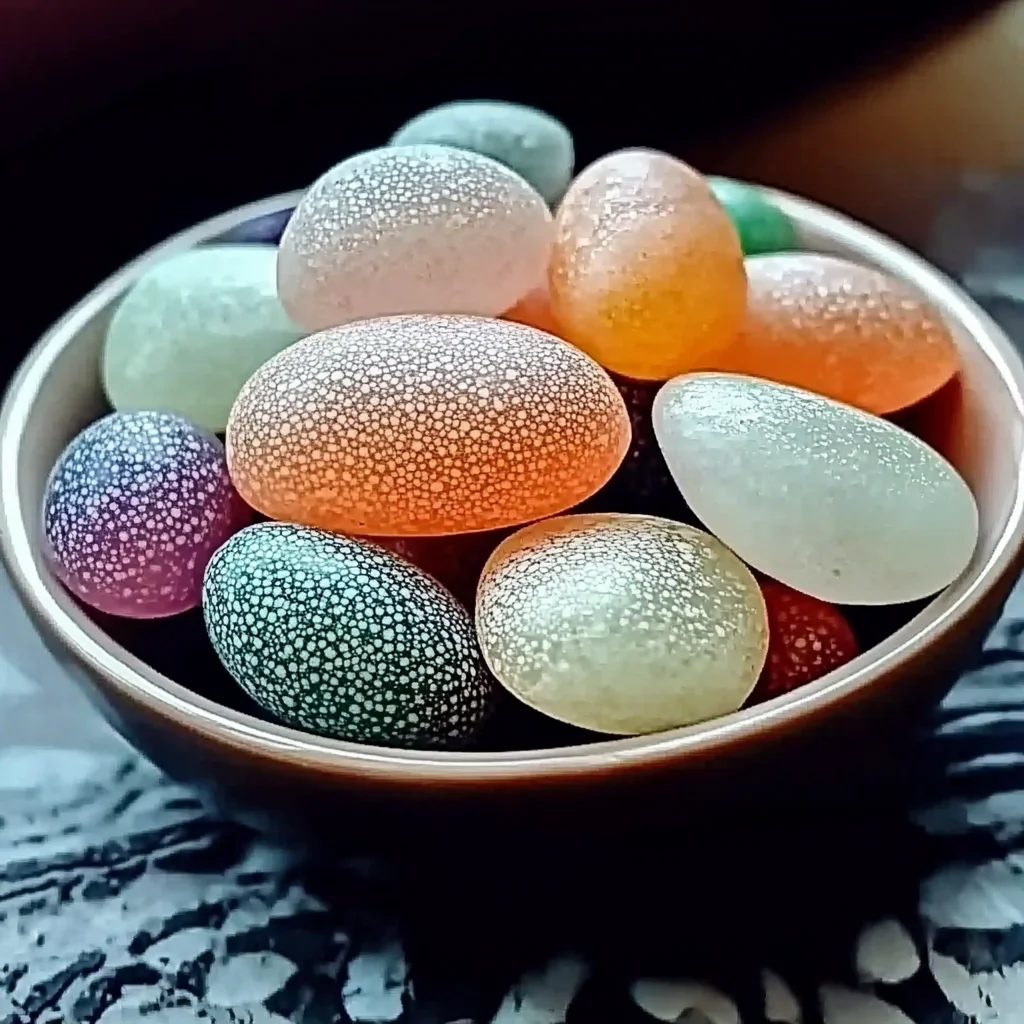
DIY Aroma Stones: Craft Your Own Cozy Home Scents
Ingredients
Equipment
Method
- Step 1: In a medium mixing bowl, combine the baking soda and cornstarch. Stir them well until fully blended and lump-free, aiming for a smooth, powdery mixture.
- Step 2: Gradually add the water, little by little, while continuously stirring. Mix until you achieve a thick, moldable paste, similar to play-dough. Adjust with a tiny splash more water if too dry, or a sprinkle of cornstarch if too wet.
- Step 3: Add your chosen essential oils to the paste. Stir thoroughly to ensure the aroma is evenly distributed throughout the mixture.
- Step 4: (Optional) If adding color, incorporate a small amount of food coloring or mica powder and mix until your desired tint is achieved.
- Step 5: Gently fill your chosen molds about three-quarters full with the mixture. Use the back of a spoon to smooth the surface. If using cookie cutters, press the mixture firmly, then carefully lift the cutter away. Place filled molds on parchment paper in a dry, well-ventilated area.
- Step 6: Let the aroma stones dry for 6-24 hours, or until completely hardened. Drying time may vary based on humidity. Once rock-solid, carefully remove them from their molds. To re-scent fading stones, simply add a few more drops of essential oil directly onto them.