Oh, friend, there are some smells that just transport you straight back to childhood, aren’t there? For me, it’s the warm, sweet aroma of butterscotch melting in the oven. It instantly conjures up cozy evenings, happy gatherings, and that feeling of pure, simple joy. Today, I’m sharing a recipe that captures all that magic in one delightful bite: my absolute favorite Butterscotch Chewies!
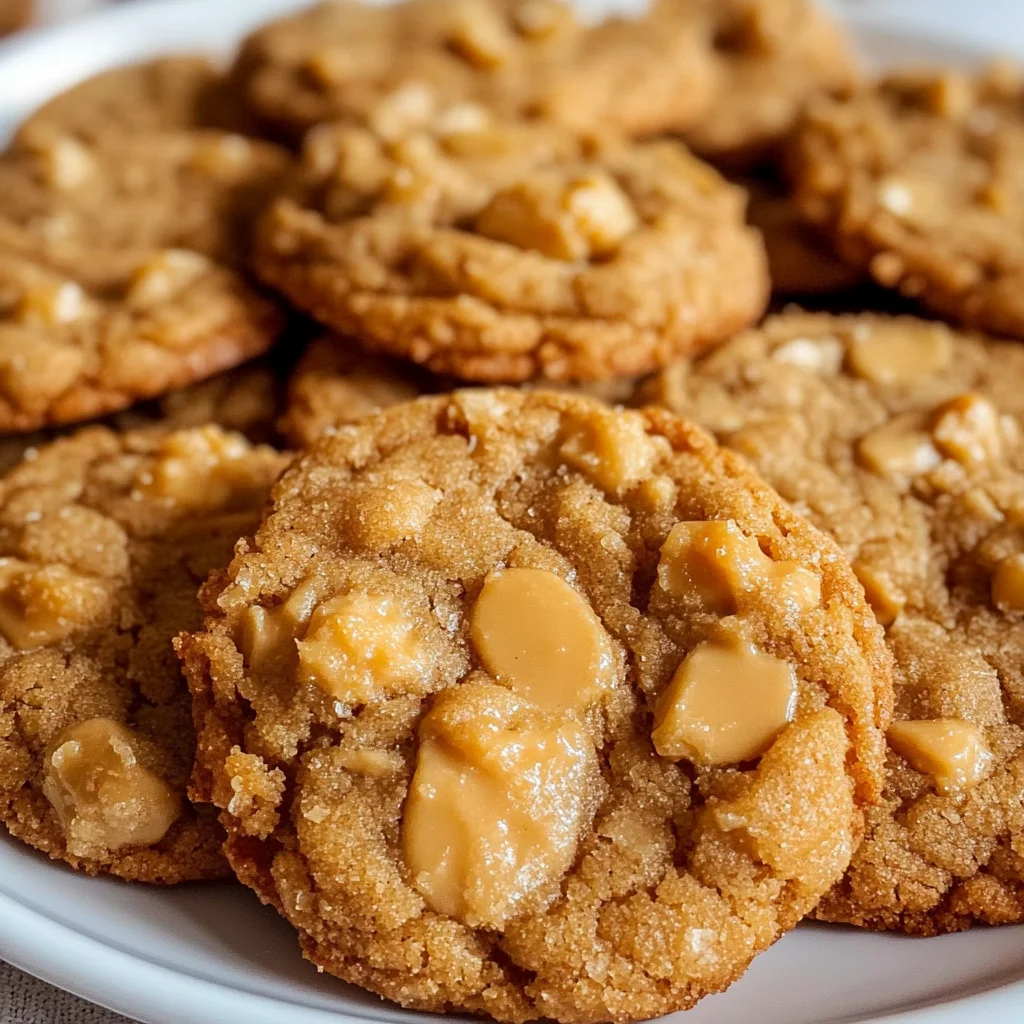
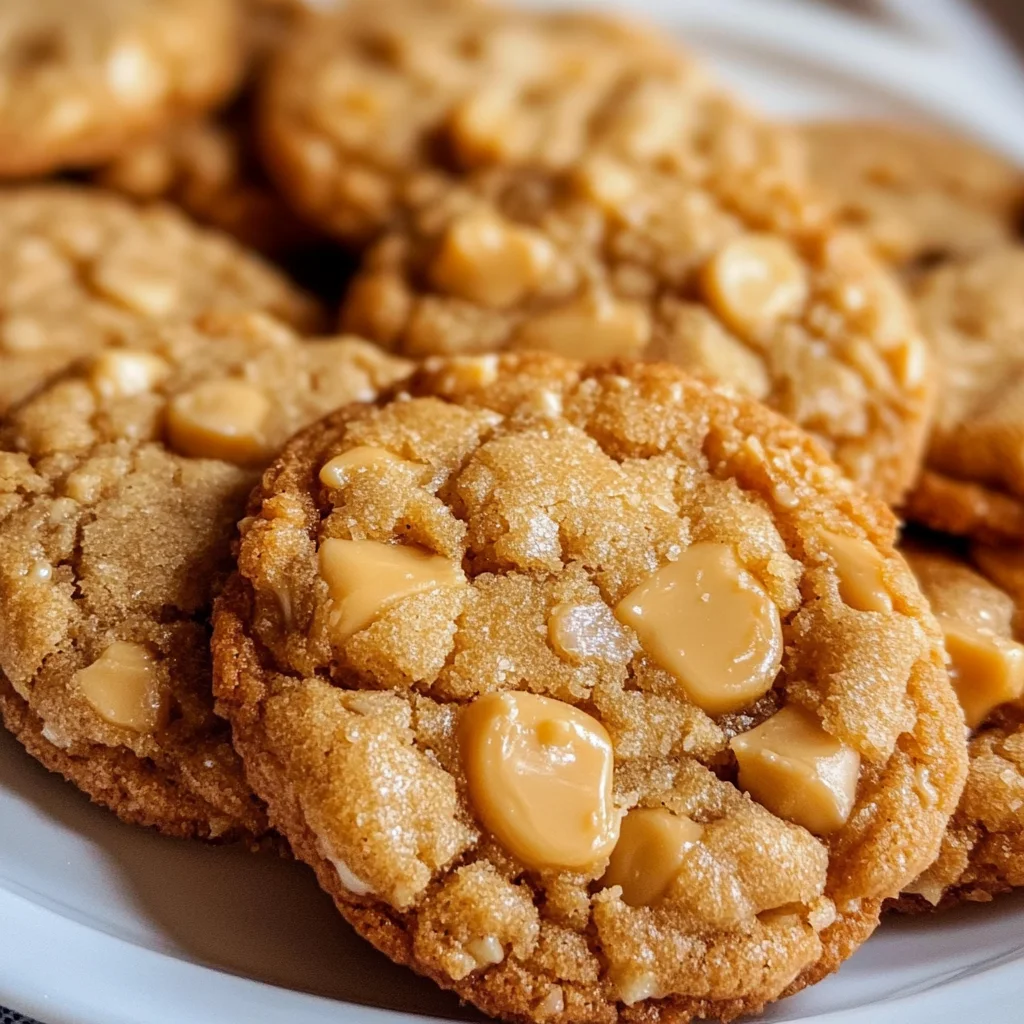
These aren’t just any cookies; they’re incredibly soft, wonderfully chewy, and packed with that unmistakable golden butterscotch flavor. The best part? They’re ridiculously easy to make, whip up in a flash, and are guaranteed to become a cherished recipe in your baking repertoire. Whether you’re a seasoned baker or just starting out, you’re going to fall head over heels for how simple and utterly delicious these chewies are.
Why You’ll Love Butterscotch Chewies
- Fast
- Easy
- Giftable
- Crowd-pleasing
Ingredients
Gathering your ingredients is the first step to baking bliss! Here’s what you’ll need for these irresistible butterscotch chewies:
- 1 cup unsalted butter, softened: Room temperature is key here! It creams beautifully with the sugars, creating that fluffy base.
- 1 cup brown sugar, packed: This is where a lot of that lovely chewiness comes from, and it brings a deeper, molasses-rich sweetness.
- ½ cup granulated sugar: Just enough to balance the sweetness and help with the crispy edges.
- 2 large eggs: These bind everything together and add richness.
- 1 tsp vanilla extract: Don’t skimp on the vanilla! It enhances all those warm, sweet flavors.
- 2 ½ cups all-purpose flour: Our foundation! Make sure it’s leveled correctly.
- 1 tsp baking soda: This helps our chewies rise just right and contributes to that tender texture.
- ½ tsp salt: A little pinch of salt brings out all the sweetness and balances the flavors.
- 1 ½ cups butterscotch chips: The stars of the show! These melt into pockets of glorious, gooey butterscotch goodness.
How to Make Butterscotch Chewies
Ready to get baking? Follow these simple steps, and you’ll have warm, delicious butterscotch chewies in no time!
- First things first, preheat your oven to 350°F (175°C). Then, grab a couple of baking sheets and line them with parchment paper. This makes cleanup a breeze and helps prevent sticking, just like you would for our Easy Homemade Samoas Cookies!
- In a large mixing bowl, take your softened butter, brown sugar, and granulated sugar. Cream them together using an electric mixer until the mixture looks wonderfully light and fluffy. This usually takes about 2-3 minutes. Don’t rush this step; it’s essential for a tender cookie!
- Now, beat in your eggs one at a time, making sure each one is fully incorporated before adding the next. Once the eggs are in, stir in the vanilla extract until everything is well combined and fragrant.
- In a separate, medium-sized bowl, whisk together your flour, baking soda, and salt. Give it a good whisk to ensure the leavening agent and salt are evenly distributed.
- Gradually add the dry ingredients to your wet ingredients, mixing on low speed until they are just combined. Be careful not to overmix! Overmixing can lead to tough cookies, and we’re aiming for that perfectly soft, chewy texture. It’s a similar principle to keeping light and airy textures, like when you’re whipping up a Pineapple Cream Cheese Pound Cake.
- Finally, it’s time for the butterscotch chips! Gently fold them into the dough until they are evenly distributed. I love seeing those golden specks throughout!
- Using a rounded tablespoon or a cookie scoop, drop spoonfuls of dough onto your prepared baking sheets. Make sure to space them about 2 inches apart to give them room to spread a little.
- Bake for 10-12 minutes, or until the edges are beautifully golden brown, but the centers still look soft and slightly underbaked. Trust me, this is the secret to that ultimate chewiness!
- Once they’re out of the oven, let the cookies cool on the baking sheet for about 5 minutes. They’ll continue to set up during this time. After that, carefully transfer them to a wire rack to cool completely. Or, if you’re like me, snag one while it’s still warm and gooey! If you’re a fan of treats that come together with minimal fuss, you’ll also adore our No-Bake Peanut Butter Pie!
Substitutions & Additions
One of the joys of baking is getting creative! Here are some ideas to switch up your Butterscotch Chewies:
- Add Nuts: A half cup of chopped pecans or walnuts would add a fantastic crunch and complement the butterscotch beautifully.
- Mix up the Chips: While butterscotch is king here, feel free to add a half cup of white chocolate chips, milk chocolate chips, or even some toffee bits for extra flavor and texture.
- Spice it Up: A pinch of cinnamon or nutmeg (about 1/4 teaspoon) could add a warm, cozy dimension to your chewies, especially lovely for fall baking.
- Drizzle with Caramel: Once cooled, a light drizzle of store-bought or homemade caramel sauce would take these over the top!
- Sea Salt Sprinkle: A tiny sprinkle of flaky sea salt on top of the warm cookies when they come out of the oven will enhance the butterscotch flavor and add a sophisticated touch.
Tips for Success
Even though these are super easy, a few little pointers can make them absolutely perfect every time!
- Don’t Overbake: This is the golden rule for chewiness! Pull them out when the edges are just set and golden, and the centers still look soft. They will continue to bake slightly on the hot baking sheet.
- Room Temperature Ingredients: Ensure your butter and eggs are at room temperature. This allows them to cream together properly, creating a smooth, emulsified dough that results in a better texture.
- Measure Flour Correctly: Too much flour can make your cookies dry and crumbly. Spoon the flour into your measuring cup and then level it off with a straight edge, rather than scooping directly from the bag.
- Parchment Paper is Your Friend: It not only makes cleanup effortless but also helps the cookies bake evenly and prevents them from sticking.
- Use a Cookie Scoop: For consistently sized cookies that bake evenly, a cookie scoop is a game-changer. Plus, it makes portioning so much faster!
- Chill the Dough (Optional): If your kitchen is warm or if you want thicker, chewier cookies, you can chill the dough for 30 minutes to an hour before baking. This helps prevent excessive spreading.
How to Store Butterscotch Chewies
If you manage to have any left (a big if, I know!), here’s how to keep your butterscotch chewies fresh and delicious:
- At Room Temperature: Store your cooled cookies in an airtight container at room temperature for up to 3-5 days. I like to place a piece of parchment paper between layers to prevent them from sticking together.
- Freezing Dough: You can scoop the dough onto a parchment-lined baking sheet and freeze the individual dough balls until solid. Then transfer them to a freezer-safe bag. When you’re ready to bake, just place them on a baking sheet and bake from frozen, adding a few extra minutes to the baking time.
- Freezing Baked Cookies: Fully cooled butterscotch chewies can be frozen in an airtight freezer bag or container for up to 3 months. Thaw them at room temperature, or pop them in the microwave for a few seconds for that fresh-baked warmth!
FAQs
Got questions? I’ve got answers!
Q: Why are they called “chewies”?
A: These cookies are designed to be soft in the center with slightly crispy edges, giving them a wonderfully chewy texture throughout, thanks to the brown sugar and careful baking.
Q: Can I use salted butter instead of unsalted?
A: You can, but I’d recommend reducing the added salt in the recipe by about ¼ teaspoon to avoid them being too salty. Unsalted butter gives you more control over the salt content.
Q: Can I make the dough ahead of time?
A: Absolutely! You can prepare the dough and store it in an airtight container in the refrigerator for up to 2-3 days. Let it come closer to room temperature for about 20-30 minutes before scooping and baking for the best results.
Q: My cookies spread too much. What happened?
A: This can happen if your butter was too soft (melted), your oven temperature was too low, or if your baking soda is old. Ensure your butter is softened but not melted, your oven is preheated properly, and your baking soda is fresh!
I hope you love these Butterscotch Chewies as much as I do! Happy baking, friends!
For more delicious recipes and kitchen inspiration, be sure to follow us on Pinterest!
Melt-in-Your-Mouth Butterscotch Chewies: Your New Favorite Easy Cookie Recipe!
Ingredients
Equipment
Method
- Step 1: Preheat your oven to 350°F (175°C). Line a couple of baking sheets with parchment paper.
- Step 2: In a large mixing bowl, cream together the softened butter, brown sugar, and granulated sugar using an electric mixer until light and fluffy (about 2-3 minutes).
- Step 3: Beat in the eggs one at a time, ensuring each is fully incorporated before adding the next. Stir in the vanilla extract until well combined.
- Step 4: In a separate, medium-sized bowl, whisk together the flour, baking soda, and salt.
- Step 5: Gradually add the dry ingredients to the wet ingredients, mixing on low speed until just combined. Be careful not to overmix.
- Step 6: Gently fold the butterscotch chips into the dough until evenly distributed.
- Step 7: Using a rounded tablespoon or a cookie scoop, drop spoonfuls of dough onto your prepared baking sheets, spacing them about 2 inches apart.
- Step 8: Bake for 10-12 minutes, or until the edges are golden brown and the centers still look soft and slightly underbaked.
- Step 9: Let the cookies cool on the baking sheet for about 5 minutes before transferring them to a wire rack to cool completely.