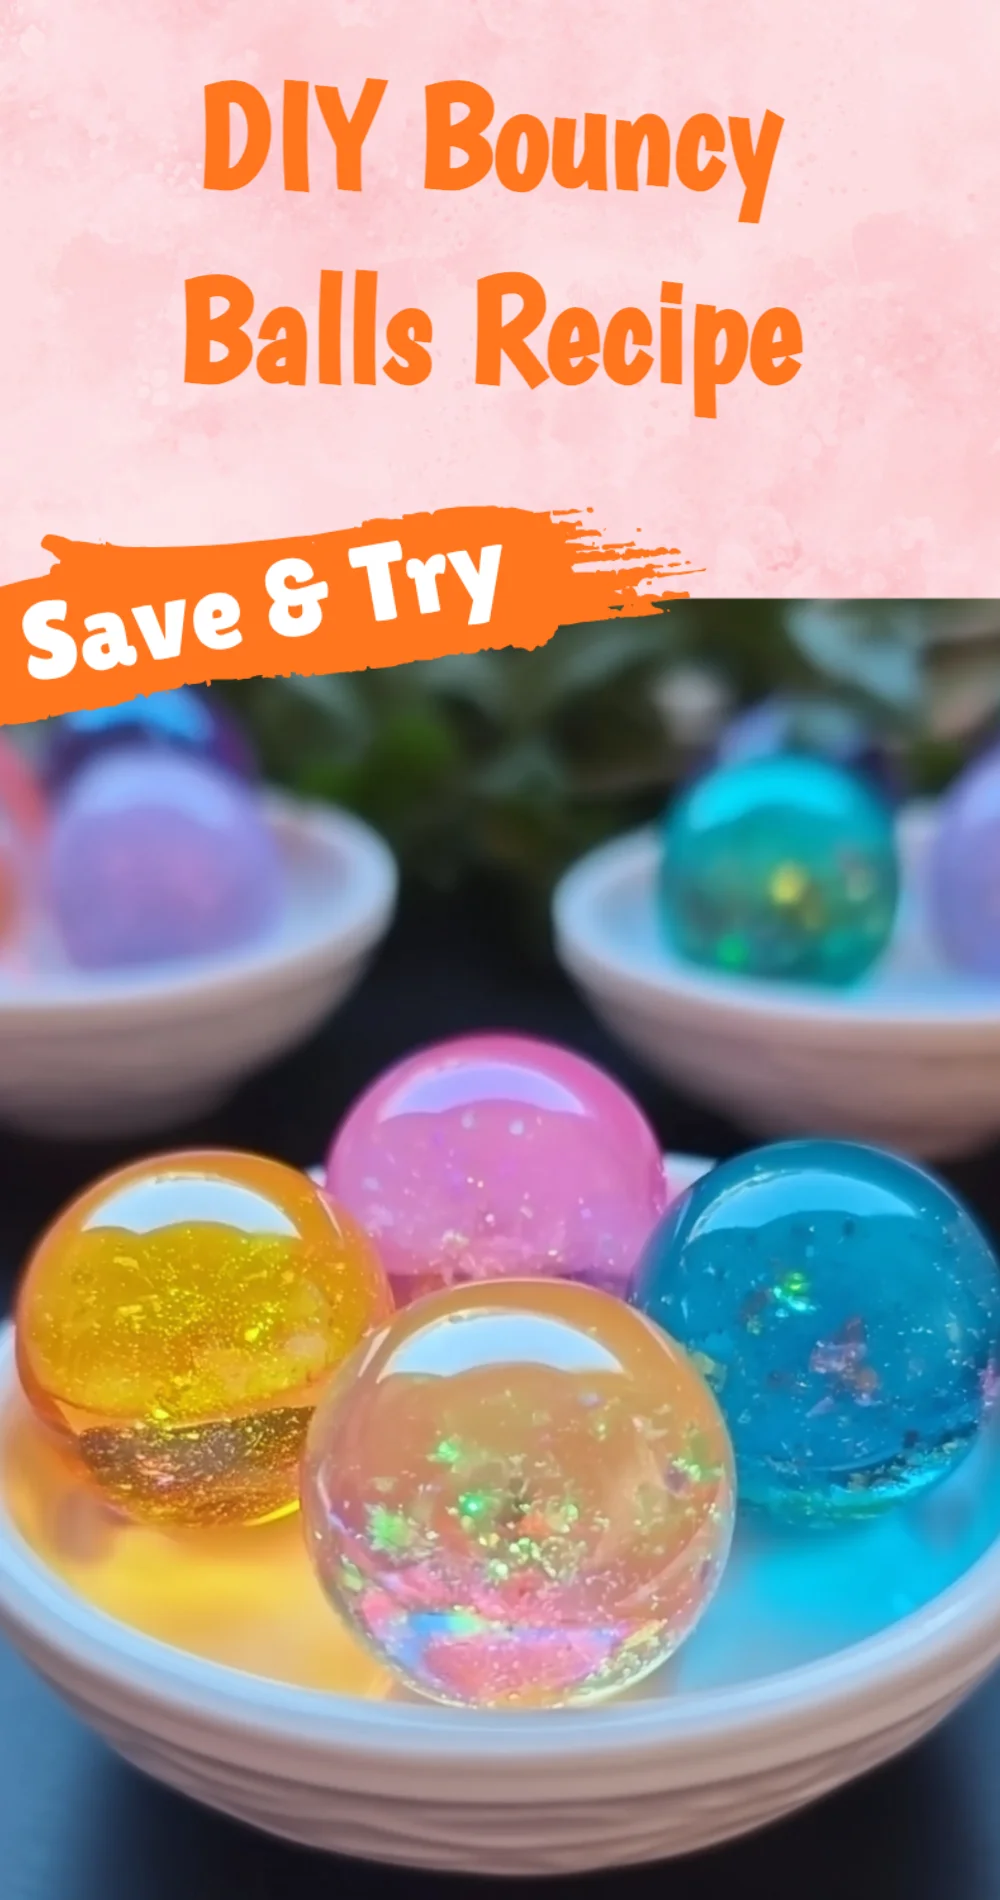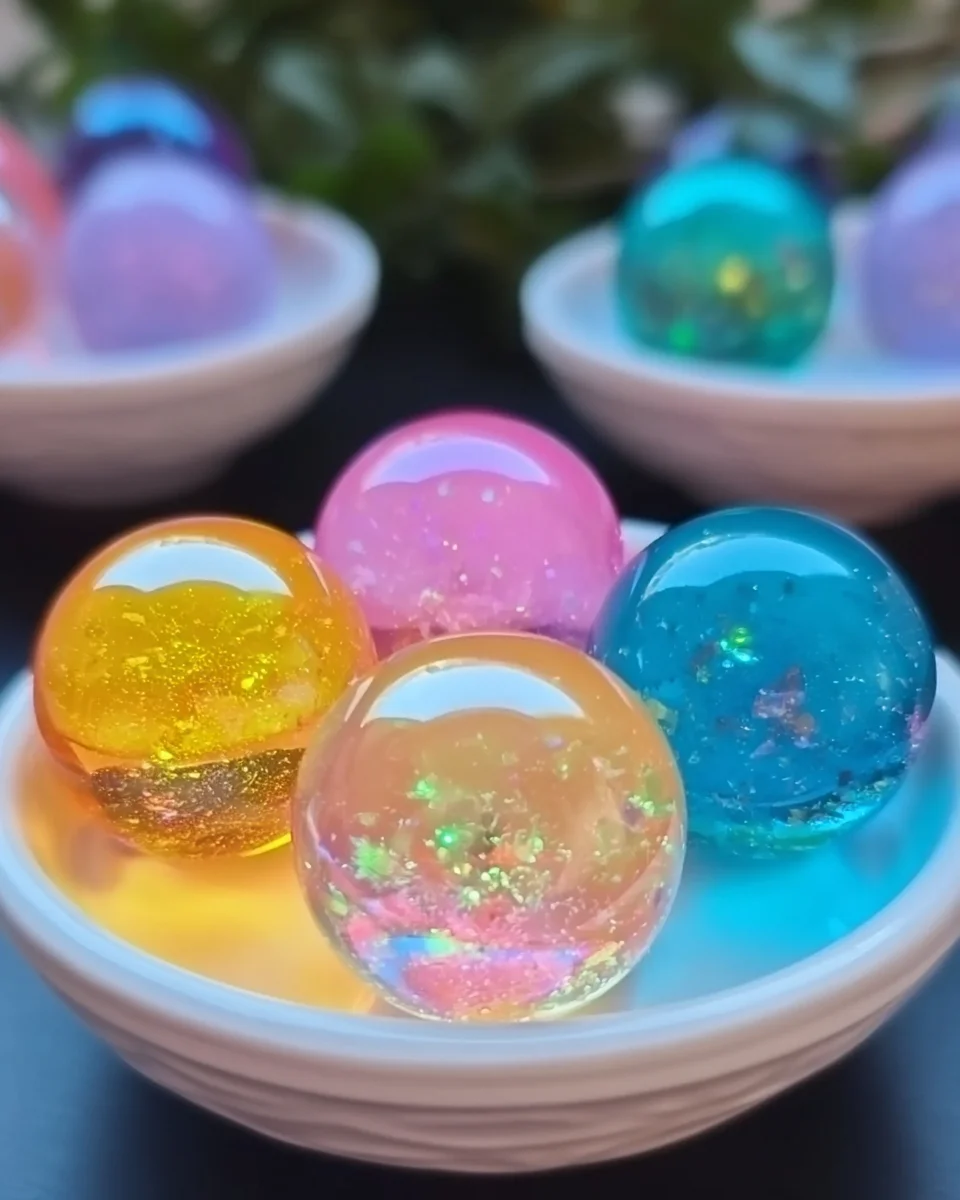
There is something utterly delightful about making your own toys, isn’t there? The joy of transforming simple ingredients into a bouncy ball brings back fond memories of childhood creativity, where imagination knew no bounds. This DIY project is not just about creating a fun toy; it’s a wonderful way to engage with your family, learn something new, and experience the satisfaction that comes from making something with your own hands. Picture the vibrant colors and the satisfying bounce of your homemade creations as they leap into the air. Let’s dive into this exciting adventure together!
Why You’ll Love DIY Bouncy Balls Recipe
- Beginner-friendly
- Budget-friendly
- Creative and fun
- Great for kids and families
- Perfect for gifts, decorating, or everyday use
- Customizable
The Heart Behind This DIY
Creating your own bouncy balls is more than just a simple craft; it’s an opportunity to bond with your loved ones and spark creativity. As you mix, mold, and shape, you will find yourself immersed in the process, enjoying the tactile sensations of the materials. This project encourages mindfulness, allowing you to focus on the moment, and as you watch your ball take shape, you’ll feel a sense of accomplishment and joy. It’s a beautiful way to explore science, creativity, and family connection all in one go!
A Gentle Look at the Process
Imagine gathering around the kitchen table, the excitement bubbling as you prepare to create. You’ll start by mixing simple ingredients, watching as they come together to form a gooey yet satisfying mixture. As you knead it into shape, you might feel the texture change from sticky to smooth, and soon, you’ll be rolling it into a perfect ball. The anticipation builds as you envision how it will bounce once it’s dry. This is a project that invites everyone to join in, creating cherished memories with each ball you make.
Materials You’ll Need
- 1 tablespoon of white school glue: This is the base that holds everything together.
- 1/2 teaspoon of water: Helps to dilute the glue for easier mixing.
- 1/2 teaspoon of borax: This magical ingredient helps the ball form and bounce.
- 2 tablespoons of corn starch: Adds body to your bouncy ball.
- Food coloring (optional): Customize your bouncy ball with fun colors.
- Small bowl: For mixing your ingredients.
- Spoon for mixing: A simple tool that makes blending easy.
- Plastic glove (optional, for handling): Keeps your hands clean during the process.
Step-by-Step Directions
Step 1: Prepare Your Workspace
Find a clean, flat surface to work on. Lay down plastic wrap or wax paper to keep the area tidy. This will catch any spills and make cleanup a breeze!
Step 2: Mix Glue and Water
In a small bowl, combine 1 tablespoon of white school glue with 1/2 teaspoon of water. Stir well until the mixture is smooth. The texture should be silky and inviting.
Step 3: Add Color
If you want to add color to your bouncy balls, now is the time! Add a few drops of food coloring to the glue mixture and stir until the color is evenly distributed. Watch as the vibrant hues swirl together!
Step 4: Mix Borax Solution
In another small bowl, mix 1/2 teaspoon of borax with 2 tablespoons of warm water. Stir until the borax is fully dissolved. The solution should be clear and slightly thick.
Step 5: Combine Mixtures
Slowly pour the borax solution into the glue mixture while stirring continuously. You will notice the mixture beginning to thicken and clump together, forming the base of your bouncy ball.
Step 6: Knead the Mixture
Once it starts to form a ball, use your hands (you can wear plastic gloves if you prefer) to knead the mixture. It may be sticky at first, but keep kneading until it becomes a smooth and bouncy ball. You will feel the transformation!
Step 7: Shape the Ball
Roll the mixture in your hands to form a smooth ball shape. Make sure there are no cracks for the best bounce. The more you roll, the smoother it will become!
Step 8: Let It Dry
Place your bouncy ball on the plastic wrap or wax paper and let it dry for at least 24 hours. This will help it firm up and improve its bounce. The anticipation will make the wait worth it!
Step 9: Enjoy Your Bouncy Ball
Once fully dry, it’s ready for play! Test its bounce and enjoy your homemade bouncy ball. You can share it with friends or keep it as a fun stress reliever!
Creative Ways to Use DIY Bouncy Balls Recipe
Your colorful bouncy balls can be used in countless ways! Use them for games in the backyard, toss them around with friends, or incorporate them into playful decorations for parties. They make fantastic gifts for kids or can be used as fun desk toys to brighten your workspace. Imagine creating a lovely display of different colors on a shelf or using them as a unique party favor. The possibilities are endless!
How to Store, Preserve, or Maintain DIY Bouncy Balls Recipe
To keep your bouncy balls in top shape, store them in a cool, dry place away from direct sunlight. If you have any unused mixture, place it in an airtight container to prevent it from drying out. This way, you can have fun making more bouncy balls whenever the mood strikes!
Creative Variations and Customizations
- Experiment with different colors by mixing food coloring. You can create swirled patterns by adding different colors at the same time.
- Try seasonal themes, like autumn colors or pastel shades for spring.
- Make smaller or larger balls by adjusting the amount of glue and other ingredients.
- For a fun twist, add glitter or confetti to the mix for a sparkling effect!
- Try advanced creative upgrades, like making bouncy balls with glow-in-the-dark paint for night-time fun.
Tips for Success
- A common mistake is to add too much borax; start with the recommended amount to avoid overly stiff balls.
- If your ball is too sticky, knead in a little more corn starch until you reach the desired texture.
- Preparation is key; set up your workspace with all your materials before starting to keep the process smooth.
- Cleanup can be easy; soak any sticky tools in warm soapy water to dissolve the glue quickly.
- Don’t rush the drying process; let your bouncy balls cure for a full day for the best results.
FAQs About DIY Bouncy Balls Recipe
Can beginners make this?
Absolutely! This DIY project is perfect for beginners and requires only a few simple ingredients.
Can children participate?
Yes! Kids will love joining in the fun, but be sure to supervise when handling borax and other materials.
How long does it last?
When stored properly, your bouncy balls can last for months, providing endless fun!
Can I customize it?
Definitely! You can change the colors, sizes, and even add fun elements like glitter or confetti.
A Final Creative Note
As you wrap up your DIY bouncy ball adventure, remember that the heart of crafting lies in creativity and joy. Each ball is a little piece of your imagination brought to life, and I hope this project inspires you to explore even more DIY delights. For more delicious recipes, check out my easy pecan pie recipe or no-bake peanut butter pie for treats you will love! Keep creating, keep learning, and most importantly, keep having fun!
For more DIY inspiration, follow my Pinterest account.