Oh, honey, do you remember those simple joys from childhood? The ones that felt like pure magic, bringing a little sparkle into an ordinary day? That’s exactly what these Blue Crayon Suncatchers are all about! They’re not just a craft; they’re a tiny burst of happiness, a little piece of sky captured right in your window. And trust me, making them is so incredibly easy and quick, you’ll wonder why you haven’t tried it sooner. It’s a wonderful way to add a handmade touch to your home or even create thoughtful, memorable gifts that truly shine!
Why You’ll Love Blue Crayon Suncatchers
- Fast: Seriously, from crayon to dazzling suncatcher in under 30 minutes!
- Easy: No fancy art skills required, just a few simple steps. Perfect for all ages (with adult supervision, of course!).
- Giftable: These make charming, personalized gifts for teachers, neighbors, or just because!
- Crowd-pleasing: Everyone from toddlers to grandparents will be captivated by the way they catch the light.
Ingredients
- Blue Crayons: Grab a mix of light and dark blues! Think sky blue, navy, even a touch of white or silver if you want to add some shimmery clouds. The variety really makes your suncatchers pop!
- Waxed Paper: You’ll need two sheets per suncatcher you plan to make. This is our canvas for melted magic.
- Crayon or Pencil Sharpener: Any basic sharpener will do the trick to get those crayon shavings.
- Iron: This is where the magic happens! Make sure an adult is supervising, and set it to the lowest heat setting – absolutely no steam, darling.
- Scissors: For cutting out your beautiful shapes.
- Hole Punch: For making that perfect spot to hang your creations.
- Embroidery Floss, String, or Thread: Whatever you have on hand to string up your suncatchers!
How to Make Blue Crayon Suncatchers
Alright, let’s get those hands busy and create some window-worthy art! Gather your little helpers (if you have them!) and let’s walk through this simple process together.
Step 1: Get Those Crayons Ready! First things first, peel all the paper labels off your blue crayons. This can be a fun little task for the kids, or a moment of zen for you. Once they’re naked, grab your sharpener and get to work! You want a mix of fine, powdery shavings and some chunkier bits. This variety creates the most beautiful, swirly patterns when melted. I always find a pencil sharpener works best for getting those perfect curls!
Step 2: Set Your Stage. Lay one sheet of waxed paper flat on a protected surface – a cutting board or an old towel works great to keep your table safe. This is going to be the base of your suncatcher.
Step 3: Sprinkle the Blue Hues. Now for the fun part! Evenly sprinkle your blue crayon shavings all over the waxed paper. Don’t go too thick, but make sure there’s enough coverage to create a solid color when melted. This is where your creativity comes in! You can make patterns, or just a random mosaic of blues.
Step 4: Top It Off. Carefully place a second sheet of waxed paper directly over your crayon shavings. Try to align the edges as best you can. Give it a gentle press with your hand to help it stick a little and keep those shavings in place.
Step 5: Time to Melt! (Adults Only Here!) This step needs an adult’s steady hand. Set your iron to its lowest heat setting, and whatever you do, make sure the steam function is OFF! Gently press the warm iron over the top sheet of waxed paper. You’ll see the crayons start to melt and spread, almost like magic! Move the iron slowly and evenly, covering the entire surface.
Step 6: Swirls of Wonder. Continue ironing until all the crayon shavings have melted and fused together into a smooth, colorful, swirly sheet. You’ll want to see a nice, even blend of colors, but don’t overdo it or the colors might become too muddled. I love watching the different shades of blue melt into each other, creating a unique pattern every time, much like the vibrant designs you see in DIY Color Changing Crystal Stones, but with a softer, more fluid feel.
Step 7: Cool Down and Cut Out. Let your waxed paper masterpiece cool completely for several minutes. It needs to be firm before you start cutting. Once cooled, grab your scissors and sketch out your desired shapes. Raindrops, circles, stars, or even little fish shapes would be adorable! Then, carefully cut them out. Don’t worry if your lines aren’t perfect; handmade is part of the charm!
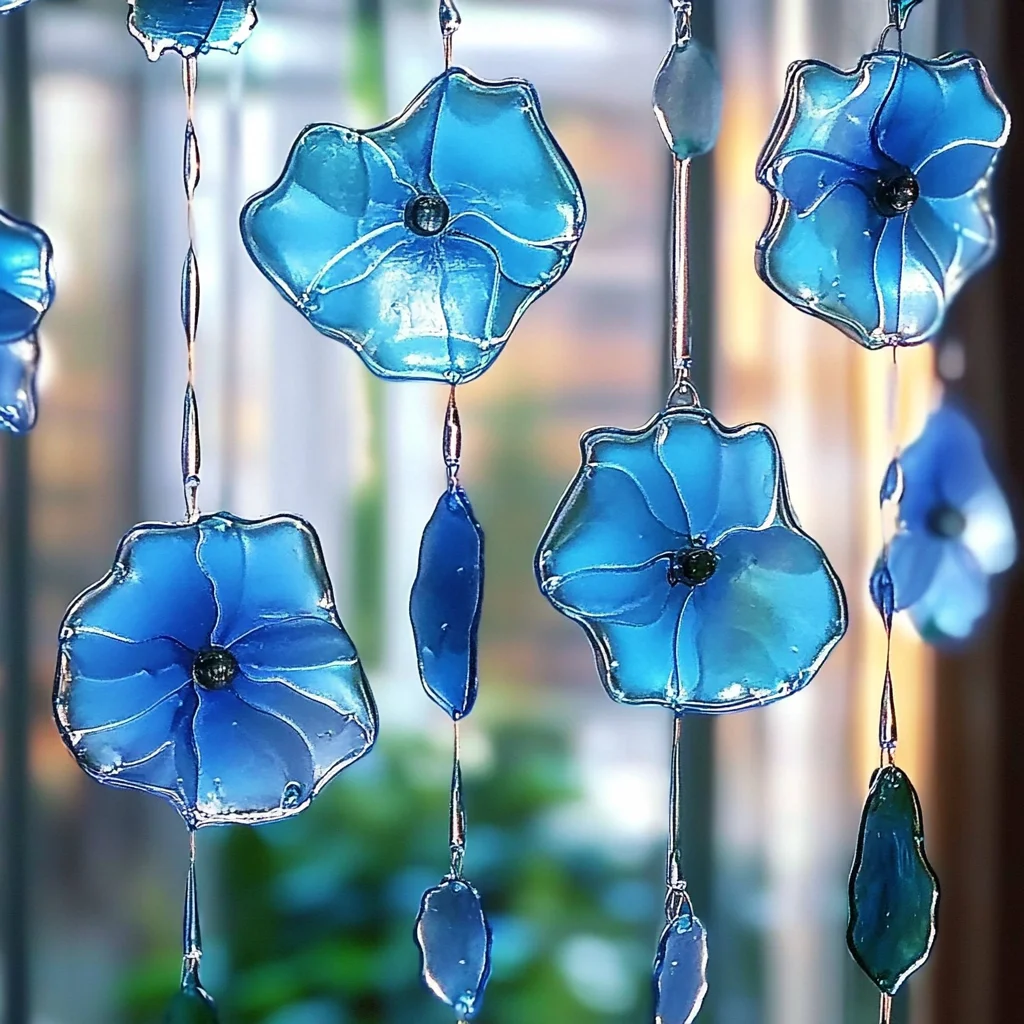
Step 8: Punch and Hang. Use your hole punch to make a small hole at the top of each suncatcher shape. Then, thread your embroidery floss, string, or thread through the hole. Tie a loop for hanging, and voilà! Find a sunny window in your kitchen, living room, or even a child’s bedroom, and watch your beautiful blue suncatchers glow. They bring such a cheerful vibe to any space, kind of like the joy of creating DIY Melted Crayon Stars for the holidays!
Substitutions & Additions
The beauty of a craft like this is how easily you can customize it! While blue is beautiful, don’t feel limited. You can absolutely use other crayon colors – imagine a rainbow suncatcher! Or maybe warm autumn tones for fall, or a mix of reds and pinks for Valentine’s Day. If you’re feeling extra fancy, sprinkle in a tiny pinch of fine glitter before ironing for an added sparkle. Just a little bit goes a long way! You could also experiment with different types of paper, though waxed paper gives that lovely translucent effect. For a truly unique touch, try pressing small dried flowers or leaves between the waxed paper sheets before ironing, just be mindful that they might darken slightly with the heat. It’s all about experimenting and finding what brings you joy, similar to the creative process behind making DIY Rainbow Bouncy Balls.
Tips for Success
- Iron Temperature is Key: Always start with the lowest heat setting on your iron. Too hot, and you risk burning the wax paper or making the colors too runny and muddled. You want a gentle melt.
- No Steam Zone: Seriously, no steam! Steam can cause the waxed paper to wrinkle and become less translucent, ruining your smooth finish.
- Even Shaving Distribution: Try to sprinkle your crayon shavings as evenly as possible. This helps ensure consistent melting and a uniform color throughout your suncatcher.
- Protect Your Surface: Place an old towel or a few sheets of newspaper under your waxed paper before ironing to protect your work surface from any accidental crayon residue or heat.
- Patience is a Virtue: Allow the melted crayon art to cool completely before cutting. Rushing this step can lead to smudged colors or tears in the delicate wax.
- Adult Supervision is a Must: When using the iron, always have an adult present, especially if kids are involved in the crafting process. Safety first!
How to Store Blue Crayon Suncatchers
These lovely suncatchers are quite durable once cooled, but they are still made of wax, which means they can be a little delicate in extreme temperatures. If you need to store them (though I doubt you’ll want to take them down!), lay them flat between sheets of parchment paper or tissue paper to prevent them from sticking together. Keep them in a cool, dry place away from direct sunlight or excessive heat, as they could melt or warp. Stored properly, these beautiful creations will keep their vibrant color and shape for ages!
FAQs
Q: Can kids make these suncatchers?
A: Absolutely! This is a fantastic craft for kids of all ages. Just make sure an adult handles the iron, and supervises the sharpener. Kids can have a blast peeling crayons, sprinkling shavings, and choosing shapes!
Q: What if I don’t have an iron?
A: While an iron is ideal for the smooth, fused look, you could experiment with placing the waxed paper in a warm oven on a baking sheet for a very short time (again, with adult supervision and close monitoring!), or even using a heat gun on a low setting. However, the iron method usually gives the best, most even results.
Q: Can I use different types of paper?
A: Waxed paper is specifically chosen for its translucent quality and ability to fuse with melted crayon. Other papers might burn, or simply won’t give you that beautiful light-filtering effect. So, stick with waxed paper for the best results!
Q: How long do these suncatchers last?
A: When hung in a window, they can last for years! Over time, direct, intense sunlight might slightly fade the colors or cause very slight warping, but generally, they are quite resilient and will continue to bring joy for a long time.
For more delightful craft ideas and delicious recipes, be sure to follow us on Pinterest!
DIY Blue Crayon Suncatchers: Brighten Your Home with Melted Art!
Ingredients
Equipment
Method
- Step 1: Get Those Crayons Ready! First things first, peel all the paper labels off your blue crayons. Once they're naked, grab your sharpener and get to work! You want a mix of fine, powdery shavings and some chunkier bits. This variety creates the most beautiful, swirly patterns when melted. A pencil sharpener works best for getting those perfect curls!
- Step 2: Set Your Stage. Lay one sheet of waxed paper flat on a protected surface – a cutting board or an old towel works great to keep your table safe. This is going to be the base of your suncatcher.
- Step 3: Sprinkle the Blue Hues. Evenly sprinkle your blue crayon shavings all over the waxed paper. Don't go too thick, but make sure there's enough coverage to create a solid color when melted. You can make patterns, or just a random mosaic of blues.
- Step 4: Top It Off. Carefully place a second sheet of waxed paper directly over your crayon shavings. Try to align the edges as best you can. Give it a gentle press with your hand to help it stick a little and keep those shavings in place.
- Step 5: Time to Melt! (Adults Only Here!) This step needs an adult's steady hand. Set your iron to its lowest heat setting, and whatever you do, make sure the steam function is OFF! Gently press the warm iron over the top sheet of waxed paper. You'll see the crayons start to melt and spread. Move the iron slowly and evenly, covering the entire surface.
- Step 6: Swirls of Wonder. Continue ironing until all the crayon shavings have melted and fused together into a smooth, colorful, swirly sheet. You'll want to see a nice, even blend of colors, but don't overdo it or the colors might become too muddled. Watch the different shades of blue melt into each other, creating a unique pattern every time.
- Step 7: Cool Down and Cut Out. Let your waxed paper masterpiece cool completely for several minutes. It needs to be firm before you start cutting. Once cooled, grab your scissors and sketch out your desired shapes. Raindrops, circles, stars, or even little fish shapes would be adorable! Then, carefully cut them out. Don't worry if your lines aren't perfect; handmade is part of the charm!
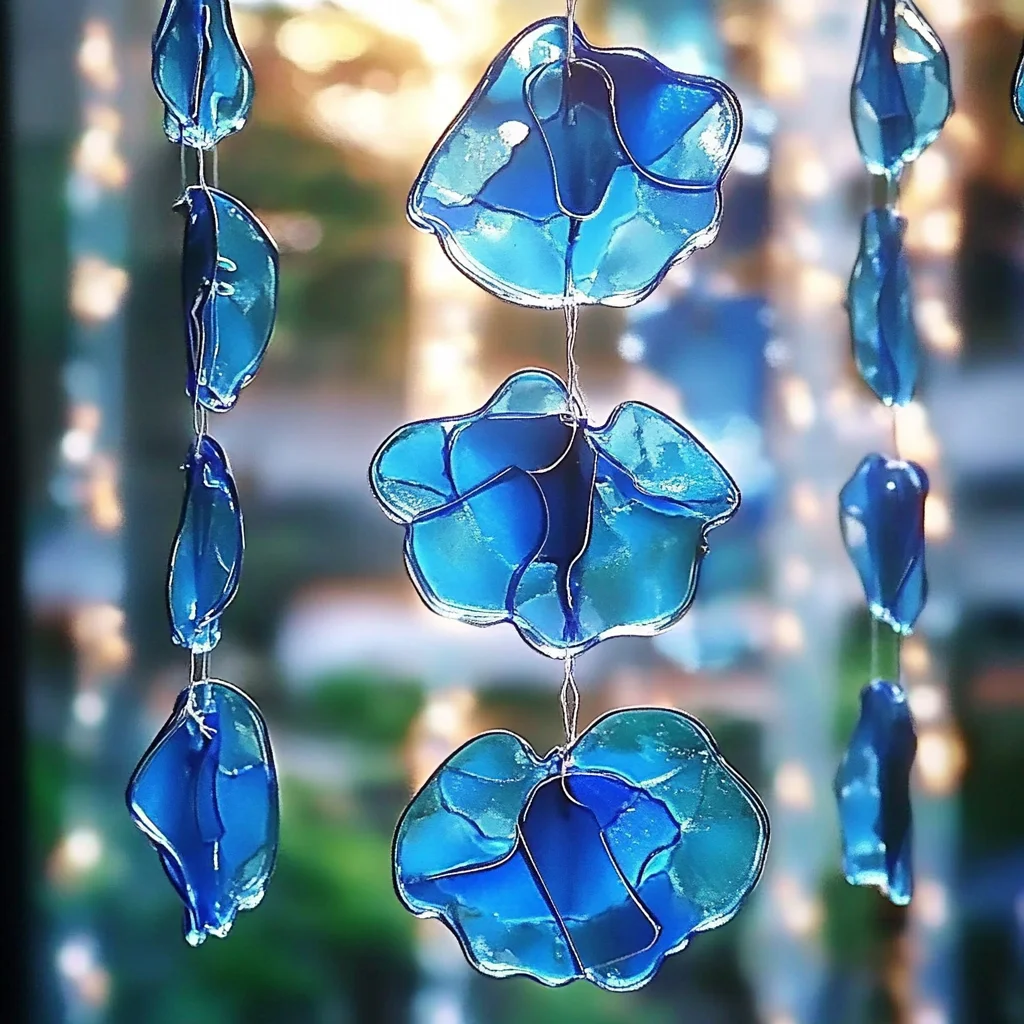
- Step 8: Punch and Hang. Use your hole punch to make a small hole at the top of each suncatcher shape. Then, thread your embroidery floss, string, or thread through the hole. Tie a loop for hanging, and voilà! Find a sunny window in your kitchen, living room, or even a child's bedroom, and watch your beautiful blue suncatchers glow.