Oh, friend, do you ever just wish you could bottle up that pure, unadulterated joy of childhood? The kind that comes from something simple, colorful, and utterly engaging? Well, get ready, because today we’re stepping back into those days with a recipe that isn’t for eating, but for making magic! We’re diving into the wonderful world of homemade Rainbow Bouncy Balls.
I remember the thrill of making things with my own hands as a kid – transforming everyday items into something totally new and exciting. And trust me, these bouncy balls deliver that same spark! They’re so incredibly easy and quick to whip up, you’ll wonder why you haven’t made them sooner. They’re perfect for a rainy afternoon, a science project, or just because you need a little burst of color and fun in your day. Plus, they make fantastic, personalized gifts or party favors. Speaking of easy and fun, if you’re looking for another crowd-pleasing, no-bake treat, you absolutely have to try our Muddy Buddies. They’re a hit every single time!
Why You’ll Love Rainbow Bouncy Balls
- Fast: From start to bounce in minutes!
- Easy: Simple ingredients, straightforward steps – perfect for all ages.
- Giftable: Personalize them for unique party favors or small presents.
- Crowd-pleasing: Kids (and adults!) are mesmerized by their colorful bounce.
- Educational: A fun, hands-on science experiment disguised as play!
Ingredients
Gathering your supplies for these bouncy beauties is super simple. You likely have most of these hanging around your house already!
- ½ cup Warm Water: Just warm enough to help dissolve the borax. Not too hot!
- 1 tablespoon Borax Powder: This is our magic ingredient that helps the glue get all bouncy. You can usually find it in the laundry aisle of your grocery store.
- 2 tablespoons White School Glue: Your basic Elmer’s glue is perfect. This is the base of our bouncy ball!
- 1 tablespoon Cornstarch: Helps give our bouncy balls their structure and a little extra firmness.
- Food Coloring or Gel Dye: This is where the “rainbow” comes in! Go wild with your favorite colors. Gel dyes tend to give a more vibrant color, but liquid food coloring works great too.
- Glitter (Optional): For that extra sparkle! Because who doesn’t love a little glitter?
- Glow-in-the-Dark Paint (Optional): Take your bouncy balls to the next level for nighttime fun!
How to Make Rainbow Bouncy Balls
Alright, let’s get our hands (a little) dirty and create some amazing, colorful bouncy balls! Follow these simple steps, and you’ll be bouncing in no time.
- First, the Borax Solution: Grab one of your cups. Pour in ½ cup of warm water and then add 1 tablespoon of borax powder. Give it a good stir until that borax is completely dissolved. No grainy bits left! This is your activator, so make sure it’s ready to go.
- Mix Your Colors: In a separate cup (or multiple cups if you’re doing several colors at once, which I highly recommend!), combine 2 tablespoons of white school glue with 1 tablespoon of cornstarch. Now for the fun part: add your desired food coloring or gel dye. Start with a few drops and mix it in. Want it more vibrant? Add more! Stir, stir, stir until the mixture is beautifully smooth and the color is even. If you’re adding glitter or glow-in-the-dark paint, this is the time to stir it into your glue mixture.
- The Magic Happens: Now for the transformation! Add just ½ tablespoon of your borax solution (from step 1) to your colored glue mixture. Stir it quickly! You’ll notice almost immediately that it starts to clump up and form a gooey, gummy blob. Don’t worry, this is exactly what we want to see!
- Knead It Out: Once you have that clumpy blob, it’s time to get your hands in there. Take the mixture out of the cup and start kneading it with your hands. This step is key! You’ll want to knead it for about 2 minutes. It might be a little sticky at first, but keep working it. It’ll become smoother, firmer, and much less sticky, transforming into a proper bouncy material.
- Repeat for More Colors: If you’re aiming for that stunning rainbow effect (and why wouldn’t you be?), repeat steps 1-4 for each additional color you want to use. Make a whole palette of vibrant hues!
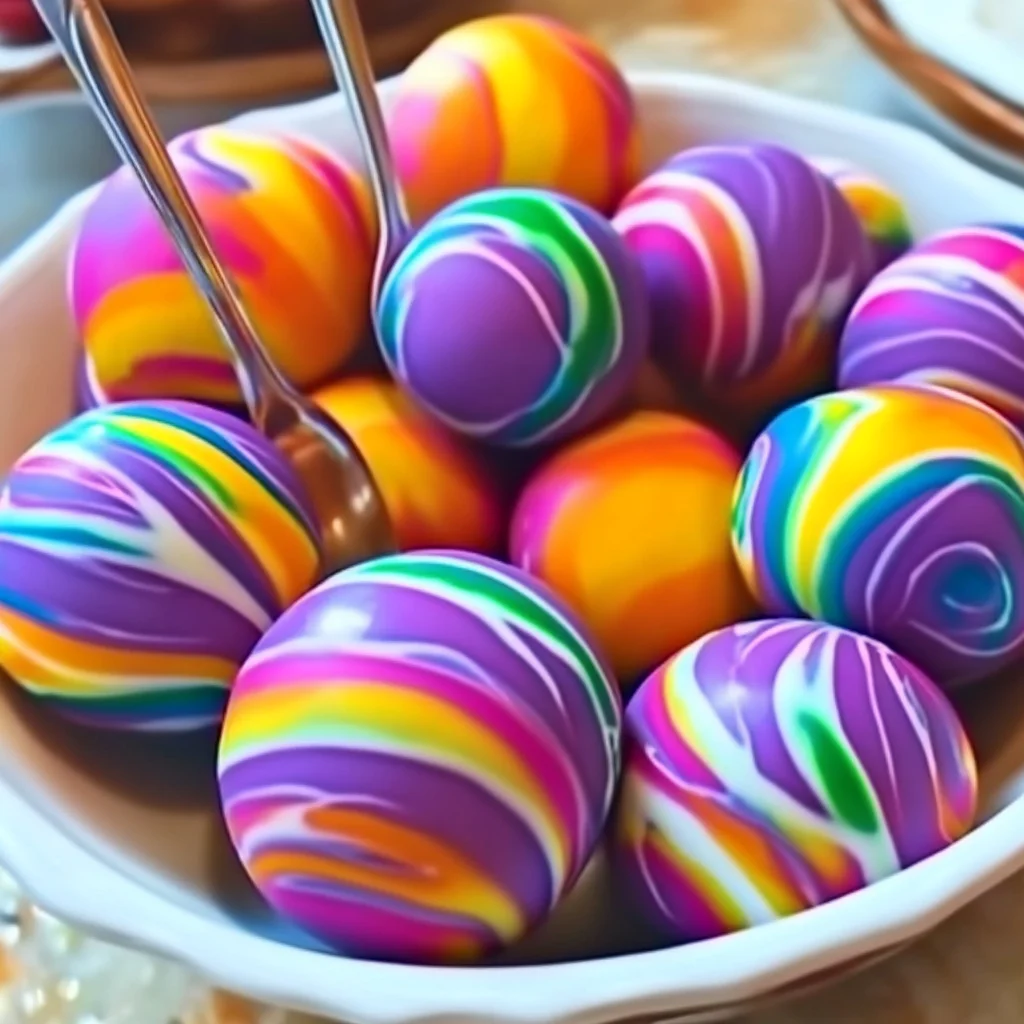
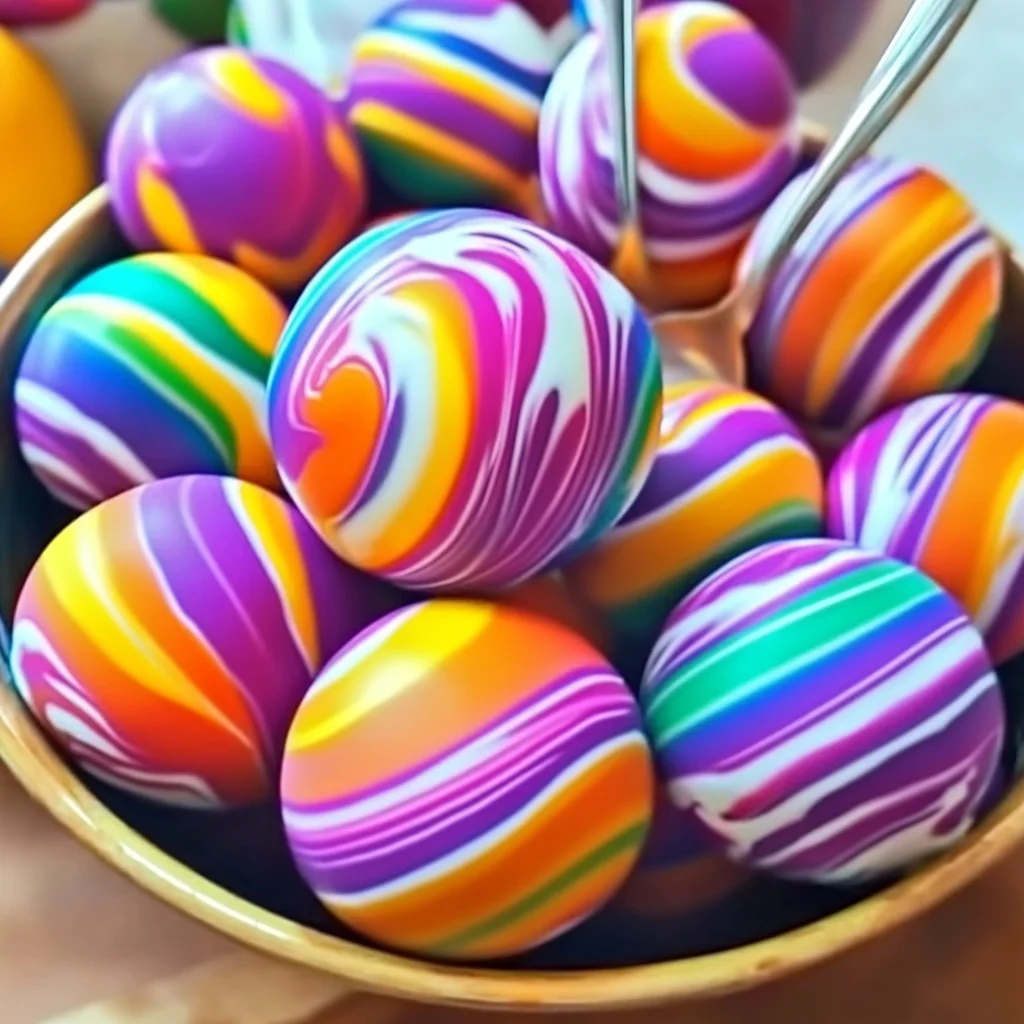
- Assemble Your Rainbow: Once you have all your colored bouncy ball doughs ready, take small pieces of each color. Press them together, gently at first, and then roll them in your palms, shaping them into a nice, tight sphere. The more you roll, the more the colors will swirl and blend, creating that gorgeous rainbow pattern.
Substitutions & Additions
Part of the fun of DIY projects is making them your own! Here are some ideas to shake things up:
- Scented Fun: Add a drop or two of essential oils (like peppermint or orange) to your glue mixture for a sensory surprise. Just be mindful if kids are playing with them to ensure it’s a safe, non-toxic oil.
- Texture Play: Instead of just glitter, try adding tiny beads, sand, or even micro foam balls for different textures and looks.
- Different Glues: While white school glue works best for this recipe, you can experiment with clear school glue for a more translucent effect if you’re going for super vibrant, clear colors.
- Gift Packaging: Once your bouncy balls are ready, pop them into small clear bags with a cute tag. They make adorable party favors or classroom gifts!
Tips for Success
To ensure your bouncy ball making experience is as smooth as possible, keep these tips in mind:
- Don’t Skip the Kneading: This is probably the most crucial step. It helps activate the borax-glue reaction fully and gets rid of the stickiness, giving you a perfectly bouncy ball.
- Start Small with Borax: Only add the ½ tablespoon of borax solution initially. Too much borax too fast can make your mixture too hard or crumbly, and not bouncy.
- Warm Water is Key: Ensure your water is warm for the borax solution. This helps the borax dissolve properly, which is essential for the chemical reaction.
- Protect Your Surface: While not overly messy, it’s always a good idea to lay down some newspaper or a craft mat, especially when little hands are involved.
- Clean Up is Easy: If you do get any sticky residue on your hands or surfaces, a little warm water and soap will do the trick.
- Experiment! Don’t be afraid to play with color combinations or add-ins. This is a creative project, after all! For another simple and fun science-based craft, you might love making a DIY rain cloud jar with the kids.
How to Store Rainbow Bouncy Balls
Once you’ve made your awesome bouncy balls, you’ll want to keep them bouncy for as long as possible! They’re not immortal, but proper storage can extend their life.
Store your homemade bouncy balls in an airtight container or a resealable plastic bag at room temperature. This helps prevent them from drying out and losing their elasticity. They typically last for a few days to a week. If you notice them getting a bit stiff, sometimes a quick roll in warm water can revive a little of their bounce, but mostly, they’re best enjoyed fresh!
FAQs
Got questions? I’ve got answers!
Can I use other types of glue?
White school glue (PVA glue) works best for this recipe as its chemical composition reacts perfectly with borax to form a polymer that creates the bouncy texture. Other glues might not yield the same results.
Is borax safe for kids?
When used in small, controlled amounts as an ingredient in crafts (like slime or bouncy balls) and with adult supervision, borax is generally considered safe. However, it’s not for consumption, so ensure children understand not to put the mixture in their mouths. Always wash hands thoroughly after crafting!
My bouncy ball isn’t very bouncy. What went wrong?
This usually happens if the mixture wasn’t kneaded enough, or if the ratio of borax solution to glue wasn’t quite right. Ensure you kneaded the dough for at least 2 minutes until it was smooth and firm. If it’s too sticky, you can try adding another tiny bit of borax solution, but do so sparingly!
Can I make them bigger?
Absolutely! Just scale up the ingredients proportionally. For example, use 4 tablespoons of glue, 2 tablespoons of cornstarch, and 1 tablespoon of borax solution, and adjust your water for the borax mixture accordingly.
I hope you and your family have an absolute blast making these vibrant, bouncy creations! They’re a fantastic way to spend some quality time together and bring a little extra color into your world.
For more delicious recipes and fun DIY ideas, make sure to follow us on Pinterest!
Rainbow Bouncy Balls
Ingredients
Equipment
Method
- Step 1: First, the Borax Solution: Grab one of your cups. Pour in ½ cup of warm water and then add 1 tablespoon of borax powder. Give it a good stir until that borax is completely dissolved. This is your activator, so make sure it's ready to go.
- Step 2: Mix Your Colors: In a separate cup (or multiple cups if you're doing several colors at once), combine 2 tablespoons of white school glue with 1 tablespoon of cornstarch. Add your desired food coloring or gel dye (start with a few drops) and stir until the mixture is beautifully smooth and the color is even. If adding glitter or glow-in-the-dark paint, stir it into your glue mixture now.
- Step 3: The Magic Happens: Add just ½ tablespoon of your borax solution (from step 1) to your colored glue mixture. Stir it quickly! You'll notice almost immediately that it starts to clump up and form a gooey, gummy blob.
- Step 4: Knead It Out: Once you have that clumpy blob, take the mixture out of the cup and start kneading it with your hands. Knead for about 2 minutes; it might be a little sticky at first, but keep working it. It'll become smoother, firmer, and much less sticky, transforming into a proper bouncy material.
- Step 5: Repeat for More Colors: If you're aiming for that stunning rainbow effect, repeat steps 1-4 for each additional color you want to use.
- Step 6: Assemble Your Rainbow: Once you have all your colored bouncy ball doughs ready, take small pieces of each color. Press them together, gently at first, and then roll them in your palms, shaping them into a nice, tight sphere. The more you roll, the more the colors will swirl and blend, creating that gorgeous rainbow pattern. Serve immediately.