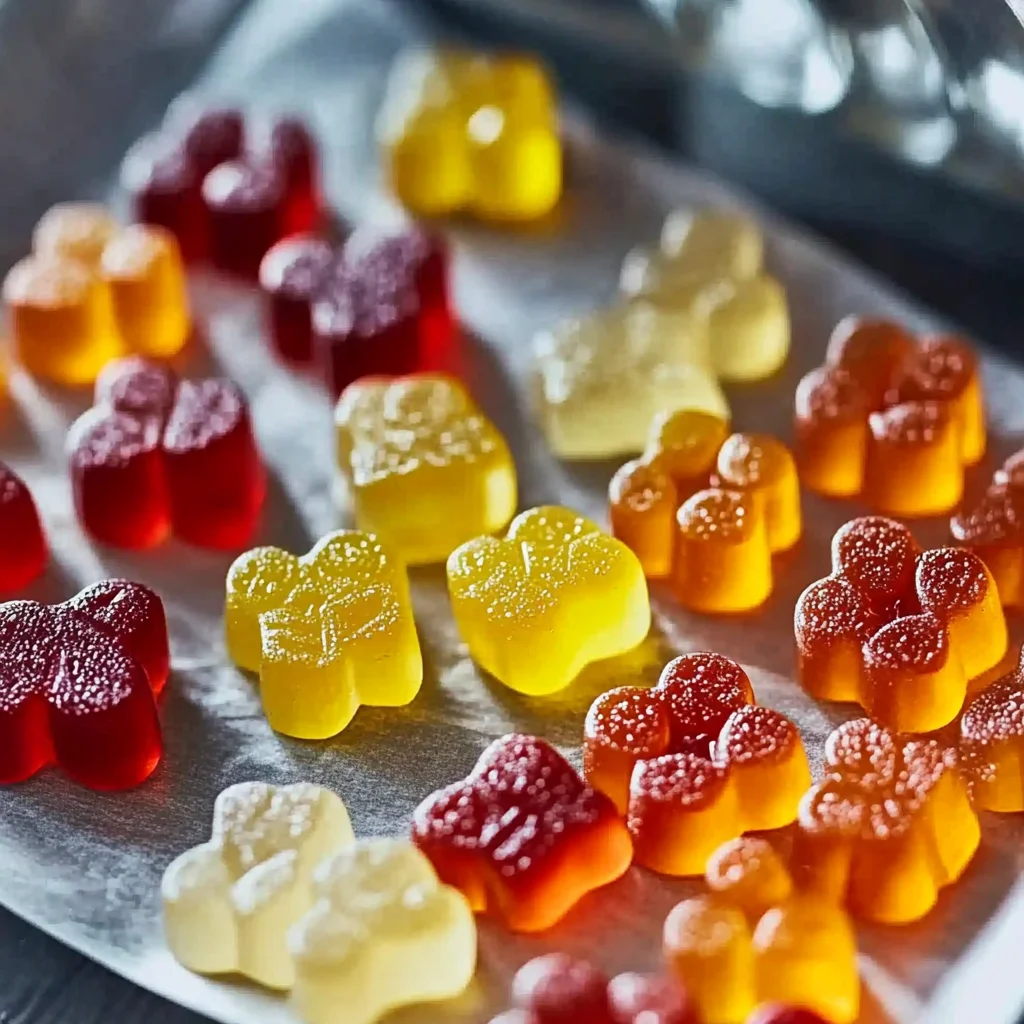
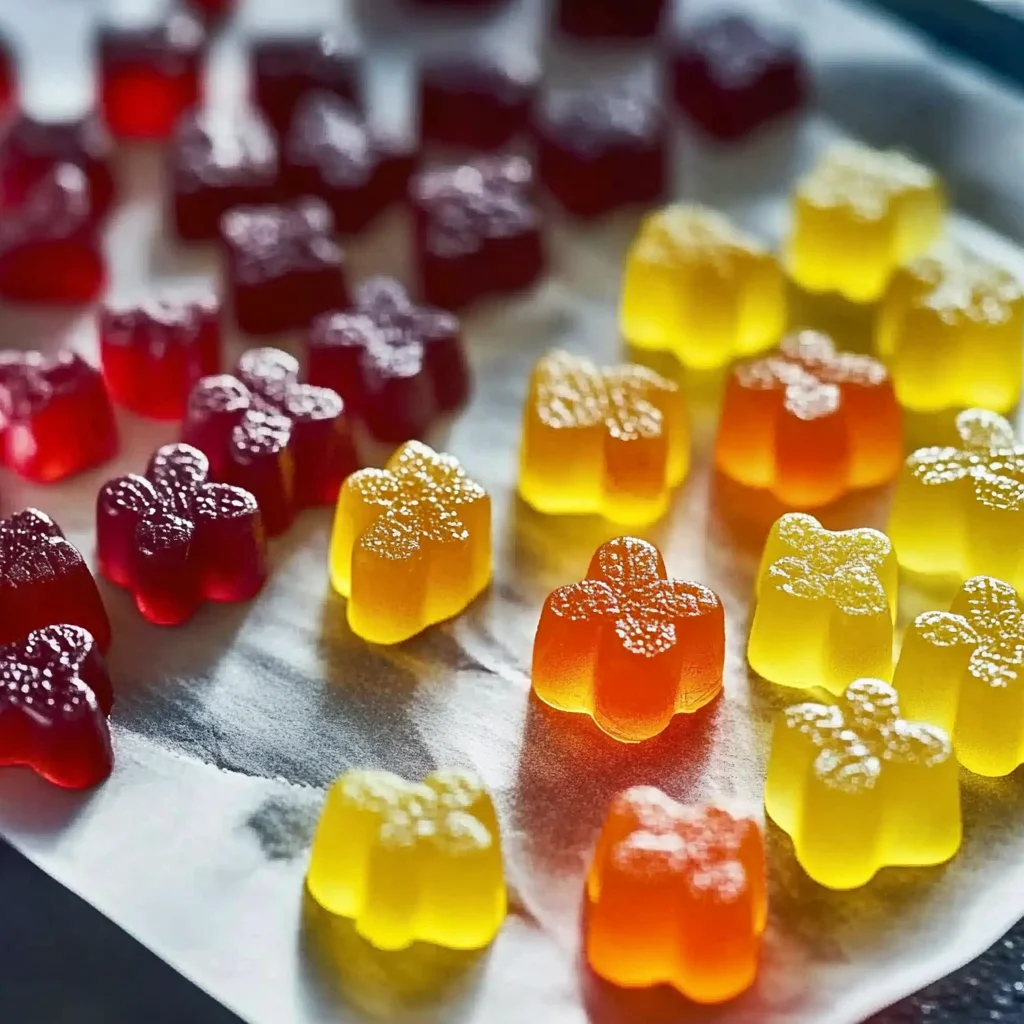
Remember those childhood afternoons when you’d sneak a handful of your favorite gummy candies, their fruity flavors bursting with every chew? There’s something so comforting and nostalgic about gummies, isn’t there? But as we get older, we become more mindful about what goes into our snacks. That’s why I’m so excited to share this easy healthy homemade gummies recipe with you—a perfect blend of sweet, chewy goodness without all the artificial stuff. It’s quick, simple, and downright fun to make. Plus, you can customize the flavors to your heart’s content, making these gummies a wholesome treat that feels just as magical as the ones you loved as a kid.
Whether you’re making these for your kids, a healthy snack for yourself, or even a thoughtful homemade gift, these gummies are guaranteed to bring a smile. And trust me, once you make your own, store-bought just won’t cut it anymore!
Why You’ll Love Easy Healthy Homemade Gummies
- Fast: From start to finish, these gummies take less than 30 minutes, perfect for a quick snack fix.
- Easy: Just a few simple ingredients and straightforward steps—no fancy equipment needed.
- Giftable: Homemade gummies make charming, personalized gifts for holidays, birthdays, or just-because moments.
- Crowd-pleasing: Kids and adults alike adore these chewy delights, especially since you control the flavors and sweetness.
Ingredients
Let’s talk about the ingredients that make this recipe both delicious and nourishing:
- 1 cup 100% fruit juice: This is your base flavor. I love using pomegranate or cherry juice for their vibrant color and antioxidants, but feel free to pick your favorite. Mixing fruit puree with juice adds a natural thickness and boosts flavor.
- 8 teaspoons grass-fed gelatin (unflavored): Gelatin is key for that perfect gummy texture. Grass-fed gelatin is rich in protein and supports joint and skin health. If you want to explore gelatin alternatives, I’ll cover that in substitutions.
- 2 tablespoons honey (optional): Adds gentle sweetness and depth. You can swap it with maple syrup if you prefer a vegan option or want a different flavor nuance.
These ingredients are pantry-friendly and wholesome. No artificial colors, flavors, or preservatives here—just pure, simple goodness!
How to Make Easy Healthy Homemade Gummies
Ready to get started? Here’s a step-by-step guide that walks you through the process. I’ll also sprinkle in some tips to ensure your gummies turn out just right.
- Warm the fruit juice: Pour the fruit juice into a small saucepan and gently warm it over medium-low heat. You want it warm to the touch but not boiling—about 3 minutes usually does the trick. This helps the gelatin dissolve smoothly.
- Dissolve the gelatin: Sprinkle the gelatin gradually into the warm juice while whisking constantly. This is important to avoid lumps. Keep whisking until the mixture becomes clear or slightly opaque, signaling that the gelatin is fully dissolved.
- Prepare the fruit puree (if using whole fruit): If you’re adding whole fruit for extra flavor and texture, blend it until smooth. I like using berries or mango for their natural sweetness and color vibrancy. Pour this puree into a large bowl or a spouted measuring cup for easy mixing.
- Combine the gelatin mixture and puree: Slowly pour the warm juice and gelatin mix into the fruit puree while whisking. This ensures a smooth, uniform mixture without clumps.
- Pour into molds: Place your silicone molds or an 8×8 glass pan on a baking sheet for stability. Carefully pour the mixture into the molds, avoiding overfilling. Silicone molds are my favorite because gummies pop out easily without sticking.
- Set the gummies: Pop the molds into the freezer for 15 minutes. This quick chill helps them firm up nicely without taking all day.
- Unmold and store: Once set, gently remove your gummies from the molds. Store them in an airtight container in the fridge for up to 2 weeks. They make a perfect grab-and-go snack!
If you’re curious about more homemade snack ideas that are just as inviting and wholesome, check out my cozy homemade fruit snacks recipe for a fun twist on fruity treats.
Substitutions & Additions
One of the best parts about making your own gummies is how easy it is to customize them. Here are some swaps and add-ons to tailor your gummies to your taste and dietary needs:
- Gelatin alternatives: If you prefer a vegan or vegetarian option, agar-agar powder can be used instead of gelatin. Keep in mind agar sets differently and can be a bit firmer. Start with about the same amount and experiment to find your favorite texture.
- Sweeteners: Honey and maple syrup are both wonderful natural sweeteners, but you can also try agave nectar or even a little stevia if you want to keep sugar low.
- Juices and purees: Mix and match your favorite fruits! Think apple and cinnamon puree for fall vibes, or pineapple with a splash of coconut water for a tropical twist. For a zesty kick, add a teaspoon of fresh lemon or lime juice.
- Boosts: Stir in a teaspoon of vitamin C powder or a splash of elderberry syrup for an immune boost, especially during cold and flu season.
- Herbal infusions: Gently warm the juice with fresh herbs like mint or lavender before adding gelatin for subtle, refreshing flavor notes.
Feeling adventurous? You might also enjoy pairing these gummies with other homemade treats like the no-bake peanut butter pie, which makes a perfect dessert duo for your next cozy night in.
Tips for Success
Making homemade gummies is straightforward, but a few little tips can help you avoid common pitfalls and get the best results every time:
- Don’t let the juice boil: High heat can damage the flavor and nutrients in your juice. Warm it gently to just above room temperature.
- Whisk constantly when adding gelatin: This prevents clumps and ensures a silky smooth gummy texture.
- Use silicone molds: They make removing your gummies easier and mess-free. If you don’t have molds, an 8×8 glass pan works—just cut the gummies into squares once set.
- Freeze briefly, don’t refrigerate to set: Freezing firms the gummies quickly and keeps them chewy without becoming sticky or melting.
- Prep ahead: You can make a double batch and freeze some gummies for longer storage. Just thaw in the fridge before enjoying.
- Keep gummies refrigerated: This prevents them from getting too soft or sticky, especially in warm kitchens.
For more cozy homemade recipes that bring comfort and joy, you might want to explore my warm and inviting easy moist banana bread recipe—perfect for snacking alongside your gummies.
How to Store Easy Healthy Homemade Gummies
Storage is key to keeping your gummies fresh and delicious. After unmolding, place them in an airtight container to avoid moisture and odors from the fridge settling in. Store them in the refrigerator where they’ll keep for up to 2 weeks. If you want to enjoy them over a longer period, consider freezing your gummies in a sealed container or freezer bag. When you’re ready to eat, just thaw in the fridge for a few hours to bring back their perfect chewy texture.
Avoid storing gummies at room temperature for long periods, especially in warmer climates, as this can cause them to soften too much or even spoil.
FAQs
Can I use any type of fruit juice for these gummies?
Absolutely! You can use any 100% fruit juice you like—apple, grape, pomegranate, cherry, or even a blend. Just avoid juices with added sugars or preservatives for the healthiest gummies.
Are these gummies suitable for vegans?
Traditional gelatin is animal-based, so for vegan gummies, you can substitute gelatin with agar-agar powder. Keep in mind the texture will be a bit different but still tasty and fun!
How long do homemade gummies last?
When stored properly in an airtight container in the fridge, your gummies can last up to 2 weeks. For longer storage, freezing is your best bet.
Can I add vitamins or supplements to the gummy mixture?
Yes! Adding powdered vitamin C or elderberry syrup can be a great way to boost the health benefits. Just be careful not to add anything that might affect the setting process, like too much liquid or oil.
If you’re loving the idea of making your own snacks from scratch, be sure to visit Recettia for tons of other easy and comforting recipes, like the delightful Chicago style bakery apple slices that make a perfect fall treat.
Thanks for spending time with me in the kitchen today! If you try these gummies, I’d love to hear how they turn out and what creative flavors you come up with. Homemade snacks like these remind us how simple ingredients and a little love can create something truly special.
Don’t forget to follow us on Pinterest for more inspiring recipes and kitchen ideas!
Easy Healthy Homemade Gummies
Ingredients
Equipment
Method
- Step 1: Pour the fruit juice into a small saucepan and gently warm over medium-low heat for about 3 minutes until warm but not boiling.
- Step 2: Gradually sprinkle the gelatin into the warm juice while whisking constantly to avoid lumps, until the mixture becomes clear or slightly opaque.
- Step 3: If using whole fruit puree, blend until smooth and pour into a large bowl or spouted measuring cup for easy mixing.
- Step 4: Slowly pour the gelatin mixture into the fruit puree while whisking to combine smoothly and evenly.
- Step 5: Carefully pour the mixture into silicone molds or an 8x8 glass pan placed on a baking sheet for stability.
- Step 6: Place molds in the freezer for 15 minutes to quickly set the gummies.
- Step 7: Gently remove the gummies from molds and store in an airtight container in the refrigerator for up to 2 weeks.