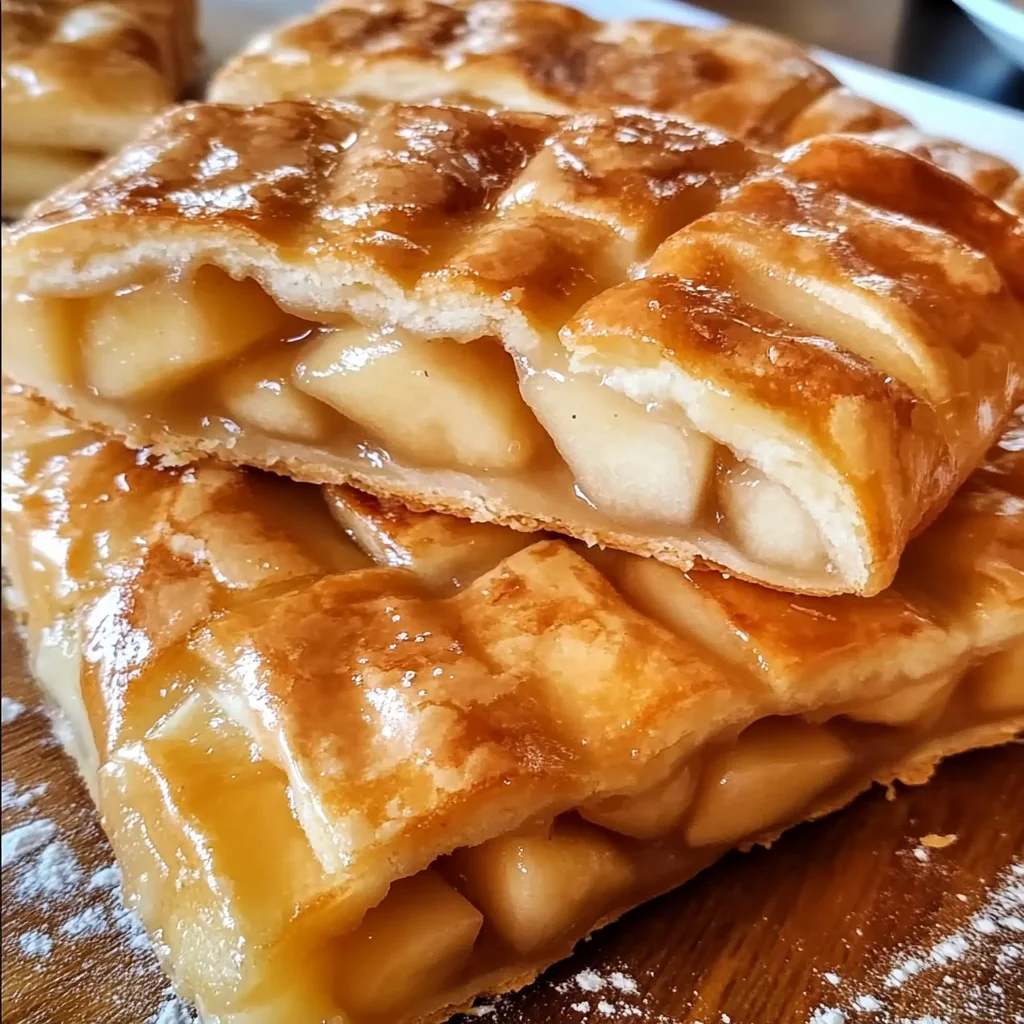
Oh, friend, do you ever get that craving for a slice of something utterly comforting, something that transports you straight back to the cozy smell of a local bakery on a crisp autumn morning? For me, it’s these Chicago-Style Bakery Apple Slices. There’s just something magical about tender, spiced apples nestled between flaky crusts, all finished with a dreamy sweet glaze. It’s that perfect blend of nostalgic warmth and homemade goodness, and I’m so excited to share it with you!
What if I told you that achieving that bakery-quality deliciousness at home is not only totally doable but also surprisingly quick? Forget complicated pies and fussy techniques. This recipe is designed to bring that glorious apple flavor right to your kitchen with minimal stress and maximum satisfaction. You’re going to absolutely adore how easy, quick, and utterly memorable these apple slices are.
Why You’ll Love Chicago-Style Bakery Apple Slices
- Fast: Get that homemade apple dessert on your table quicker than you’d think.
- Easy: Simple steps and common ingredients make this a breeze, even for beginner bakers.
- Giftable: These slices are perfect for sharing with neighbors, friends, or bringing to a potluck. Everyone will ask for the recipe!
- Crowd-pleasing: A classic flavor combo that appeals to everyone, young and old.
Ingredients
Gather your simple ingredients, and let’s get ready to create some magic!
- All-purpose flour: The backbone of our wonderfully flaky crust.
- Granulated sugar: Just a touch for the crust, and the perfect sweetness for our apple filling.
- Salt: Essential for balancing flavors in both the crust and the filling. Don’t skip it!
- Unsalted butter, cold and cubed: This is key for a truly flaky, tender crust. Keep it super cold!
- Large eggs: Helps bind our dough together for the perfect texture.
- Cold water: Again, cold is the secret to a happy, workable pastry dough.
- Apples, peeled, cored, and thinly sliced: About 6-8 medium apples. I love using a mix of sweet (like Fuji or Gala) and tart (like Granny Smith) for the best flavor balance.
- Light brown sugar, packed: Adds a lovely caramel-y depth to the apple filling that granulated sugar alone can’t quite achieve.
- Ground cinnamon & nutmeg: The dynamic duo that screams “apple dessert” and fills your home with the most incredible aroma.
- Lemon juice: A splash brightens the apple flavor and helps prevent browning.
- Unsalted butter, melted: A little drizzle over the apples before baking makes them extra rich and tender.
- Powdered sugar: For that dreamy, smooth bakery-style glaze.
- Milk: Just a few tablespoons to thin out our glaze to the perfect drizzly consistency.
- Vanilla extract: A hint of vanilla in the glaze takes it from good to absolutely divine.
How to Make Chicago-Style Bakery Apple Slices
Ready to get your bake on? Let’s walk through this together, step by delicious step!
- First things first, let’s get that oven warmed up! Preheat your oven to a cozy 375°F (190°C).
- In a big mixing bowl, whisk together your flour, granulated sugar, and salt for the crust. This ensures everything is nicely combined.
- Now for the butter! Using a pastry cutter or your clean fingertips, cut the cold, cubed butter into the flour mixture. You’re aiming for a texture that resembles coarse crumbs, with some pea-sized pieces of butter still visible. This is where the magic of a flaky crust begins! If you love a good homemade dessert, you should definitely check out my recipe for The Ultimate Classic Carrot Cake – understanding how butter works in baking is key to so many delicious treats!
- Grab a separate small bowl and beat those eggs, then mix them with the cold water.
- Gradually pour the egg mixture into your flour-butter combo, stirring gently until the dough starts to come together. If it’s still a bit dry, add a little more cold water, one tablespoon at a time, until you have a cohesive dough. Be careful not to overmix!
- Divide your beautiful dough into two equal portions. Wrap each tightly in plastic wrap and pop them into the fridge to chill for at least 30 minutes. This resting period is crucial for a tender crust.
- While your dough is chilling out, it’s apple time! In a large bowl, combine your thinly sliced apples with the granulated sugar, light brown sugar, flour, cinnamon, nutmeg, and lemon juice. Give it a good toss until all those apple slices are evenly coated. They’ll smell amazing already! Looking for another delightful treat to whip up that’s just as easy? My Easy Chocolate Chip Cheesecake Bars are always a hit!
- Once the dough is chilled, lightly flour a clean surface. Take one portion of dough and roll it out into a rectangle, about 1/4-inch thick. Carefully transfer this rolled-out dough to a greased or parchment-lined baking sheet.
- Evenly spread your fragrant apple filling over the bottom crust. Then, drizzle that melted butter right on top of the apples.
- Roll out the second portion of dough to the same size as the first. Gently place this top crust over the apple filling. Pinch the edges of the dough together to seal in all that appley goodness. Then, use a small knife to cut several little slits on the top crust – this lets steam escape and prevents a soggy top!
- Bake your apple slices for 40-45 minutes, or until the crust is beautifully golden brown and you can see the apple filling bubbling temptingly around the edges.
- While your apple slices are cooling down just a bit, whip up that glorious glaze! In a small bowl, whisk together the powdered sugar, milk, and vanilla extract until it’s perfectly smooth and drizzly.
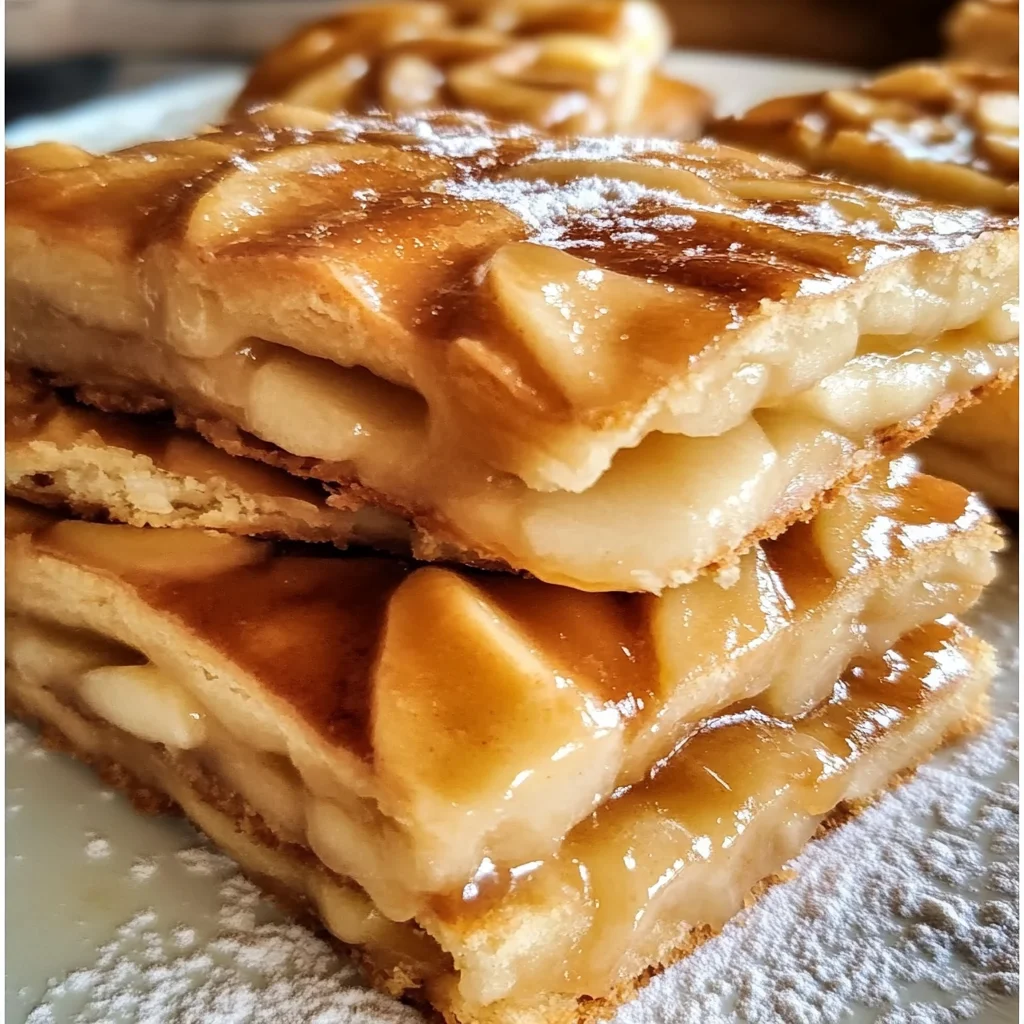
- As soon as the apple slices are out of the oven and still warm (but not piping hot), drizzle that lovely glaze all over them. The warmth helps the glaze set just right. Slice ’em up and serve!
Substitutions & Additions
Part of the fun of baking at home is making a recipe your own! Here are a few ideas to get you started:
- Apples: Feel free to experiment with different apple varieties! Honeycrisp, Braeburn, or even Pink Lady would be fantastic.
- Spices: A pinch of ground ginger or cardamom would be a wonderful addition to the cinnamon and nutmeg.
- Crunch Factor: Sprinkle a handful of chopped walnuts or pecans over the apples before adding the top crust for a delightful textural contrast.
- Store-Bought Crust: In a real pinch for time? You can absolutely use two sheets of store-bought refrigerated pie crust for a shortcut. Just follow the baking instructions for the filling.
- Caramel Drizzle: Instead of, or in addition to, the vanilla glaze, a drizzle of warm caramel sauce would be absolutely divine!
Tips for Success
- Keep Butter Cold: This is my #1 tip for a flaky crust. Cold butter creates pockets of steam in the oven, giving you that lovely layers.
- Don’t Overwork the Dough: Mix until just combined. Overworking the dough develops too much gluten, resulting in a tough crust instead of a tender one.
- Thinly Slice Apples: Uniformly thin slices ensure the apples cook evenly and become perfectly tender.
- Vent the Top Crust: Those little slits aren’t just for show! They release steam, preventing your top crust from puffing up too much or getting soggy.
- Prep Ahead: You can make the dough a day in advance and store it in the fridge. You can also peel and slice the apples a few hours ahead and toss them with the lemon juice to prevent browning.
How to Store Chicago-Style Bakery Apple Slices
If you happen to have any leftovers (a big “if” in my house!), these apple slices store beautifully. You can keep them covered tightly at room temperature for up to 2 days. For longer storage, pop them in an airtight container in the refrigerator for up to 4-5 days. To enjoy warm again, a quick zap in the microwave or a few minutes in a preheated oven (around 300°F) works wonders to revive that tender apple goodness.
FAQs
Q: What are the best apples to use for apple slices?
A: A mix of sweet and tart apples is ideal! I love Granny Smith for tartness and Fuji or Gala for sweetness. Honeycrisp is also a fantastic all-around option that holds its shape well.
Q: Can I use a different type of sugar in the filling?
A: You can use all granulated sugar, but the light brown sugar adds a wonderful molasses-like flavor and richness that I highly recommend keeping!
Q: My crust seems a bit dry or too sticky, what should I do?
A: If it’s too dry, add cold water one teaspoon at a time until it comes together. If it’s too sticky, sprinkle in a tiny bit more flour. The key is to add very little at a time until you reach a workable dough.
For more delicious recipes and kitchen inspiration, be sure to follow us on Pinterest!
Chicago-Style Bakery Apple Slices
Ingredients
Equipment
Method
- Step 1: Preheat your oven to a cozy 375°F (190°C).
- Step 2: In a big mixing bowl, whisk together your flour, granulated sugar, and salt for the crust. This ensures everything is nicely combined.
- Step 3: Using a pastry cutter or your clean fingertips, cut the cold, cubed butter into the flour mixture. You're aiming for a texture that resembles coarse crumbs, with some pea-sized pieces of butter still visible.
- Step 4: Grab a separate small bowl and beat those eggs, then mix them with the cold water.
- Step 5: Gradually pour the egg mixture into your flour-butter combo, stirring gently until the dough starts to come together. If it's still a bit dry, add a little more cold water, one tablespoon at a time, until you have a cohesive dough. Be careful not to overmix!
- Step 6: Divide your dough into two equal portions. Wrap each tightly in plastic wrap and pop them into the fridge to chill for at least 30 minutes. This resting period is crucial for a tender crust.
- Step 7: While your dough is chilling out, it’s apple time! In a large bowl, combine your thinly sliced apples with the granulated sugar, light brown sugar, flour, cinnamon, nutmeg, and lemon juice. Give it a good toss until all those apple slices are evenly coated.
- Step 8: Once the dough is chilled, lightly flour a clean surface. Take one portion of dough and roll it out into a rectangle, about 1/4-inch thick. Carefully transfer this rolled-out dough to a greased or parchment-lined baking sheet.
- Step 9: Evenly spread your fragrant apple filling over the bottom crust. Then, drizzle that melted butter right on top of the apples.
- Step 10: Roll out the second portion of dough to the same size as the first. Gently place this top crust over the apple filling. Pinch the edges of the dough together to seal in all that appley goodness. Then, use a small knife to cut several little slits on the top crust – this lets steam escape and prevents a soggy top!
- Step 11: Bake your apple slices for 40-45 minutes, or until the crust is beautifully golden brown and you can see the apple filling bubbling temptingly around the edges.
- Step 12: While your apple slices are cooling down just a bit, whip up that glorious glaze! In a small bowl, whisk together the powdered sugar, milk, and vanilla extract until it’s perfectly smooth and drizzly.
- Step 13: As soon as the apple slices are out of the oven and still warm (but not piping hot), drizzle that lovely glaze all over them. The warmth helps the glaze set just right. Slice 'em up and serve immediately.