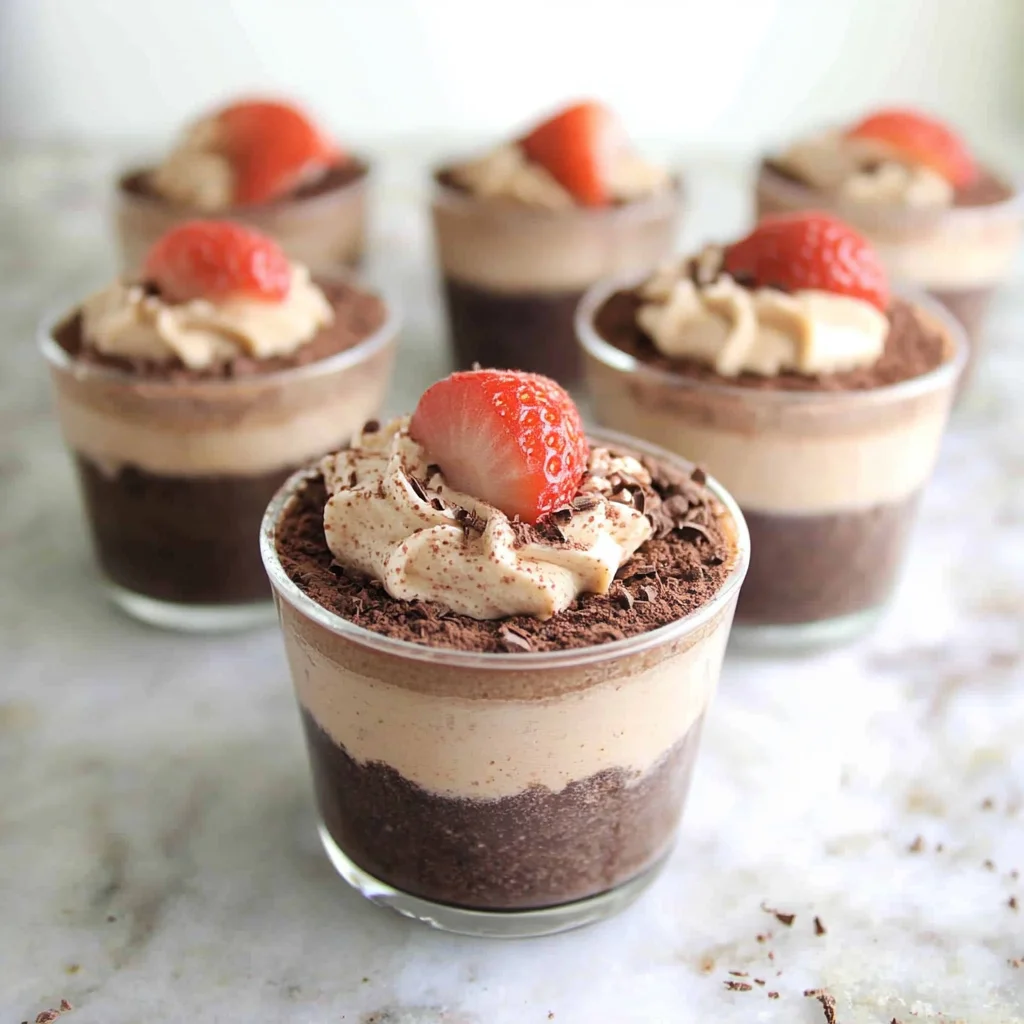
There’s something truly magical about a dessert that brings back sweet memories from childhood, yet feels fresh and exciting every time you make it. These Creamy Chocolate No-Bake Cheesecake Cups hit that nostalgic note perfectly. Imagine sitting down after a long day, spooning into a luscious, velvety chocolate cheesecake that didn’t require any oven time. That’s exactly what you’re getting here: a quick, fuss-free delight that tastes as dreamy as any fancy bakery’s creation but is incredibly simple to make at home.
I remember the first time I made these cheesecake cups—they were a lifesaver for a last-minute dinner party. Guests couldn’t believe something so rich and creamy could come together so quickly and without baking. Whether you’re craving a cozy treat for yourself or need a gorgeous dessert to impress friends, these no-bake cheesecake cups are always a win. Plus, they’re so versatile, you can dress them up with toppings or keep them classic and simple. Ready to dive into a chocolate lover’s paradise? Let’s get started!
Why You’ll Love Creamy Chocolate No-Bake Cheesecake Cups
- Fast: Ready in under 15 minutes, plus chilling time.
- Easy: No complicated baking skills needed—just mix, chill, and enjoy.
- Giftable: Perfect in little cups or jars for sharing with loved ones.
- Crowd-pleasing: Creamy, smooth, and chocolatey—what’s not to love?
Ingredients
Let’s talk about the stars of the show. This recipe keeps things simple but flavorful, so you won’t need a pantry full of fancy ingredients.
- Chocolate graham cracker crumbs or crushed OREO cookies: The crunchy base that adds a lovely chocolatey crunch. I sometimes swap between the two depending on what I have on hand.
- Salted butter: Melted and mixed with crumbs to create that perfect crust layer.
- Heavy cream or whipping cream: This is what makes the cheesecake so airy and light when whipped to stiff peaks.
- Unsweetened cocoa powder: For that deep, rich chocolate flavor without extra sweetness.
- Powdered sugar: Divided to sweeten both the cream and cream cheese layers perfectly.
- Cream cheese: Softened to room temperature for easy mixing and that classic cheesecake tang.
- Vanilla extract: Just a touch to enhance all the flavors and add warmth.
If you love the idea of creamy desserts but want to experiment beyond chocolate, you might also enjoy recipes like the No-Bake Peanut Butter Pie or the luscious No-Bake Brownie Cheesecake Cups, which take a similar no-bake concept to new heights.
How to Make Creamy Chocolate No-Bake Cheesecake Cups
Now for the fun part—putting it all together. Don’t worry, I’ll walk you through every step so your cheesecake cups turn out perfectly every time.
- Prepare the crust: In a small bowl, mix the melted salted butter with the chocolate graham cracker crumbs (or crushed OREOs). You want the crumbs evenly coated so they stick together nicely. Then, spoon about 2-3 tablespoons of this mixture into the bottom of each glass or serving dish, pressing down gently to form an even layer.
- Whip the chocolate cream: In a large mixing bowl, combine the heavy cream, unsweetened cocoa powder, and 3/4 cup powdered sugar. Using an electric mixer, beat on medium-high until you get stiff peaks—this means the cream holds its shape well when you lift the beaters. It should be glossy and light, just like a mousse.
- Mix the cream cheese filling: In a separate bowl, beat the softened cream cheese with the remaining powdered sugar until it’s smooth and creamy. Add the vanilla extract and mix until everything is well combined. This step is key for that silky cheesecake texture you’re aiming for.
- Fold it together: Gently fold the cream cheese mixture into the whipped chocolate cream. Use a spatula and fold carefully so you don’t deflate all that lovely air you just whipped in. You want a uniform, fluffy chocolate cheesecake filling.
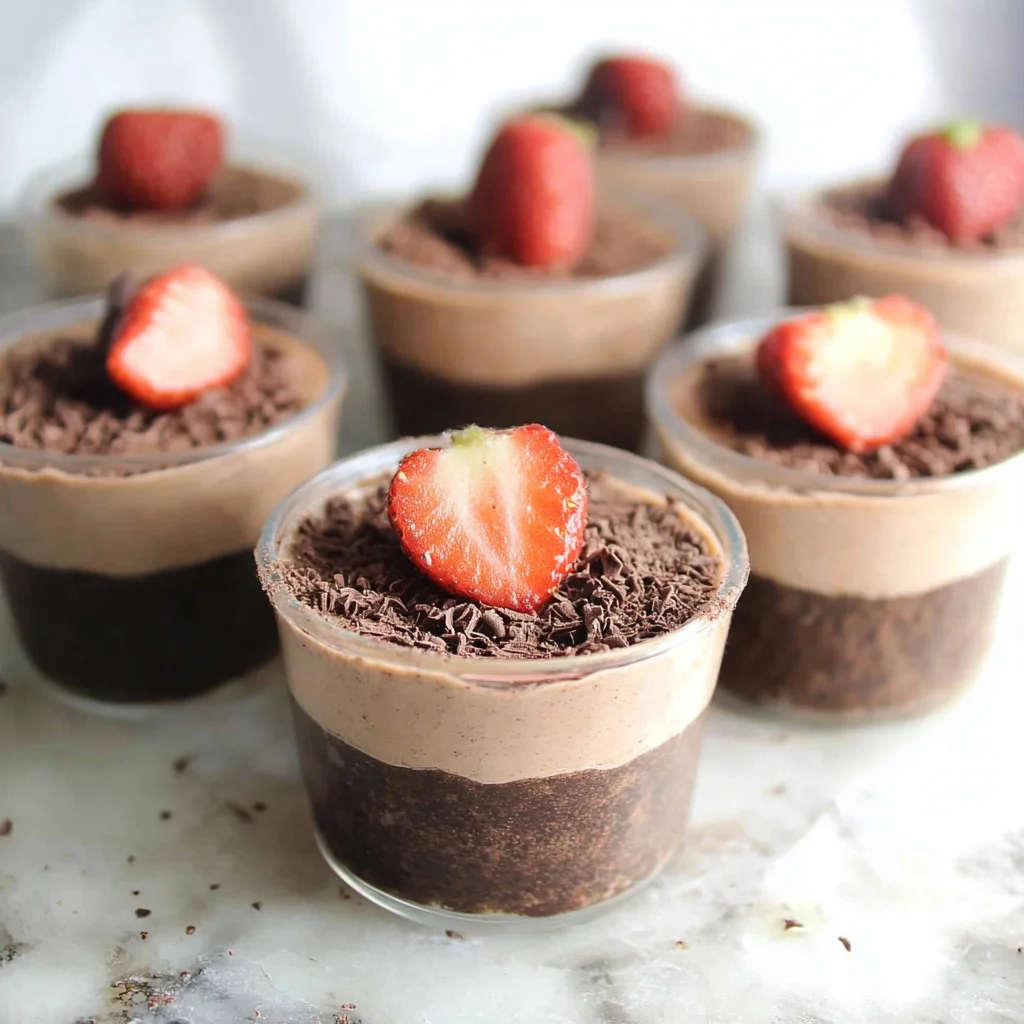
- Assemble the cups: Spoon or pipe the cheesecake mixture evenly over the crust layers in your serving glasses. If you’re feeling fancy, piping gives a beautiful, professional look—but a spoon works just fine.
- Add toppings (optional): Fresh berries like raspberries or strawberries, extra cookie crumbs, or even a drizzle of chocolate sauce elevate these cups into something truly special.
- Chill and serve: Cover the cups with plastic wrap and refrigerate for at least one hour. This helps the cheesecake set and develop its creamy texture. When you’re ready, dig in and savor every bite!
These no-bake cheesecake cups are a breeze to prepare and are perfect for when you want a quick dessert that still looks and tastes impressive. If you enjoy this recipe, you might want to check out the Pineapple Cream Cheese Pound Cake for another creamy, crowd-pleasing treat with a different twist.
Substitutions & Additions
One of the things I love about this recipe is how adaptable it is. Feel free to mix and match to suit your taste or pantry supplies!
- Crust Variations: Instead of chocolate graham cracker crumbs or OREOs, try crushed pretzels for a salty-sweet combo or even crushed Biscoff cookies for a caramel twist.
- Dairy Swaps: You can use light cream or half-and-half if you want a slightly lighter texture, but heavy cream really gives the best whip.
- Sweetener Options: If you prefer less sugar, reduce the powdered sugar slightly. You can also try substituting powdered sugar with a fine maple sugar or coconut sugar for a different flavor profile.
- Flavor Boosters: Add a tablespoon of espresso powder to the cocoa mixture for a mocha flavor, or a pinch of cinnamon for warmth and depth.
- Toppings: Fresh fruit like raspberries, blueberries, or sliced bananas add freshness; chopped nuts provide crunch; or a sprinkle of shaved chocolate or cacao nibs for that extra chocolate hit.
If you want to take a no-bake cheesecake adventure even further, you should also try the No-Bake Mini Tiramisu Domes—a fun and elegant way to impress your guests.
Tips for Success
I’ve learned a few tricks over the years that really help make these cheesecake cups turn out perfectly every time. Here are some tips from my kitchen to yours:
- Soften your cream cheese well: Cold cream cheese can make your mixture lumpy. Let it sit out at room temperature for about 30 minutes before mixing for the smoothest texture.
- Don’t overbeat the cream: Stop mixing the heavy cream as soon as stiff peaks form. Overbeating can cause the cream to turn buttery and ruin the texture.
- Fold gently: When combining the cream cheese and whipped cream mixtures, use a gentle folding motion to keep the cheesecake light and airy.
- Prep ahead: You can make these cups up to 24 hours in advance and keep them refrigerated. This actually helps the flavors meld beautifully.
- Use clear cups or jars: Presentation is half the fun! Clear glasses show off the layers beautifully and make these desserts party-ready.
Being mindful of these details will elevate your dessert game and make sure you impress every single time.
How to Store Creamy Chocolate No-Bake Cheesecake Cups
One of the best things about these cheesecake cups is how well they keep. After chilling, cover each cup tightly with plastic wrap or a reusable lid if you’re using jars.
Store them in the refrigerator, and they’ll stay fresh for up to 3 days. I don’t recommend freezing this dessert because the texture can change and become a bit grainy once thawed.
If you want to make these a day ahead for a party or special occasion, that’s perfect—it actually helps the flavors deepen and the cheesecake set just right. Just remember to add any fresh fruit toppings right before serving to keep them vibrant and fresh.
FAQs
Can I use low-fat cream cheese or lighter dairy for this recipe?
While you can use lighter cream cheese or dairy options, the texture won’t be as rich and creamy. Full-fat cream cheese and heavy cream provide the best flavor and mouthfeel for this dessert.
How long do I need to chill the cheesecake cups?
Chilling for at least 1 hour is necessary to let the cheesecake set properly. For best results and a firmer texture, you can refrigerate up to 4 hours or overnight.
Can I make these without cocoa powder for a plain cheesecake flavor?
Absolutely! Simply omit the cocoa powder and adjust the powdered sugar to taste. This will give you a classic no-bake cheesecake cup that’s just as delightful.
What’s the best way to serve these cheesecake cups?
Serve them chilled straight from the refrigerator. Add fresh fruit, chocolate shavings, or a drizzle of caramel or chocolate sauce on top for an extra special touch.
For more delicious dessert ideas and comforting recipes, be sure to explore the full collection at Recettia. You’ll find everything from quick weeknight meals to indulgent sweets that make every occasion sweeter.
If you love discovering new recipes as much as I do, don’t miss the chance to follow our Pinterest for daily inspiration, tips, and mouthwatering ideas!
Creamy Chocolate No-Bake Cheesecake Cups
Ingredients
Equipment
Method
- Step 1: Prepare the crust by mixing melted salted butter with chocolate graham cracker crumbs or crushed OREOs until evenly coated. Spoon 2–3 tablespoons into the bottom of each glass or serving dish and press down gently to form an even layer.
- Step 2: In a large mixing bowl, combine heavy cream, unsweetened cocoa powder, and 3/4 cup powdered sugar. Beat with an electric mixer on medium-high until stiff peaks form and mixture is glossy and light.
- Step 3: In a separate bowl, beat the softened cream cheese with the remaining powdered sugar until smooth and creamy. Add vanilla extract and mix until combined.
- Step 4: Gently fold the cream cheese mixture into the whipped chocolate cream using a spatula, being careful not to deflate the airiness. Aim for a uniform, fluffy chocolate cheesecake filling.
- Step 5: Spoon or pipe the cheesecake mixture evenly over the prepared crust layers in the serving glasses.
- Step 6: Optionally add toppings such as fresh berries, extra cookie crumbs, or a drizzle of chocolate sauce for extra flair.
- Step 7: Cover the cups with plastic wrap and refrigerate for at least 1 hour to allow the cheesecake to set and develop its creamy texture. Serve chilled.