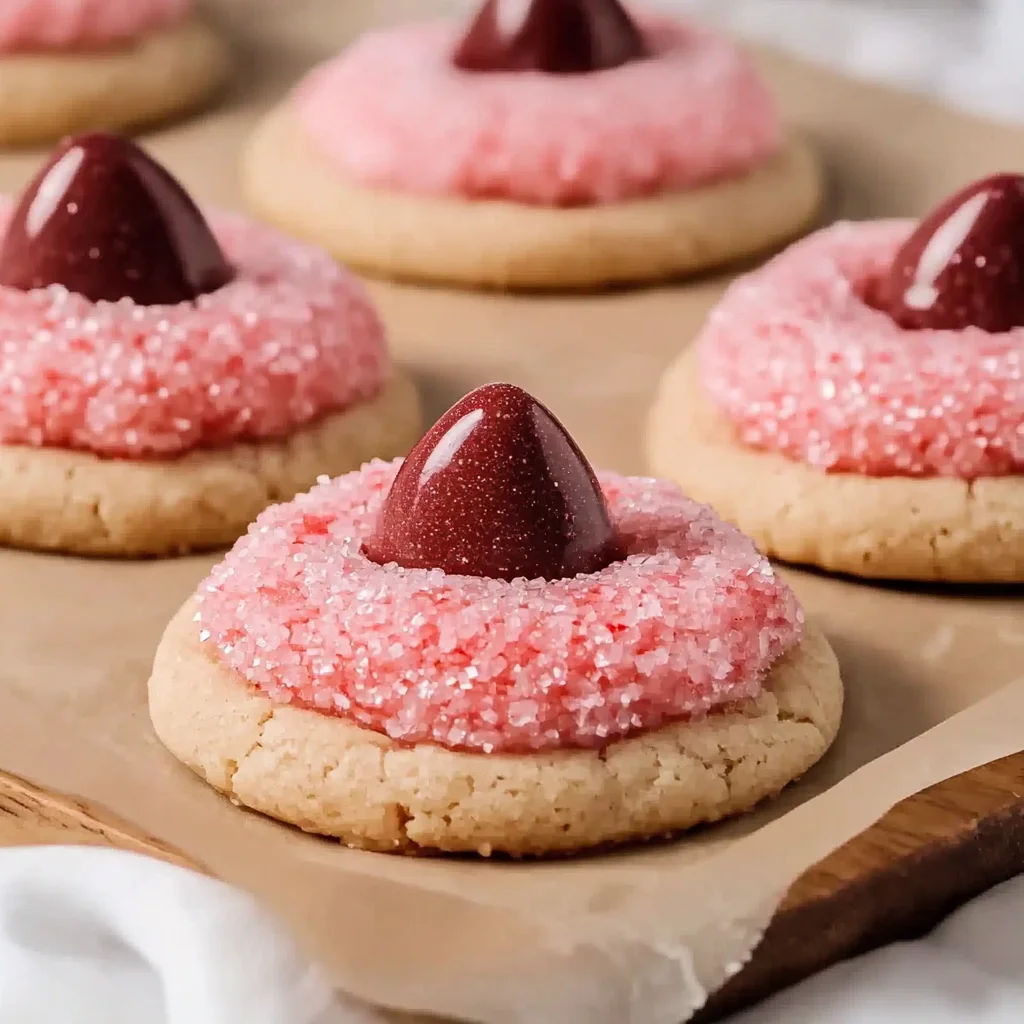
There’s something irresistibly charming about Strawberry Kiss Cookies that instantly brings back memories of cozy afternoons spent baking with loved ones. The soft, fruity dough combined with that iconic Hershey’s Kiss pressed right in the center feels like a warm hug from your childhood. Whenever I make these cookies, I’m reminded of sweet moments shared around the kitchen table, the smell of fresh strawberries mingling with melted butter, and the simple joy of creating something special from scratch. If you’re looking for a recipe that’s quick, easy, and guaranteed to make your day a little brighter, these cookies are exactly what you need.
What I love most about this recipe is how effortlessly it comes together. With a few pantry staples and minimal fuss, you can whip up a batch of these gorgeous cookies that are as delightful to look at as they are to eat. Whether you’re baking for a last-minute party, a heartfelt gift, or just to treat yourself, these Strawberry Kiss Cookies will quickly become your go-to. Plus, if you’re a fan of strawberry desserts, you might also enjoy trying the strawberry cream cheese pound cake for another luscious way to enjoy this favorite flavor!
Why You’ll Love Strawberry Kiss Cookies
- Fast: From mixing to baking, you’ll have these cookies ready in under 30 minutes (plus chilling time).
- Easy: No complicated steps or hard-to-find ingredients—perfect for beginner bakers.
- Giftable: Their pretty pink hue and the shiny Hershey’s Kiss make for a charming homemade gift.
- Crowd-pleasing: Everyone loves a soft, fruity cookie with a chocolate surprise in the middle.
Ingredients
Let’s take a look at what goes into these delightful cookies. Each ingredient plays a simple but important role in building that perfect balance of flavor and texture.
- 1 box (15.25 oz) strawberry cake mix: This is the base of your cookie dough, bringing a vibrant strawberry flavor and a naturally soft texture.
- 8 tablespoons butter, melted and slightly cooled: Butter adds richness and helps bind the dough together, while giving the cookies a tender crumb.
- 1 large egg: Acts as a binder and contributes to the cookie’s moist, chewy texture.
- 4 ounces cream cheese, softened: This secret ingredient makes the dough extra creamy and moist, enhancing the overall softness.
- 30 Hershey’s Kisses, unwrapped: The signature chocolate “kiss” you press into each cookie for a sweet finish.
- Optional: powdered sugar or pink granulated sugar for coating: Adds a pretty sparkle and an extra touch of sweetness on the outside.
The cream cheese addition is my favorite twist—it gives these cookies a richness that sets them apart from your typical cake mix cookies. If you love experimenting with cake mix recipes, you might enjoy the easy pecan pie recipe I shared recently, which also uses a creative spin on classic ingredients.
How to Make Strawberry Kiss Cookies
Now, let’s get to the fun part—baking! I’ll walk you through each step to make sure your cookies turn out just right.
- Start by combining the strawberry cake mix, melted butter, and egg in a large bowl. Use a wooden spoon or an electric mixer on low speed to mix everything until the dough is smooth and uniform. You’ll notice how the dough already smells like fresh strawberries—so inviting!
- Next, fold in the softened cream cheese. This will thicken the dough and add a luscious creaminess. I like to use a spatula here, folding gently so the cream cheese gets evenly incorporated without overmixing.
- Once your dough is ready, cover the bowl with plastic wrap and refrigerate it for at least 1 hour. This step is crucial—it firms up the dough, making it easier to scoop and helping the cookies keep their shape while baking.
- When you’re ready to bake, preheat your oven to 350°F (175°C) and line your baking sheets with parchment paper. This prevents sticking and helps the bottoms bake evenly.
- Scoop tablespoon-sized portions of the chilled dough and roll them into balls. If you want to add a little extra sparkle, roll the dough balls in powdered sugar or pink granulated sugar before placing them on the baking sheet. This step adds a charming, festive touch that’s perfect for sharing.
- Place the dough balls on the prepared baking sheets, leaving about 2 inches between each one. This gives them room to spread without sticking together.
- Bake the cookies for 8–10 minutes. You want the edges to be set but the centers still soft—this ensures a tender bite every time. Keep an eye on them because ovens vary!
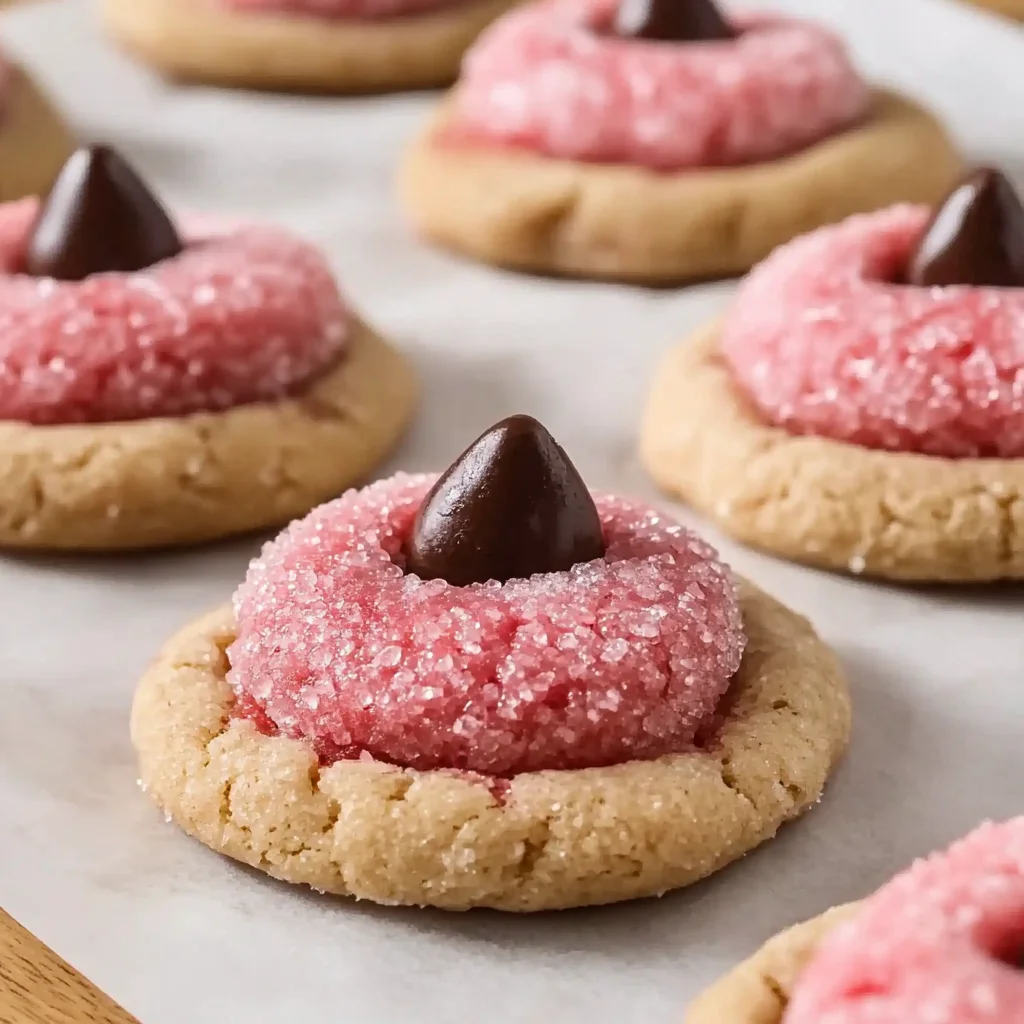
- Once out of the oven, let the cookies cool on the baking sheet for 1 to 2 minutes. Then, gently press a Hershey’s Kiss into the center of each cookie. The residual heat will soften the chocolate just enough without melting it completely.
- Transfer the cookies to a wire rack to cool completely. This step is important so the bottoms don’t get soggy and the cookies hold their shape.
These cookies come out beautifully soft and full of strawberry flavor, with a delightful chocolate surprise in every bite. If you’re curious about other quick and tasty desserts, be sure to check out my take on the no-bake brownie cheesecake cups—they’re just as easy and equally crowd-pleasing!
Substitutions & Additions
One of the best things about this recipe is its versatility. Don’t hesitate to get creative based on what you have in your pantry or your personal taste preferences.
- Swap the cake mix: If you want a different flavor, try using a white or yellow cake mix and add a teaspoon of strawberry extract for a subtle twist.
- Butter alternatives: You can use margarine or coconut oil instead of butter, but keep in mind the flavor and texture may shift slightly.
- Chocolate variations: Instead of classic Hershey’s Kisses, try white chocolate or even flavored kisses like caramel or mint for a fun surprise.
- Add-ins: Fold in mini chocolate chips, chopped nuts, or freeze-dried strawberry pieces for extra texture and bursts of flavor.
- Coating options: If you want to skip the sugar coating, try rolling the dough balls in crushed freeze-dried strawberries or colored sanding sugar for a fun look.
For a more indulgent strawberry dessert experience, you might also enjoy pairing these cookies with a strawberry cream cheese pound cake recipe I love, which beautifully complements the flavors in these cookies.
Tips for Success
To make sure your Strawberry Kiss Cookies come out perfect every time, here are some of my tried-and-true tips. These little tricks have saved me more than once from baking blunders!
- Don’t skip the chilling: It’s tempting to bake immediately, but chilling the dough helps control spreading and makes rolling easier.
- Use room temperature cream cheese: Softened cream cheese blends smoothly into the dough without lumps. I usually leave mine out for 30 minutes before mixing.
- Watch your baking time: These cookies bake quickly. Pull them out as soon as the edges look set, even if the center looks a bit soft—it will firm up as it cools.
- Don’t press the Kiss too hard: Gently nestle it into the warm cookie to avoid cracking or breaking the cookie surface.
- Prep ahead: You can refrigerate the dough overnight or even freeze it for up to 3 months. Just thaw before baking.
If you’re interested in other easy-to-follow baking tips and quick dessert ideas, the recipe collection at Recettia has so many gems to explore—definitely worth bookmarking!
How to Store Strawberry Kiss Cookies
Storing these cookies properly will keep them fresh and soft, so you can enjoy them over several days or share with friends and family without worry.
- Room temperature: Keep the cookies in an airtight container at room temperature for up to 3 days. Make sure they’re completely cool before sealing to avoid condensation.
- Refrigerator: Store in an airtight container for up to a week. Just bring them back to room temperature before serving for the best flavor and texture.
- Freezing: You can freeze baked cookies or even unbaked dough balls. For baked cookies, layer parchment paper between them and freeze for up to 3 months. Thaw overnight at room temperature.
These storage tips are great to remember if you want to bake a batch in advance for a party or holiday. For more make-ahead dessert inspiration, check out the no-bake peanut butter pie recipe that’s perfect for prepping ahead.
FAQs
Q: Can I use fresh strawberries instead of cake mix?
A: Fresh strawberries are delicious but won’t provide the structure the cake mix offers. If you want to use fresh berries, try adding them to a basic sugar cookie recipe instead.
Q: What if I don’t have cream cheese?
A: You could try substituting with Greek yogurt or mascarpone, but cream cheese gives the best texture and flavor for this recipe.
Q: Can I make these cookies gluten-free?
A: Yes! Look for a gluten-free strawberry cake mix. Just be sure all other ingredients are gluten-free as well.
Q: How do I prevent the Hershey’s Kiss from melting too much?
A: Press the Kiss into the cookie after baking, while the cookie is still warm but not hot. This way, the chocolate softens just enough without melting completely.
If you’re eager to explore more delicious strawberries desserts, the strawberry cheesecake cookies are another fantastic option that’s just as easy and tasty.
Thanks for spending some time with me in the kitchen today! I hope these Strawberry Kiss Cookies bring sweetness and smiles to your home. Don’t forget to check out more of my favorite recipes and tips on Recettia.
For even more inspiration and mouthwatering ideas, be sure to follow us on Pinterest!
Strawberry Kiss Cookies
Ingredients
Equipment
Method
- Step 1: Combine the strawberry cake mix, melted butter, and egg in a large bowl. Mix with a wooden spoon or electric mixer on low speed until smooth and uniform.
- Step 2: Fold in the softened cream cheese gently with a spatula until evenly incorporated without overmixing.
- Step 3: Cover the dough and refrigerate for at least 1 hour to firm up for easier scooping and better shape retention during baking.
- Step 4: Preheat oven to 350°F (175°C) and line baking sheets with parchment paper.
- Step 5: Scoop tablespoon-sized dough portions and roll into balls. Optionally, roll them in powdered sugar or pink granulated sugar for a festive coating.
- Step 6: Place dough balls on prepared sheets about 2 inches apart to allow spreading without sticking.
- Step 7: Bake for 8–10 minutes until edges are set but centers remain soft.
- Step 8: Let cookies cool on baking sheet for 1–2 minutes, then gently press a Hershey’s Kiss into the center of each cookie while still warm.
- Step 9: Transfer cookies to a wire rack to cool completely to avoid soggy bottoms and help maintain shape.