Remember those childhood nights when you’d stare up at the starry sky, wishing you could hold a bit of that magic in your hands? Those sparkling moons and twinkling stars always seemed just out of reach, didn’t they? Well, I’ve got a little secret to bring some of that celestial charm right into your home—Glow in the Dark Moon Rocks! These delightful, glowing creations are not only mesmerizing but also incredibly simple and fun to make. Whether you’re crafting with kids, looking for a unique party activity, or want a whimsical gift, this recipe is your ticket to a glowing good time.
What I love most about these moon rocks is how quickly they come together. You don’t need fancy supplies or hours of prep—just a few basic ingredients and a bit of creativity. Plus, they glow with such a magical light that they’re sure to be a crowd-pleaser at any gathering or a charming nightlight alternative. So, let’s dive in and learn how to make your own glowing celestial treasures!
Why You’ll Love Glow in the Dark Moon Rocks
- Fast: Ready to mold and glow in under an hour, with just a little drying time.
- Easy: Simple ingredients and straightforward steps make this perfect for all ages.
- Giftable: Share the magic with friends and family as a unique, handmade gift.
- Crowd-pleasing: Kids and adults alike will be fascinated by their glowing charm.
Ingredients
Before you start, gather all your ingredients so the process flows smoothly. Here’s what you’ll need:
- 1 cup baking soda: This is the base that gives your moon rocks their sandy texture and easy moldability.
- ¼ cup water (more if needed): Helps bind everything together; add gradually to get the perfect consistency.
- Glow-in-the-dark non-toxic paint or glow pigment powder: This is the magic ingredient that makes your moon rocks come alive in the dark. Make sure it’s kid-safe if you’re crafting with little ones!
- Optional: Glitter or food-safe coloring: For a little extra sparkle and pizzazz that catches the light before the glow kicks in.
- Optional: Small rocks or crumbled chalk: These add texture and make your moon rocks feel even more authentic and interesting to touch.
How to Make Glow in the Dark Moon Rocks
Ready to get your hands a little messy and create something truly out of this world? Follow these steps, and I’ll share some little tips along the way to make your moon rocks shine their brightest.
- Mix your base: Start by combining the baking soda with a few teaspoons of your glow paint or pigment powder in a large bowl. Stir gently but thoroughly until the mixture is evenly colored. I like to add the paint little by little—it helps control the brightness and prevents clumps.
- Add water slowly: Gradually pour in the water while stirring constantly. Your goal is to get a damp sand-like texture—not too wet and sticky, but moist enough to hold shape. If the mixture feels too watery, sprinkle in a bit more baking soda; if it’s dry, add a tiny splash more water.
- Customize your rocks: Now’s the fun part! Stir in any optional glitter, food coloring, or small rocks for texture. I sometimes add a pinch of fine glitter to give my moon rocks a twinkle even before they glow in the dark—trust me, it adds a magical effect under regular light.
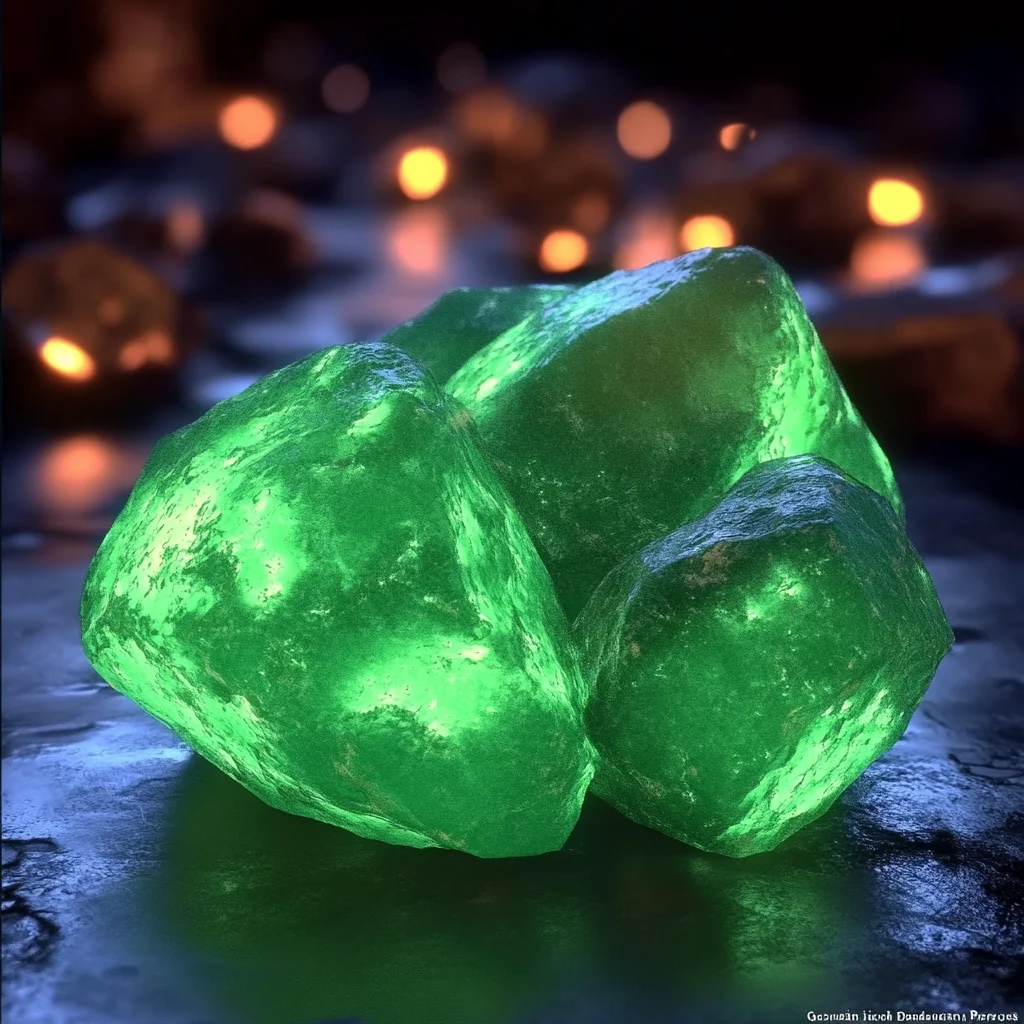
- Mold your moon rocks: Use your hands to shape the mixture into small, rocky lumps. Don’t worry about perfect shapes—natural irregularities make them look more authentic, like real moon rocks you might find on a nighttime adventure.
- Let them dry: Place your shaped moon rocks on a tray or plate lined with parchment paper and let them air dry overnight. It’s best to leave them in a dry, warm spot to harden completely. If you’re in a hurry, a low oven (around 150°F or 65°C) for an hour or so can speed things along, but air drying works best for preserving the glow quality.
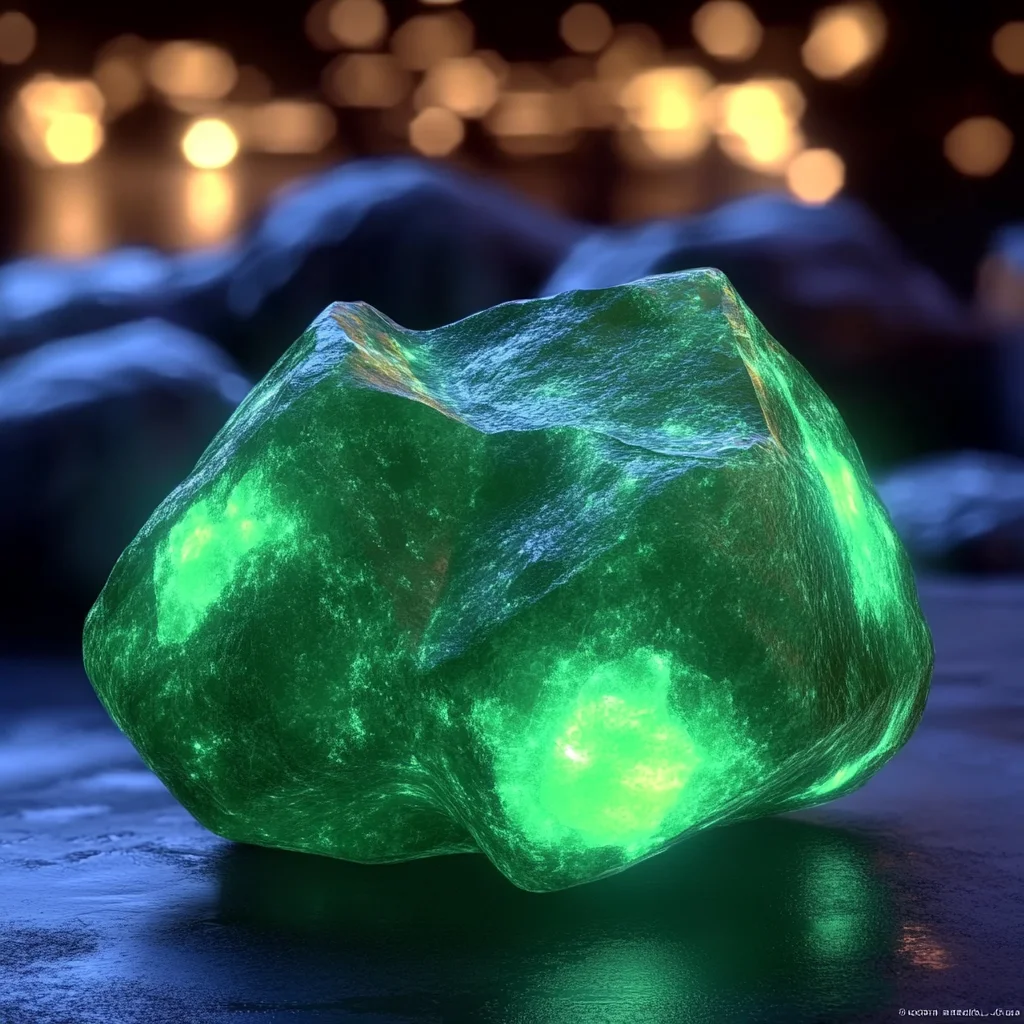
- Charge and enjoy: Once dry, place your moon rocks under a bright light source for a few minutes to “charge” their glow. Then, turn off the lights and watch your creations come alive with a soft, enchanting glow that will captivate everyone around.
Substitutions & Additions
Don’t be afraid to get creative! This recipe is a fantastic base for experimentation. Here are some ideas to personalize your moon rocks:
- Swap baking soda for cornstarch: For a smoother texture, you can replace half the baking soda with cornstarch. This will give a softer feel but still hold shape well.
- Use glow-in-the-dark powder instead of paint: If you want a more intense glow and less moisture, try mixing in glow pigment powder. It’s especially great if you want to control the exact shade of glow, like green or blue hues.
- Add essential oils: For a sensory twist, a drop or two of lavender or peppermint oil can make your moon rocks smell wonderful, perfect for nighttime calming rituals.
- Mix in small beads or tiny shells: These can add interesting textures and make your rocks look like they’ve traveled from an alien planet.
- Incorporate food-safe coloring: Layer different colors in your molds before drying to create multi-colored glowing rocks.
Tips for Success
Making these moon rocks is mostly foolproof, but here are a few tips to help you get the best results and avoid common pitfalls:
- Consistency is key: Your mixture should feel like damp sand. Too wet and it won’t hold shape; too dry and it’ll crumble. Add water and baking soda slowly to find that perfect balance.
- Use non-toxic materials: Especially important if kids are involved. Check that your glow paint or pigment is safe for skin contact and play.
- Be patient with drying: Don’t rush the drying process. Overnight air drying is ideal for sturdy, glowing rocks. If they’re too soft, they won’t hold up to handling.
- Charge under bright light: For the best glow effect, use a strong light source like sunlight or a bright LED. A quick stint under a lamp before bedtime works wonders.
- Prep ahead: You can mix the base and store it in an airtight container for up to a day before shaping. Just give it a quick stir before molding.
How to Store Glow in the Dark Moon Rocks
Keeping your moon rocks glowing and intact is easy with the right storage. Once completely dried, store them in a cool, dry place away from moisture to prevent any softening or mildew. I recommend using a shallow box or container lined with tissue paper to avoid chips or cracks. If you want to keep the glow bright, remember to “recharge” them by placing them under light before each use.
Moon rocks stored properly can last for months, making them great to keep on hand for spontaneous fun or as a unique conversation piece on your shelf. If you notice any dulling in the glow over time, a quick exposure to sunlight or a bright lamp will revive their luminescence.
FAQs
Q: Can I use regular paint instead of glow-in-the-dark paint?
A: Regular paint won’t glow, so it’s best to stick with glow-in-the-dark non-toxic paint or pigment powder for that magical nighttime effect.
Q: Are these moon rocks safe for kids to play with?
A: Yes! Just make sure to use kid-safe, non-toxic glow paint or pigment powder and supervise younger children to avoid accidental ingestion.
Q: How long do the moon rocks need to dry?
A: Ideally, let them air dry for at least 8-12 hours, or overnight. This ensures they harden fully and glow properly.
Q: Can I make these moon rocks without glitter?
A: Absolutely! Glitter is optional and just adds extra sparkle. Your moon rocks will still look fantastic and glow beautifully without it.
If you love fun, hands-on projects like this, you might also enjoy exploring other creative recipes and treats on Recettia. For example, the No-Bake Peanut Butter Pie is another quick and crowd-pleasing recipe that’s perfect for easy entertaining. And if you’re in the mood for something sweet and tangy, the Pineapple Cream Cheese Pound Cake is a moist delight that pairs beautifully with your glowing moon rock creations during a cozy night in.
Ready to add a little magic to your nights? Gather your supplies and start crafting these Glow in the Dark Moon Rocks. They’re a wonderful reminder that sometimes, the best adventures happen right at home.
Don’t forget to follow us on Pinterest for more glowing ideas and recipes that brighten up your kitchen and your life!
Glow in the Dark Moon Rocks
Ingredients
Equipment
Method
- Step 1: In a large bowl, combine the baking soda with a few teaspoons of glow-in-the-dark paint or pigment powder. Stir gently but thoroughly until evenly colored.
- Step 2: Gradually add water while stirring constantly until the mixture reaches a damp sand-like texture—not too wet or sticky.
- Step 3: Stir in any optional glitter, food coloring, or small rocks for added sparkle and texture.
- Step 4: Use your hands to mold the mixture into small, irregular lumps resembling moon rocks.
- Step 5: Place shaped moon rocks on a parchment-lined tray and let them air dry overnight in a dry, warm spot until fully hardened.
- Step 6: Charge the moon rocks under a bright light source for a few minutes, then enjoy their enchanting glow in the dark.