Oh, friend, there are just some desserts that transport you straight back to grandma’s kitchen, even if she never made this exact one. The first time I bit into a slice of this Amish Peanut Butter Cream Pie, I swear I heard birds chirping and felt a cozy quilt around my shoulders. It’s that kind of comforting, soul-satisfying sweetness that just makes everything feel right in the world. And guess what? This isn’t just a nostalgic dream; it’s an absolute breeze to whip up!
Forget turning on the oven, because this incredible pie comes together with zero baking. Seriously! In just a few simple steps, you’ll have a rich, creamy, peanut buttery masterpiece chilling in your fridge, ready to wow your family and friends. It’s quick, it’s easy, and it’s so utterly delicious, you might just find yourself making it every week. Let’s dive in!
Why You’ll Love Amish Peanut Butter Cream Pie
- Fast: No baking means less time in the kitchen and more time enjoying!
- Easy: Simple ingredients and straightforward steps make this a winner for all skill levels.
- Giftable: Who wouldn’t love a homemade pie? It’s perfect for potlucks, celebrations, or a thoughtful gift.
- Crowd-pleasing: The irresistible combination of peanut butter and creamy filling guarantees smiles all around.
Ingredients
Gather your simple treasures! Here’s what you’ll need to create this peanut butter paradise:
- 1 pre-made graham cracker pie crust: Your trusty foundation! No need to bake anything, which is part of the magic.
- 1 cup creamy peanut butter: The star of the show! Use your favorite brand – the creamier, the better for that smooth texture.
- 1 cup powdered sugar: This is going to create that delightful crumbly peanut butter layer.
- 8 oz cream cheese, softened: Make sure it’s properly softened to room temperature! This is key for a super smooth, lump-free filling.
- 1 cup granulated sugar: For sweetening our creamy base.
- 2 cups heavy cream: This gets whipped into a fluffy cloud, giving our pie its heavenly texture.
- 1 teaspoon vanilla extract: A little splash of warmth to enhance all those lovely flavors.
- 1 cup milk: Any kind works here, helping our pudding mix do its thickening magic.
- 1 package (3.4 oz) instant vanilla pudding mix: Our secret weapon for a perfectly set, creamy filling without any fuss.
How to Make Amish Peanut Butter Cream Pie
Ready to create some magic? Grab your mixing bowls, and let’s get started – it’s easier than you think!
- Whip up those Crumbles: In a medium bowl, combine your creamy peanut butter and powdered sugar. Get in there with a spoon or your hands (it’s a bit messy but fun!) and mix it until it forms lovely, crumbly bits. Once it’s all incorporated, set about half of this delicious mixture aside. This is going to be your glorious topping later!
- Create the Creamy Dream Base: Now, in a large mixing bowl, take your softened cream cheese and granulated sugar. Beat them together with an electric mixer until they’re wonderfully smooth and fluffy. Next, pour in the heavy cream and vanilla extract. Keep beating until the mixture thickens and becomes light and airy, almost like a soft whipped cream. Don’t overdo it, though, or it might get too stiff.
- Layer the First Peanut Butter Love: Spoon the remaining half of your peanut butter crumbles (the half you didn’t set aside for topping) evenly into the bottom of your graham cracker pie crust. Press it down gently to form a nice, flavorful base.
- Get that Pudding Ready: In a separate bowl, whisk together the milk and instant vanilla pudding mix. You’ll see it start to thicken almost immediately. Keep whisking for about a minute or two until it’s nice and thick.
- Combine for Creamy Perfection: Gently fold the thickened pudding mixture into your cream cheese mixture until everything is just combined. You want to keep all that lovely air you whipped into the cream cheese, so be gentle!
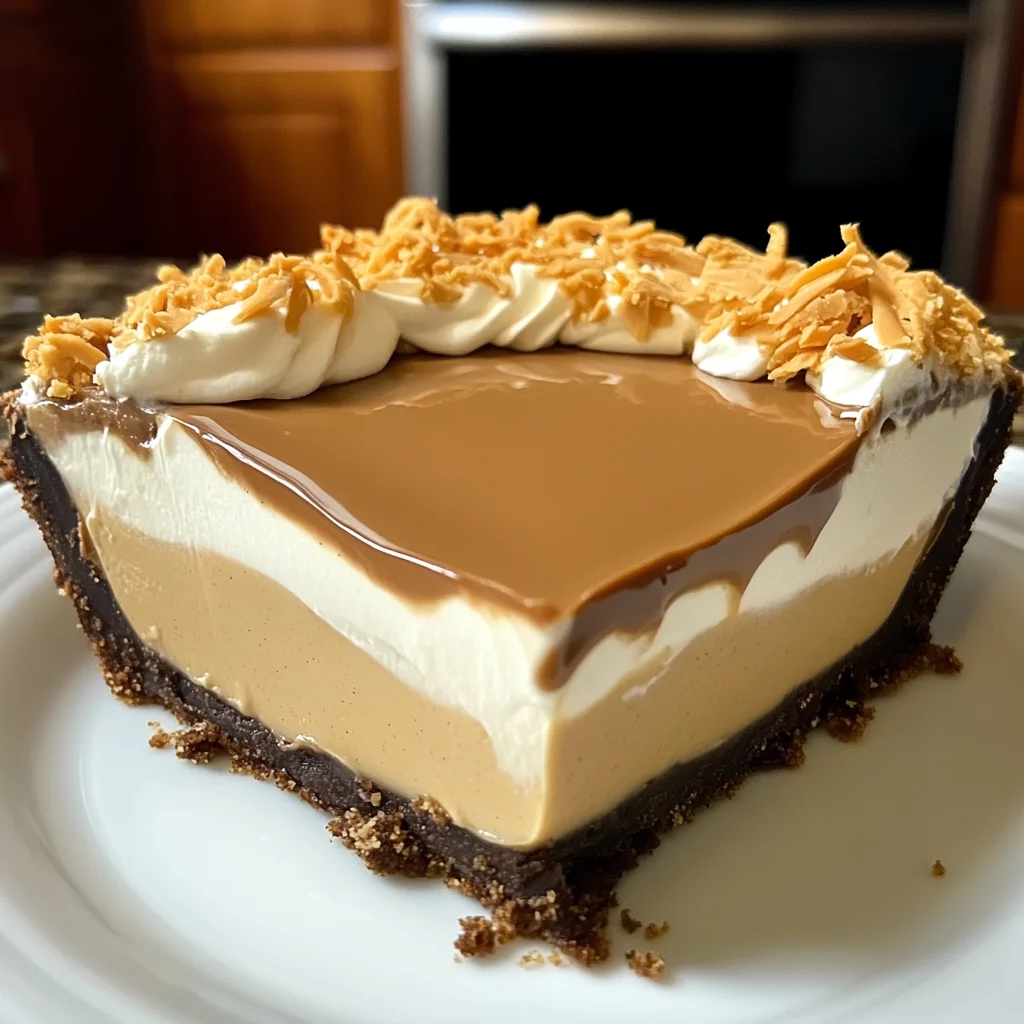
- Assemble Your Masterpiece: Carefully pour this creamy, dreamy filling over the peanut butter crumbles in your crust. Smooth out the top with a spatula. Now, remember that reserved peanut butter crumble? Sprinkle it generously over the top of the pie. It’s going to look absolutely irresistible!
- Chill Out: This is the hardest part – the waiting! Pop your pie into the refrigerator for at least 4 hours. This chilling time is crucial for the pie to set properly and for all those amazing flavors to meld together. If you’re looking for another fantastic dessert that doesn’t require an oven, you might also love my no-bake peanut butter pie, which is equally easy and delicious!
Substitutions & Additions
One of the best things about simple recipes like this is how easy it is to make them your own! Get creative in the kitchen, friend!
- Crust Swap: While graham cracker is classic, feel free to use a chocolate cookie crust for a richer flavor, or even a shortbread crust for a different twist.
- Pudding Power: Not a vanilla fan? Try instant chocolate pudding for a peanut butter chocolate dream, or even banana cream pudding for a fun, fruity spin!
- Chocolate Drizzle: A warm chocolate ganache or a simple melted chocolate drizzle over the top before serving adds an extra layer of decadence.
- Chopped Nuts: For some added crunch, sprinkle a handful of chopped peanuts or even toasted almonds on top with the crumbles.
- Whipped Cream Topping: A dollop of fresh whipped cream on each slice just before serving takes this pie over the top. You could even add a sprinkle of mini chocolate chips!
Tips for Success
Even though this pie is super easy, a few little pointers can make it absolutely perfect every time!
- Soften That Cream Cheese: I really can’t stress this enough! If your cream cheese isn’t completely at room temperature, it won’t beat smooth, and you’ll end up with lumps in your filling. Plan ahead and take it out of the fridge at least an hour before you start.
- Don’t Overbeat the Heavy Cream: While you want it light and fluffy, stop beating once it reaches that consistency. If you beat it too long, it can start to separate or become grainy.
- Chill Time is Crucial: Seriously, don’t rush this! The 4 hours (or even better, overnight!) in the fridge allows the pie to fully set and firm up, making for clean slices and the best texture. If you serve it too early, it might be a bit too soft.
- For Gifting: If you’re giving this as a gift, consider presenting it in a pretty pie carrier or with a simple ribbon. It makes for such a lovely homemade present! If you enjoy making impressive-looking, yet easy, desserts, you should also check out my recipe for caramel butter pecan praline poke cake – it’s another stunner!
How to Store Amish Peanut Butter Cream Pie
Once you’ve made this incredible pie, you’ll want to keep it fresh and delicious!
- In the Fridge: Store any leftover pie (if there is any!) in an airtight container or covered tightly with plastic wrap in the refrigerator.
- Shelf Life: It will stay wonderfully fresh for up to 3-4 days in the fridge. The graham cracker crust might soften a little over time, but the filling will remain delicious.
- Freezing: While technically you can freeze this pie, the texture of the cream cheese filling might change slightly after thawing, becoming a bit softer. If you do freeze it, wrap it very tightly in plastic wrap and then foil, and thaw in the refrigerator overnight.
FAQs
Can I use crunchy peanut butter instead?
You absolutely can! While the recipe calls for creamy, using crunchy peanut butter will add a wonderful textural element to the crumbles and a little extra nutty bite throughout the pie. Go for it if you love that crunch!
Is this pie really easy enough for beginners?
Yes, 100%! This recipe is specifically designed to be super straightforward. There’s no complicated baking or fancy techniques involved. If you can mix ingredients and follow simple steps, you can make this pie!
Can I make this pie a day ahead of time?
Making it a day ahead is actually ideal! It gives the pie plenty of time to chill and set perfectly, allowing all the flavors to deepen and meld together beautifully. It’ll be ready to slice and serve when you are!
For more delicious recipes and kitchen inspiration, follow us on Pinterest!
Dreamy No-Bake Amish Peanut Butter Cream Pie
Ingredients
Equipment
Method
- Step 1: Whip up those Crumbles: In a medium bowl, combine your creamy peanut butter and powdered sugar. Get in there with a spoon or your hands (it’s a bit messy but fun!) and mix it until it forms lovely, crumbly bits. Once it’s all incorporated, set about half of this delicious mixture aside. This is going to be your glorious topping later!
- Step 2: Create the Creamy Dream Base: Now, in a large mixing bowl, take your softened cream cheese and granulated sugar. Beat them together with an electric mixer until they’re wonderfully smooth and fluffy. Next, pour in the heavy cream and vanilla extract. Keep beating until the mixture thickens and becomes light and airy, almost like a soft whipped cream. Don't overdo it, though, or it might get too stiff.
- Step 3: Layer the First Peanut Butter Love: Spoon the remaining half of your peanut butter crumbles (the half you didn't set aside for topping) evenly into the bottom of your graham cracker pie crust. Press it down gently to form a nice, flavorful base.
- Step 4: Get that Pudding Ready: In a separate bowl, whisk together the milk and instant vanilla pudding mix. You'll see it start to thicken almost immediately. Keep whisking for about a minute or two until it’s nice and thick.
- Step 5: Combine for Creamy Perfection: Gently fold the thickened pudding mixture into your cream cheese mixture until everything is just combined. You want to keep all that lovely air you whipped into the cream cheese, so be gentle!
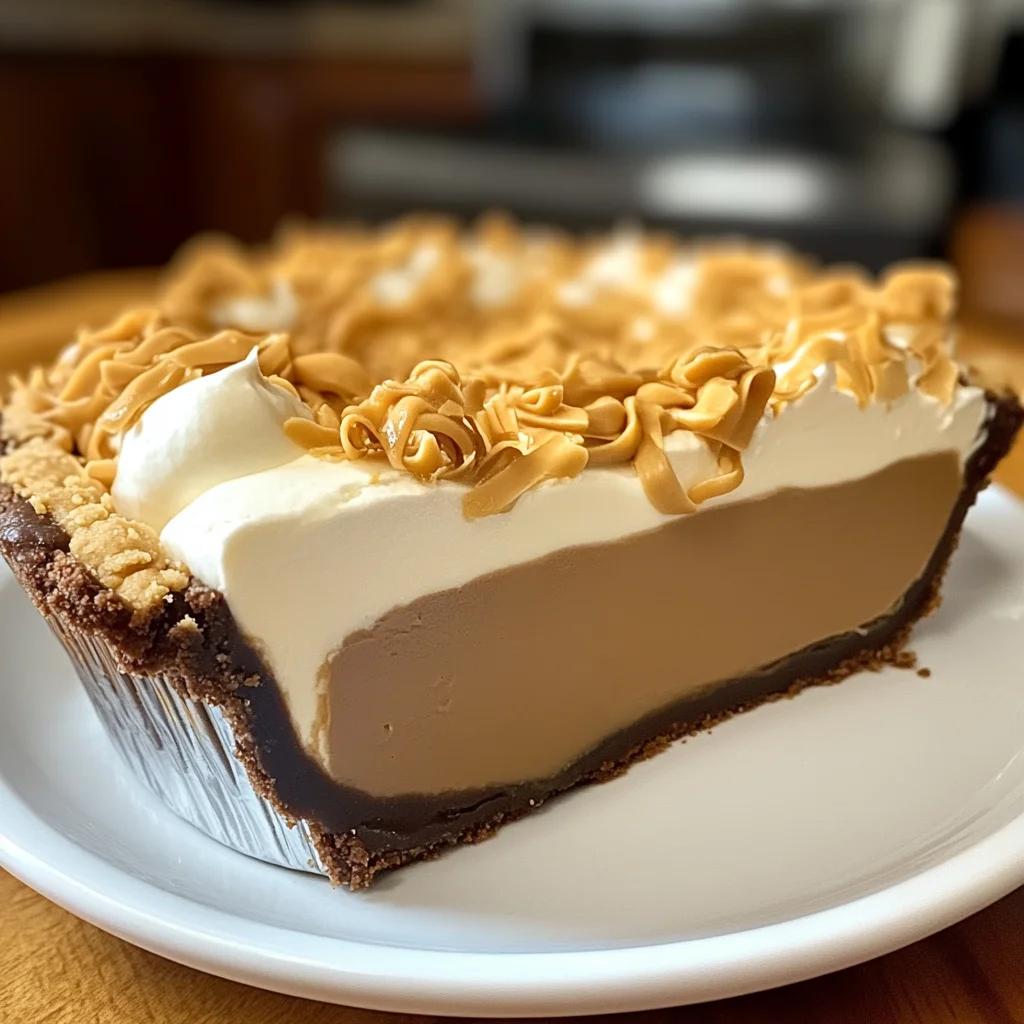
- Step 6: Assemble Your Masterpiece: Carefully pour this creamy, dreamy filling over the peanut butter crumbles in your crust. Smooth out the top with a spatula. Now, remember that reserved peanut butter crumble? Sprinkle it generously over the top of the pie. It's going to look absolutely irresistible!
- Step 7: Chill Out: This is the hardest part – the waiting! Pop your pie into the refrigerator for at least 4 hours. This chilling time is crucial for the pie to set properly and for all those amazing flavors to meld together.