Oh, honey, do you remember those classic appetizers that always graced the tables at family gatherings and neighborhood potlucks? The ones that were so simple, yet impossibly delicious, disappearing faster than you could say “pass the crackers”? Well, get ready to dive headfirst into that comforting nostalgia because today, we’re whipping up a truly unforgettable Creamy Green Olive Dip! This recipe is a total game-changer – it’s incredibly easy, lightning-fast to prepare, and once you taste it, you’ll wonder how you ever lived without it. It’s truly a memorable dish that’s perfect for any occasion, from casual movie nights to fancy holiday parties.
Why You’ll Love Green Olive Dip
- Fast: Seriously, we’re talking minutes of prep time!
- Easy: If you can press a button on a food processor, you can make this dip.
- Giftable: Jar it up with some fancy crackers, and you’ve got a hostess gift winner!
- Crowd-pleasing: Olives, cream cheese, and savory seasonings? Who could resist?
Ingredients
- 2 (8-ounce) packages cream cheese, softened: This is the creamy, dreamy base of our dip! Make sure it’s good and soft, sitting on the counter for at least an hour.
- ½ cup mayonnaise: Adds that perfect tang and silkiness, making the dip extra luscious.
- 1 teaspoon onion powder: A little savory whisper that deepens the flavor without any chopping.
- ½–1 teaspoon garlic powder (to taste): Start with half a teaspoon and add more if you’re a garlic fiend like I am!
- 6 ounces green olives with pimento, drained: The stars of our show! Make sure to drain them well, but don’t toss that precious brine!
- 3 tablespoons olive brine (optional, adjust for consistency): Our secret weapon! This is what will give your dip that perfect, dippable consistency and an extra punch of olive flavor.
How to Make Green Olive Dip
Get ready, because this is almost too simple to be true! You’ll be a dip-making superstar in no time.
- First things first, grab your trusty food processor. Toss in those two blocks of softened cream cheese and the mayonnaise. Give it a good whir until everything is beautifully smooth and creamy. We want zero lumps here, friends!
- Next, it’s time to season. Add your onion powder and start with about half a teaspoon of garlic powder. Give it another quick blend, then taste. This is your chance to adjust the garlic powder to your heart’s content! I usually lean towards the full teaspoon because, well, garlic!
- Now for the main event: the drained green olives. Add them to the food processor. Now, here’s where you decide: do you like your dip super smooth or with a little bit of chunky olive texture? Pulse the processor until the olives are fully incorporated to your liking. I usually go for a slightly chunky texture myself, but you do you!
- Time for our secret ingredient – the olive brine! Start by adding just 1 tablespoon of that reserved brine. Blend it up and check the consistency. If you want a thinner, more spreadable dip, add another tablespoon, blending and checking, until you reach your desired consistency (you can add up to 3 tablespoons total). Remember, you can always add more, but you can’t take it away!
- Once you’re happy with the consistency, transfer your glorious Green Olive Dip to an airtight container. Cover it up and pop it into the fridge for at least 2 hours. This chilling time is SO important because it allows all those amazing flavors to meld together and truly shine. Trust me on this one, it’s worth the wait!
- When it’s time to serve, just give the dip a good stir. Get out your favorite crackers, fresh veggies, pita chips, or even pretzels, and dig in! This dip is so versatile, perfect for game days, potlucks, or even just a cozy night in. If you’re looking for more crowd-pleasing appetizers, you might love our Easy Crab Stuffed Mushrooms.
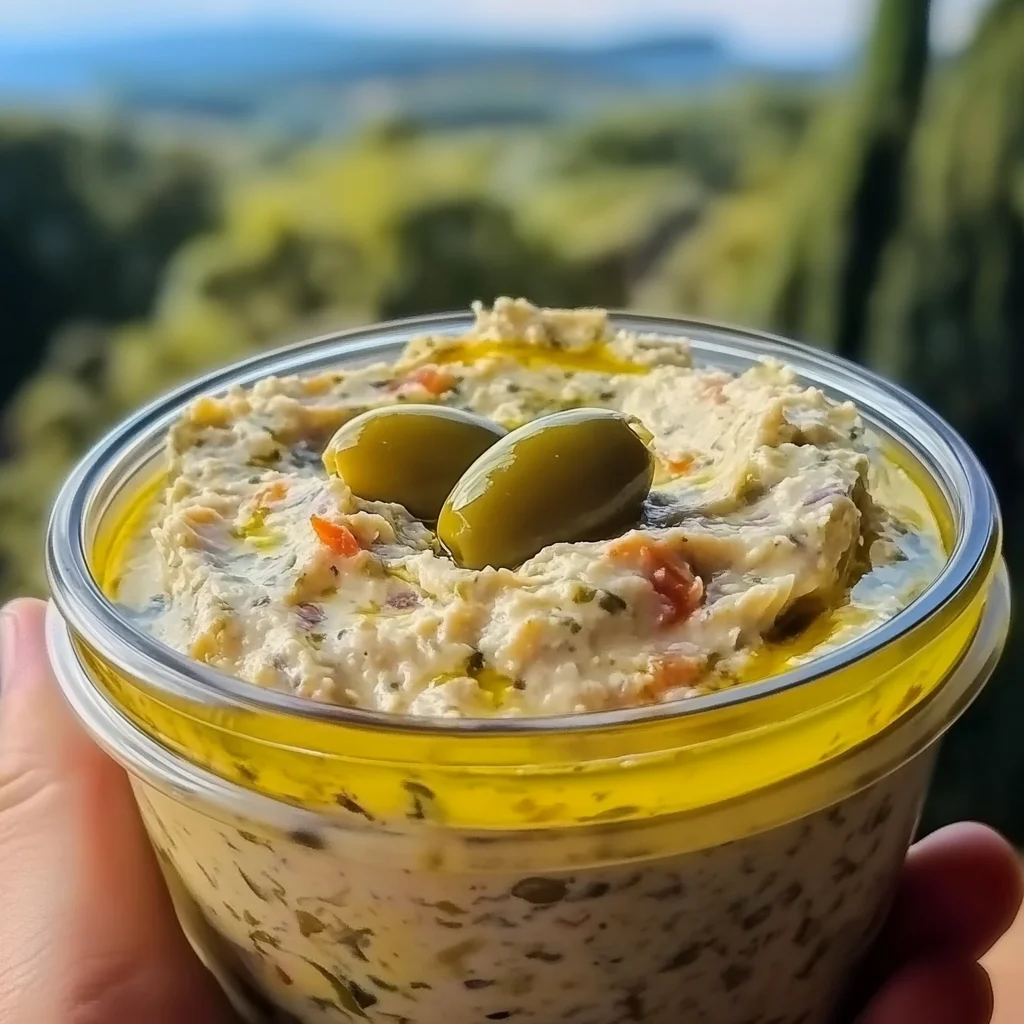
Substitutions & Additions
This recipe is incredibly flexible, so feel free to get creative and make it your own!
- Different Olives: While green olives with pimento are classic, you could try using Kalamata olives for a bolder, saltier flavor, or even a mix of your favorite briny olives. Just be sure they’re pitted!
- Lighter Option: Want to lighten it up a bit? You could substitute half of the mayonnaise with plain Greek yogurt for a tangier, slightly lighter dip.
- Herb Power: Fresh herbs are always a good idea! A sprinkle of chopped fresh parsley, dill, or chives would be delightful stirred in at the end.
- A Little Kick: For those who like a touch of heat, a tiny pinch of red pepper flakes or a dash of hot sauce would be a welcome addition.
- Citrus Zest: A little lemon zest can brighten up the flavors beautifully.
- Savory Boost: A tiny splash of Worcestershire sauce or a teaspoon of Dijon mustard can add another layer of savory depth.
Tips for Success
- Softened Cream Cheese is Non-Negotiable: Seriously, don’t skip this step! Cold cream cheese will give you a lumpy dip, and nobody wants that.
- Don’t Over-blend Olives (Unless You Want To): If you prefer a dip with a bit more texture, just pulse the olives a few times until they’re finely chopped but not pureed. For a super smooth dip, blend away!
- Adjust Brine Gradually: As I mentioned, you can always add more liquid, but you can’t take it out. Start with one tablespoon and add more slowly until you hit that perfect consistency.
- Chilling is Key: I know, waiting is hard, but those 2 hours in the fridge truly allow the flavors to marry and deepen. It’s a game-changer!
- Prep Ahead: This dip is a superstar make-ahead appetizer. Make it a day or two in advance, and the flavors will only get better. Just give it a good stir before serving. And if you’re a fan of easy, no-fuss treats, you’ll definitely want to check out our recipe for No-Bake Brownie Batter Dip for a sweet ending to any meal!
How to Store Green Olive Dip
Once you’ve whipped up this deliciousness, store any leftovers in an airtight container in the refrigerator. It will keep beautifully for 3-5 days. Just give it a good stir before you serve it again, as it might thicken slightly in the fridge. This makes it perfect for meal prepping your appetizer game for the week!
FAQs
Can I make this without a food processor?
You absolutely can! You’ll just need a sharp knife and a bit of elbow grease. Finely chop the olives by hand, then combine them with the softened cream cheese, mayonnaise, and seasonings in a bowl. Mix very well with a spoon or spatula until everything is incorporated and creamy. The texture will be a bit chunkier, but still delicious!
What should I serve with Green Olive Dip?
The possibilities are endless! It’s fantastic with sturdy crackers, pita bread, bagel chips, pretzels, or a colorful array of fresh vegetables like carrot sticks, celery, bell pepper strips, and cucumber slices. It also makes a great spread for sandwiches or wraps!
Can I use other types of olives?
Definitely! While green olives with pimento are the classic choice, feel free to experiment. Kalamata olives would give it a bolder, Greek-inspired twist. Just remember to pit them if they aren’t already!
Is this dip spicy?
No, this classic recipe is not spicy. It’s savory and tangy with a rich olive flavor. However, if you like a little heat, you can absolutely add a pinch of red pepper flakes or a dash of your favorite hot sauce when you add the other seasonings!
For more delicious recipes and kitchen inspiration, be sure to follow us on Pinterest!
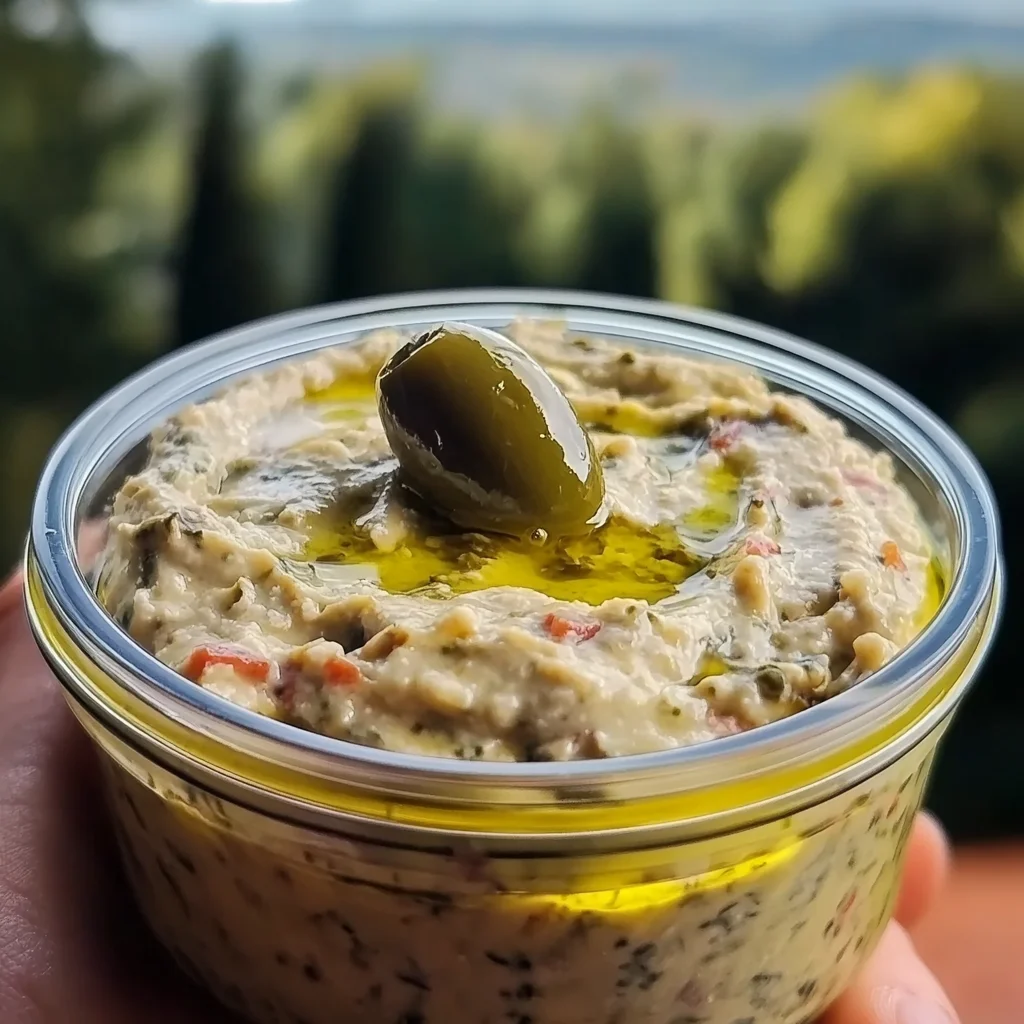
Creamy Green Olive Dip: A Retro Party Favorite
Ingredients
Equipment
Method
- Step 1: Grab your trusty food processor. Toss in those two blocks of softened cream cheese and the mayonnaise. Give it a good whir until everything is beautifully smooth and creamy. We want zero lumps here, friends!
- Step 2: Next, it’s time to season. Add your onion powder and start with about half a teaspoon of garlic powder. Give it another quick blend, then taste. This is your chance to adjust the garlic powder to your heart's content! I usually lean towards the full teaspoon because, well, garlic!
- Step 3: Now for the main event: the drained green olives. Add them to the food processor. Now, here’s where you decide: do you like your dip super smooth or with a little bit of chunky olive texture? Pulse the processor until the olives are fully incorporated to your liking. I usually go for a slightly chunky texture myself, but you do you!
- Step 4: Time for our secret ingredient – the olive brine! Start by adding just 1 tablespoon of that reserved brine. Blend it up and check the consistency. If you want a thinner, more spreadable dip, add another tablespoon, blending and checking, until you reach your desired consistency (you can add up to 3 tablespoons total). Remember, you can always add more, but you can’t take it away!
- Step 5: Once you're happy with the consistency, transfer your glorious Green Olive Dip to an airtight container. Cover it up and pop it into the fridge for at least 2 hours. This chilling time is SO important because it allows all those amazing flavors to meld together and truly shine. Trust me on this one, it’s worth the wait!
- Step 6: When it’s time to serve, just give the dip a good stir. Get out your favorite crackers, fresh veggies, pita chips, or even pretzels, and dig in! This dip is so versatile, perfect for game days, potlucks, or even just a cozy night in.