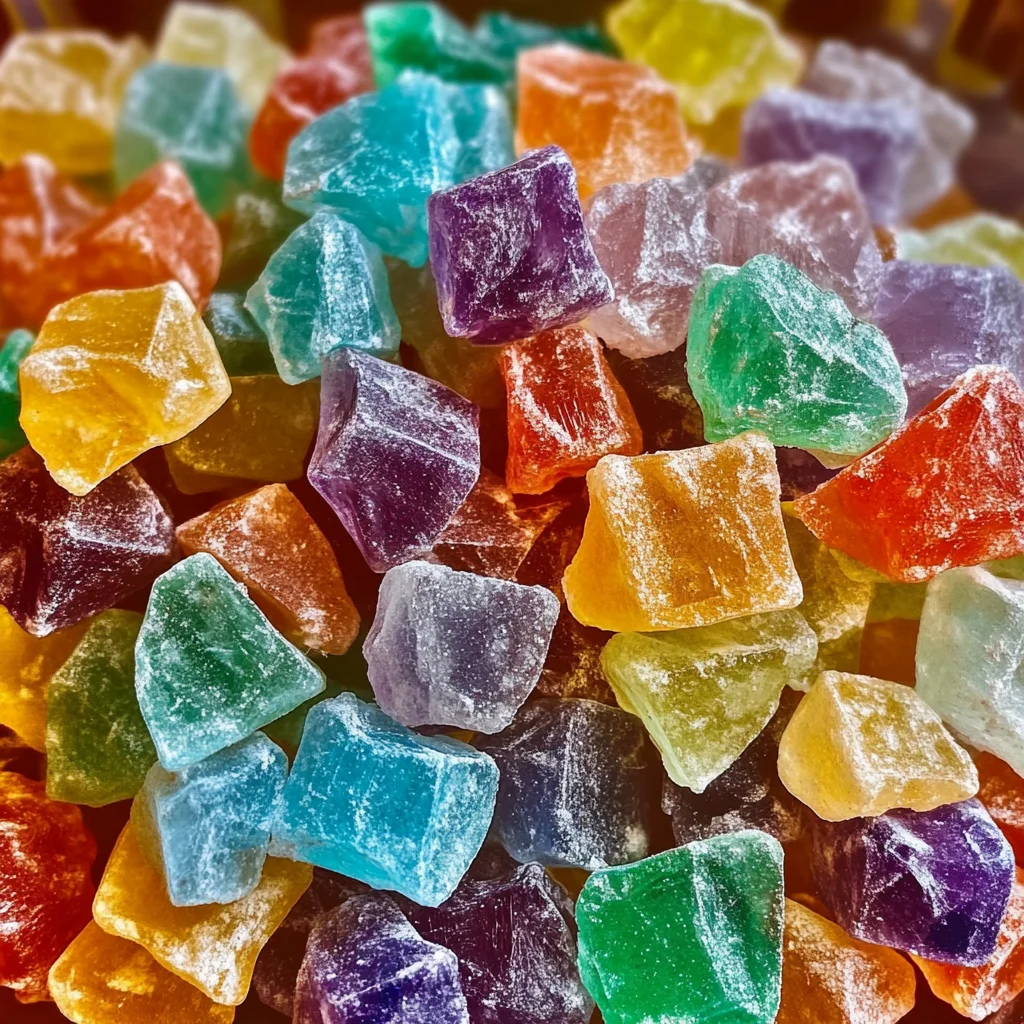
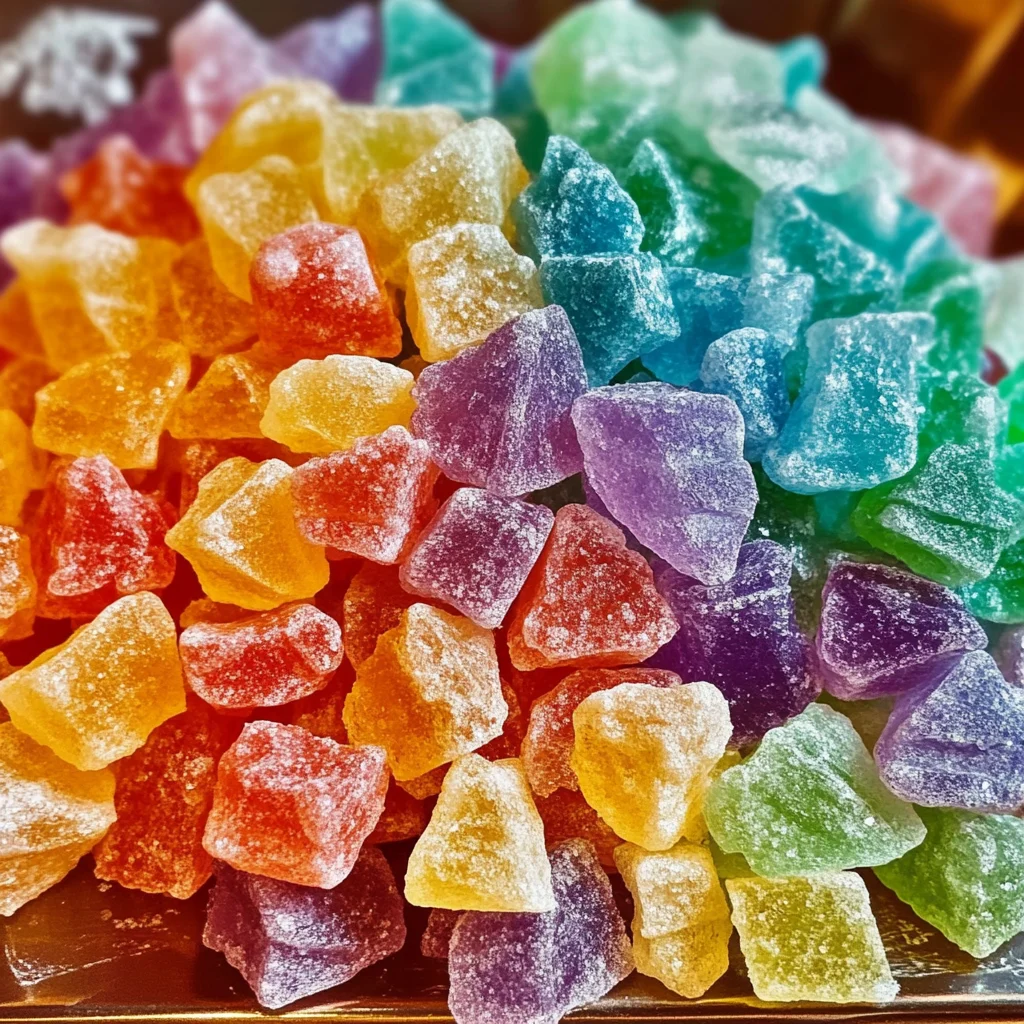
There’s something truly magical about stained glass rock candy. It reminds me of childhood fairs, where seeing those shimmering colorful candy shards in the glass jars was pure wonder. Making your own stained glass rock candy at home brings back that nostalgic feeling of simple joys—and trust me, it’s easier than you think! Whether you want a fun kitchen project with the kids or a dazzling homemade gift, this recipe is the perfect blend of art and sweetness.
This recipe is quick to whip up and creates such a memorable treat that’s sure to wow anyone lucky enough to get a taste. I love how the candy sets up into beautiful translucent shards that look like little stained glass windows you can hold in your hand! Plus, it’s a fantastic conversation starter and a colorful way to brighten any dessert table.
Why You’ll Love Stained Glass Rock Candy
- Fast: From start to finish, this candy sets up in about an hour, making it a quick project.
- Easy: You only need a handful of ingredients and simple kitchen tools.
- Giftable: Wrap these beautiful shards in cellophane or jars for unique homemade presents.
- Crowd-pleasing: Kids and adults alike will be fascinated by the colors and crunch.
Ingredients
Let’s talk about what you’ll need. This list is straightforward but each ingredient plays a key role in getting that perfect glossy, glass-like finish.
- 1 cup water: This is your candy base, dissolving the sugar and corn syrup.
- 4 cups granulated sugar: The main sweetener and structure for your candy.
- 1 1/2 cups light corn syrup: Helps prevent crystallization and keeps the candy smooth.
- 2 teaspoons flavored oil or 4 teaspoons flavored extract: Adds delicious taste—think peppermint, lemon, or cherry!
- 1 teaspoon gel food coloring: Gives you those vibrant stained glass colors that make the candy so eye-catching.
- 1 1/2 cups powdered sugar: For dusting and creating the wells to shape your candy.
For me, choosing a high-quality gel food coloring really makes the colors pop without watering down the candy’s texture. And don’t skip the powdered sugar—it’s essential for that pretty, crack-resistant finish!
How to Make Stained Glass Rock Candy
Now for the fun part—making your candy! I’ll walk you through each step so you feel confident even if you’ve never made candy before.
- Prepare your workspace: Line a baking sheet with foil, then evenly spread the powdered sugar over the foil. This not only prevents sticking but also creates a soft landing for your candy. Using your finger or the back of a spoon, create about nine swirling “S” shaped wells in the powdered sugar. These little wells will hold your candy syrup as it cools and sets. If you want multiple colors or flavors, prepare additional pans the same way.
- Make the syrup: In a heavy saucepan, combine your water, granulated sugar, and corn syrup. Heat over medium-high, stirring constantly until all the sugar dissolves. This step is important to avoid grainy candy.
- Boil to the hard crack stage: Attach your candy thermometer to the saucepan and let the syrup boil without stirring. This might take a while, but patience pays off here. You’re aiming for 300°F (hard crack stage) — this ensures your candy will be crisp and shatter perfectly.
- Cool slightly: Remove the pan from heat and wait until the bubbling completely stops. This cooling moment helps prevent splattering when you add your colors.
- Color and flavor: If you’re making multiple colors, divide the hot syrup quickly into separate heatproof bowls. Stir in your gel food coloring and flavoring immediately—the syrup hardens fast! This is where your candy truly comes alive with vibrant hues and delicious scents.
- Shape your candy: Carefully drizzle the hot syrup into your powdered sugar wells on the prepared pans. The wells help keep the syrup contained and shaped beautifully.
- Let it harden: Allow the candy to cool completely at room temperature, about 1 hour. This is when the magic happens—the syrup transforms into those gorgeous translucent shards.
- Cut into shards: Once hardened, use kitchen scissors or a knife to break the candy into smaller pieces. Handle gently; these are delicate works of art!
- Final dusting and storage: Dust your candy lightly with more powdered sugar to prevent sticking. Store your candy in an airtight container to keep it crisp and fresh.
Pro tip: I like to make a batch of these colorful candies whenever I’m prepping for a party or holiday. They add a whimsical touch to dessert tables and are a fun alternative to traditional sweets. If you enjoy creative treats, you might also love the vibrant colors in the DIY rainbow candy apples I recently shared on my blog.
Substitutions & Additions
Don’t be afraid to get creative! Here are some easy swaps and fun ideas to make this candy uniquely yours:
- Flavor swaps: Instead of flavored oils or extracts, try natural citrus zest like lemon or orange for a fresh twist. Just add zest to the syrup right before pouring.
- Different colors: Use multiple gel food coloring shades to create a rainbow assortment. You can even swirl colors together for a marbled effect.
- Textured candy: Toss in edible glitter or tiny sprinkles right after drizzling the syrup for added sparkle and fun.
- Alternative sweeteners: While granulated sugar and corn syrup work best for texture, experimenting with honey or maple syrup can add unique flavor—just note that the candy might be softer.
One of my favorite additions is pairing these candies with a cozy dessert like a pumpkin pound cake or a rich pecan pie. If you love warm fall flavors, you might find inspiration in this easy pecan pie recipe that complements sweet treats beautifully.
Tips for Success
Making candy can seem intimidating at first, but a few simple tips will help you nail it every time:
- Use a reliable candy thermometer: Accurate temperature is key to hitting the hard crack stage. I’ve burned many batches before I invested in a good thermometer—worth every penny!
- Don’t stir once boiling: Stirring after the syrup boils can cause unwanted crystallization and gritty candy.
- Work fast with colors: The syrup sets quickly once off the heat, so have your coloring and flavoring ready to go.
- Powdered sugar wells: Make sure your wells are deep enough to hold the syrup but not so deep that the candy is too thick. About 1/4 inch works well.
- Prepare your pans ahead: This is a great step to do in advance so the syrup can be poured immediately once ready.
I also like to keep a bowl of warm water nearby to dip my knife or scissors in when cutting the candy shards. It prevents sticking and helps make cleaner cuts.
How to Store Stained Glass Rock Candy
Proper storage is super important to keep your candy crisp and beautiful. Here’s what you need to know:
- Use airtight containers: Glass jars or plastic containers with tight-fitting lids work best to keep moisture out.
- Keep in a cool, dry place: Avoid storing candy in humid areas like near the stove or dishwasher, as moisture can make it sticky.
- Shelf life: When stored correctly, your stained glass rock candy can last up to 2 weeks. After that, it may start to soften or lose its shine.
- Re-dusting: If you notice any sticking, a quick dusting of powdered sugar before serving refreshes the candy.
If you want to gift your candy, consider wrapping shards in clear cellophane bags tied with a colorful ribbon. They make charming party favors or holiday treats that everyone will remember.
FAQs
Can I use different types of sugar for this recipe?
Granulated sugar is best for the structure and clarity of the candy. While brown sugar or raw sugar can be used, they may affect the texture and color, resulting in a less clear candy.
What if my candy turns out sticky?
Sticky candy usually means it didn’t reach the hard crack stage or was stored in a humid place. Make sure to use a candy thermometer and store your candy in airtight containers in a dry area to prevent this.
Can I reuse the foil and powdered sugar setup?
It’s best to use fresh foil and powdered sugar for each batch to avoid contamination and ensure the candy doesn’t stick or pick up old flavors.
How do I clean up hardened candy spills?
Soak pans or utensils in hot water to soften the candy before scrubbing. Avoid scraping with sharp tools that could damage your cookware.
Making stained glass rock candy is not just about the final treat—it’s about the joy of creating something beautiful and sweet from scratch. If you love fun, colorful kitchen projects, you might also enjoy checking out the vibrant DIY color changing crystal stones, which share that same sparkly magic in a different form.
For more delicious sweets and cozy recipes to brighten your kitchen, be sure to explore the many treasures on Recettia’s recipe collection. From easy no-bake pies to decadent cakes, there’s something for every sweet tooth and occasion.
And if you’re a fan of creative desserts, don’t miss this luscious pineapple cream cheese pound cake recipe that pairs beautifully with crisp candies for a unique texture combo.
Ready to add a splash of color and sweetness to your kitchen adventures? Grab your ingredients and let’s make some stained glass rock candy magic!
Don’t forget to follow us on Pinterest for more inspiring recipes and creative ideas!
Stained Glass Rock Candy
Ingredients
Equipment
Method
- Step 1: Line a baking sheet with foil, then evenly spread powdered sugar over the foil. Use your finger or the back of a spoon to create about nine swirling “S” shaped wells in the powdered sugar. Prepare additional pans if making multiple colors.
- Step 2: In a heavy saucepan, combine water, granulated sugar, and corn syrup. Heat over medium-high, stirring constantly until all sugar dissolves to avoid grainy candy.
- Step 3: Attach a candy thermometer to the saucepan and let the syrup boil without stirring until it reaches 300°F (hard crack stage) to ensure crisp, shatter-perfect candy.
- Step 4: Remove from heat and wait until bubbling stops to prevent splattering when adding colors.
- Step 5: Quickly divide hot syrup into separate heatproof bowls if making multiple colors. Stir in gel food coloring and flavored oil or extract immediately.
- Step 6: Carefully drizzle the hot syrup into the powdered sugar wells on the prepared pans, which help keep the syrup contained and shaped beautifully.
- Step 7: Allow candy to cool and harden completely at room temperature, about 1 hour, until transformed into translucent shards.
- Step 8: Use kitchen scissors or a knife dipped in warm water to cut candy into smaller pieces. Handle gently as shards are delicate.
- Step 9: Lightly dust candy with more powdered sugar to prevent sticking and store in airtight containers to keep crisp and fresh.