Do you remember those childhood moments when a simple craft or experiment could captivate your imagination for hours? Something as ordinary as water and oil suddenly turning into a swirling storm right in front of your eyes—pure magic! Making a Storm in a Jar is one of those delightful projects that brings back that nostalgic wonder while being incredibly easy and quick to put together. Whether you’re looking to entertain curious kids, add a calming sensory tool to your day, or create a unique handmade gift, this recipe-like craft will leave you amazed and eager to shake things up again and again.
In just minutes, with everyday household ingredients, you’ll create a mesmerizing mini tempest trapped inside a jar. It’s a perfect blend of science and art, and the best part is you don’t need to be an expert to get it right. Let me walk you through everything you need to know to make your very own Storm in a Jar and share my favorite tips to make it sparkle even more. Ready to stir up some fun?
Why You’ll Love Storm in a Jar
- Fast: You can have this calming storm ready in less than 10 minutes, making it perfect for a last-minute activity or gift idea.
- Easy: No complicated tools or ingredients—just simple household items you likely already have.
- Giftable: Packaged in a cute jar, it makes a thoughtful DIY gift for friends, family, or teachers.
- Crowd-pleasing: Kids and adults alike love watching the swirling colors and glitter come to life, making it a fun centerpiece for parties or classrooms.
Ingredients
Before you dive in, let’s gather everything you need. The ingredients are straightforward, but each plays an important role in creating the storm effect:
- Water: The base of your storm. I recommend using room temperature water so it mixes well with the other ingredients.
- Vegetable oil: This creates the distinct layer that doesn’t mix with water, allowing the “storm” to form. You can use any light oil, but vegetable oil works best for its clarity.
- Blue food coloring: This adds a striking color to your water, mimicking the sky and storm clouds. You can adjust the number of drops depending on how deep you want the blue tone.
- Glitter (optional): For an extra sparkle and magic effect. I love to add fine blue or silver glitter, but any color you like will work!
- Cotton ball or small sponge: This represents the clouds sitting atop your storm. A cotton ball is soft and fluffy, perfect for this craft.
- Jar with lid: A clean glass jar works best so you can watch your storm unfold clearly.
How to Make Storm in a Jar
Now, let’s get to the fun part! Follow these simple steps, and you’ll have your storm swirling in no time. I’ll share some little tips along the way to make your storm extra special.
- Fill the jar halfway with water. Use a measuring cup or just eyeball it, filling about half the jar. I find that room temperature water works best because it helps the oil layer and water layer stay separate nicely.
- Pour vegetable oil into the jar until it is nearly full, leaving some space at the top. The oil will float on top of the water, creating two distinct layers. Pour slowly to avoid mixing them too much. This layering is key to the storm effect!
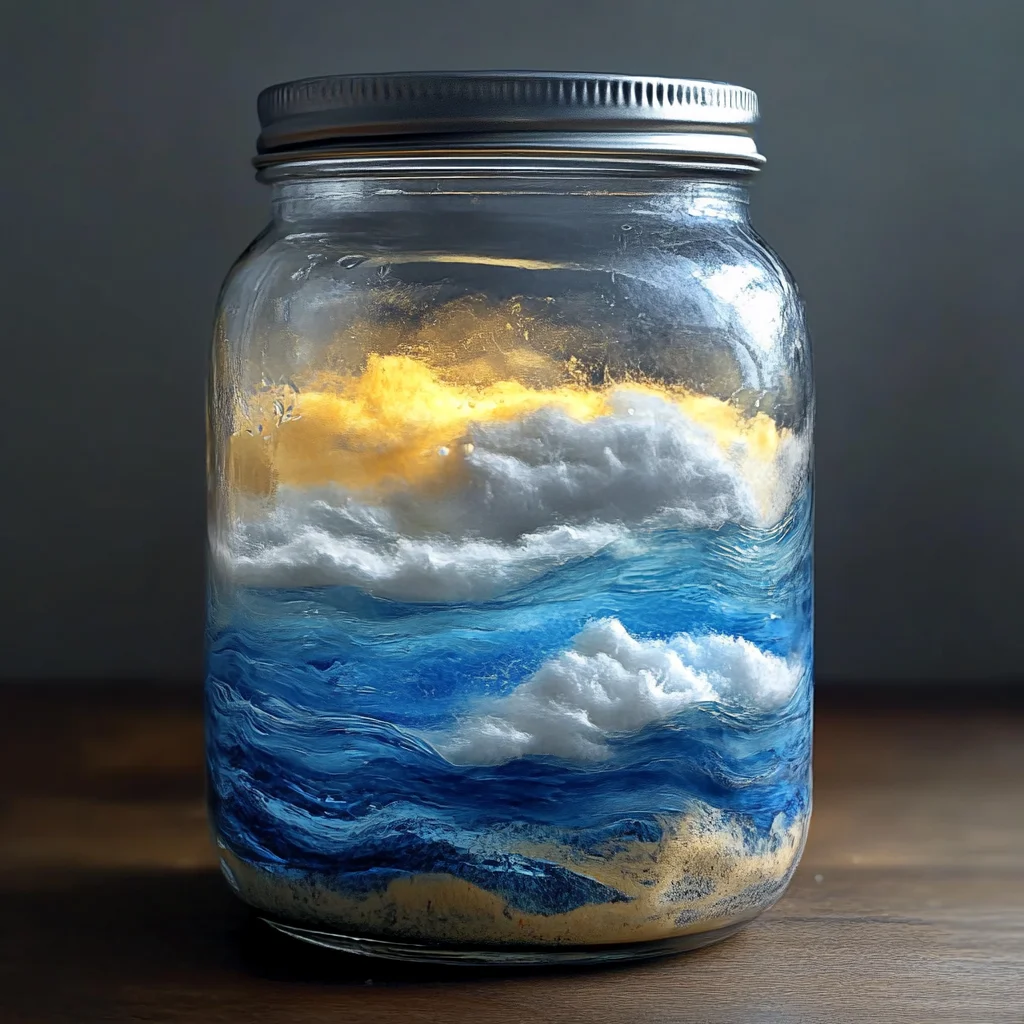
- Add a few drops of blue food coloring to the water layer. Here’s a little trick: add the food coloring near the water layer (under the oil) so you can see the color slowly spread and swirl when you shake the jar.
- Optional: Sprinkle glitter into the jar for added sparkle. Glitter adds a magical twist that catches the light beautifully. Don’t be shy—just a pinch of fine glitter will make your storm shimmer and shine.
- Place a small piece of cotton or sponge on top of the oil layer to represent clouds. I like to gently fluff the cotton ball so it looks like real fluffy clouds floating over the storm. This little detail really brings the whole effect to life.
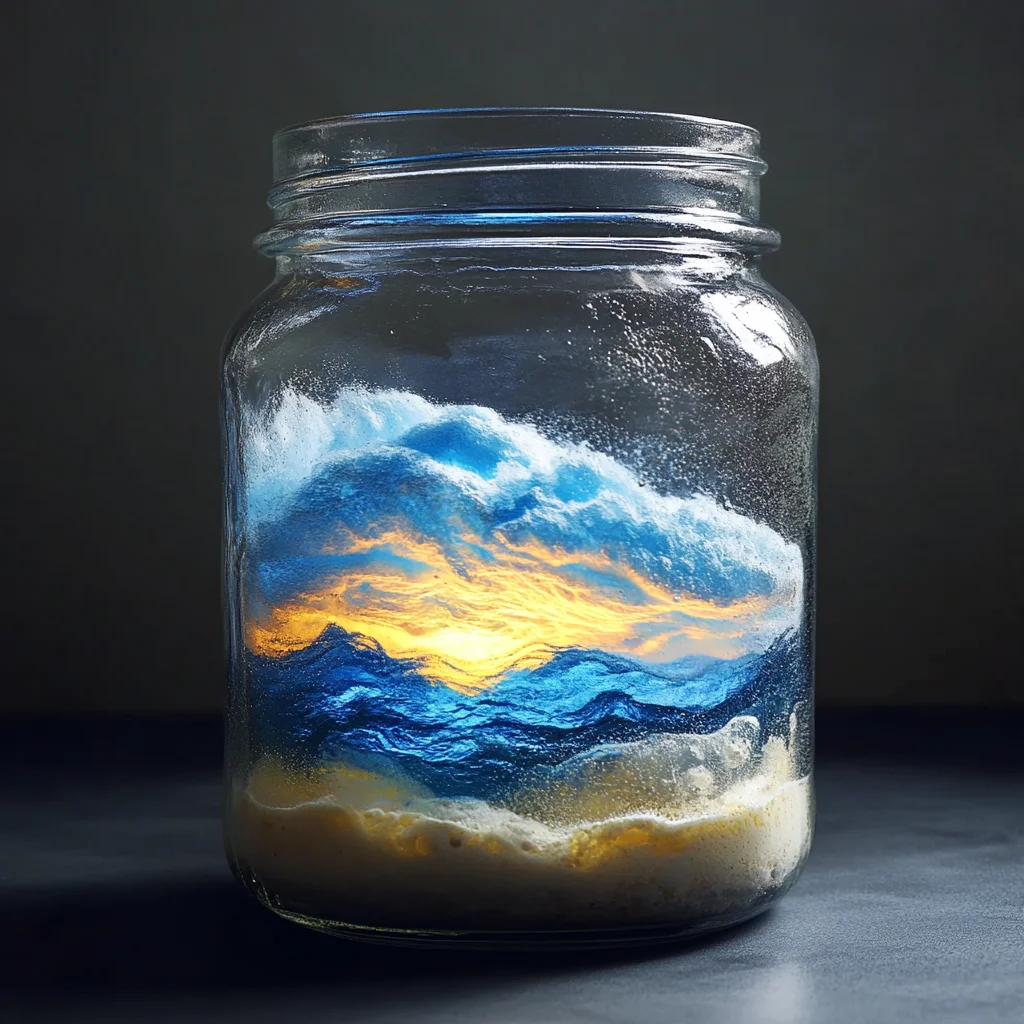
- Seal the jar with the lid and gently shake to mix the contents. Watch as the blue water moves through the oil, creating swirling waves and currents like a real storm. The glitter dances along, making it all look magical.
- For enhanced effect, shine a flashlight through the jar in a dark room. This is a personal favorite of mine—turn off the lights, shine a flashlight through the jar, and watch the colors and glitter come alive like lightning in the storm!
Substitutions & Additions
If you want to get creative or customize your Storm in a Jar, here are some fun ideas to try out. These swaps and additions can make your project even more personalized and exciting.
- Oil alternatives: If you don’t have vegetable oil, try baby oil or mineral oil. They have a similar density and clarity but may add a slight scent.
- Different colors: Instead of blue, experiment with green or purple food coloring to create different “weather” moods. You can even layer multiple drops of different colors for a rainbow storm.
- Glow-in-the-dark paint or glitter: Add a pinch of glow-in-the-dark glitter or paint for a spooky effect that shines after the lights go out.
- Scented oils: Add a drop of essential oil to the vegetable oil for a calming aroma that complements the visual experience.
- Cloud variations: Instead of cotton balls, try using a small piece of white felt or a fluffy sponge cut into cloud shapes. It’s a great way to add texture.
- Layered jars: Create multiple jars with different colors and sizes to build your own storm collection. They make charming gifts or classroom decor.
Tips for Success
Even though this craft is quite simple, a few tips can ensure your Storm in a Jar turns out beautifully every time. Here are some of the most helpful pointers I’ve learned from making it over and over.
- Pour oil slowly: To keep the layers clear and separate, pour the oil gently over the back of a spoon or down the side of the jar.
- Use clear jars: Glass jars with smooth sides work best so you can see the storm clearly without distortion.
- Don’t overfill: Leave some breathing space at the top of the jar so the contents can move and swirl freely when shaken.
- Shake gently: Vigorous shaking can mix the layers too much and take longer for the storm to “settle.” A gentle swirl is enough to get the waves moving.
- Prepare ahead: You can assemble the jars in advance and keep them sealed until ready to use. Just give them a gentle swirl before showing off the storm.
- Keep it away from small kids unsupervised: Although the ingredients are safe, the jar is breakable, and small parts like glitter can be a choking hazard for toddlers.
How to Store Storm in a Jar
One of the best things about Storm in a Jar is that it’s very low maintenance. Once sealed, your storm can last for months without losing its visual charm. Here’s how to keep it fresh and ready for calming moments or show-and-tell.
- Keep the lid tightly sealed: This prevents oil evaporation and keeps dust or debris out.
- Store at room temperature: Avoid extreme heat or cold, as temperature changes can affect the layering or cause condensation inside the jar.
- Shake occasionally: If your storm settles too much over time, simply give the jar a gentle shake to bring it back to life.
- Replace cotton if needed: If the cotton or sponge becomes saturated or discolored, swap it out with a fresh piece to keep your clouds fluffy and white.
FAQs
Can I use any jar for this project?
Yes, as long as the jar is clear glass or plastic and has a tight-fitting lid. Mason jars or recycled jam jars work perfectly. Avoid jars with textures or labels that block your view of the storm.
Why does the oil float on top of the water?
Oil is less dense than water, so it naturally floats on top. Also, oil and water don’t mix because they have different molecular structures, which creates the separate layers essential for the storm effect.
How do I make the storm last longer when shaking?
Shaking gently but consistently keeps the water and oil moving and swirling. Adding glitter helps enhance the visual effect as it moves through the layers. Just avoid shaking too hard to prevent the layers mixing completely.
Is this safe for kids to make?
Yes, with supervision. The ingredients are safe, but the jar can break, so it’s best for older kids or with adult help. You can also use plastic jars for younger children to reduce any risk.
If you enjoyed this fun science craft, you might also love exploring other easy and creative recipes and projects on Recettia’s site. For sweet treats that bring smiles, check out the Pineapple Cream Cheese Pound Cake, or if you want a quick savory bite, the One-Pot Smoky BBQ Meatball Pasta is a delicious crowd-pleaser that’s just as easy as shaking up your Storm in a Jar!
Whether you’re crafting storms or baking desserts, these simple joys bring warmth and wonder right to your home kitchen. So go ahead, make your own little tempest today, and watch the magic unfold!
Don’t forget to follow us on Pinterest for more inspiring recipes and fun DIY ideas!
Storm in a Jar
Ingredients
Equipment
Method
- Step 1: Fill the jar halfway with room temperature water.
- Step 2: Slowly pour vegetable oil into the jar until nearly full, leaving some space at the top. Pour over the back of a spoon or down the side to avoid mixing layers.
- Step 3: Add a few drops of blue food coloring to the water layer beneath the oil to create the storm color.
- Step 4: Optional: Sprinkle a pinch of glitter into the jar for added sparkle.
- Step 5: Place a cotton ball or small sponge on top of the oil layer to represent clouds.
- Step 6: Seal the jar with the lid and gently shake to mix and activate the swirling storm effect.
- Step 7: For enhanced effect, shine a flashlight through the jar in a dark room to mimic lightning and make the glitter sparkle.