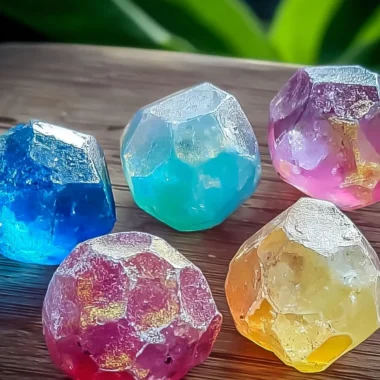
There’s something so heartwarming about creating art that not only beautifies your space but also brings a smile to your face each time the sun shines through it. Remember those sunny days spent crafting as a kid? This easy DIY suncatcher recipe is a perfect way to relive those moments! In just a few simple steps, you’ll have colorful window art that can brighten any room. Let’s get started!
Why You’ll Love Easy DIY Suncatchers: Make Colorful Window Art for All Ages!
- Fast
- Easy
- Giftable
- Crowd-pleasing
Ingredients
- Transparent plastic sheets or contact paper: These will serve as the base for your suncatcher.
- Colored tissue paper or cellophane: Choose your favorite colors to create a vibrant design.
- Scissors: For cutting the shapes and paper.
- Craft glue or a glue stick: This will help secure everything together.
- Black construction paper (optional for frames): A lovely addition if you want to frame your artwork.
- Hole punch (optional): For making a hole to hang your suncatcher.
- String or fishing line (optional for hanging): Perfect for displaying your creation in a sunny spot.
How to Make Easy DIY Suncatchers: Make Colorful Window Art for All Ages!
Ready to dive into crafting? Here’s how to make your own suncatchers step by step:
- Start by cutting the transparent plastic sheets or contact paper into your desired shape or size. Think about shapes that will look lovely hanging in your window.
- Next, tear or cut the colored tissue paper or cellophane into small pieces. The more colors you use, the more vibrant your suncatcher will be!
- Now, arrange those colorful pieces on the sticky side of the plastic sheet or contact paper. You can create any design you like—let your creativity flow!
- Once you’re satisfied with your arrangement, cover it with another sheet of transparent plastic or a second layer of contact paper to seal the design.
- Trim any excess plastic or paper around the edges if necessary.
- (Optional) If you want to add a frame, cut a shape from black construction paper and glue your suncatcher onto it.
- (Optional) Use a hole punch to create a hole at the top of the suncatcher, then thread string or fishing line through to hang it.
- Finally, display your suncatcher in a sunny window and enjoy the colorful light display!
Substitutions & Additions
If you want to mix things up a bit, consider these substitutions and additions:
- Use old plastic packaging instead of new transparent sheets for an eco-friendly option.
- Try adding glitter or small beads to the design for extra sparkle.
- For a different texture, use fabric scraps instead of tissue paper.
Tips for Success
Here are some tips to ensure your suncatchers turn out beautifully:
- Be sure to press down firmly on the edges after sealing to prevent any lifting.
- If you’re working with kids, make sure to supervise the use of scissors and glue.
- You can prep the pieces ahead of time for a fun group activity.
How to Store Easy DIY Suncatchers: Make Colorful Window Art for All Ages!
Once you’ve made your suncatchers, they can be stored easily. Keep them flat in a box or between sheets of parchment paper to avoid any bending or damage. They can last for years, but if you notice any fading, a quick refresh is always possible!
FAQs
- Can I use regular paper instead of tissue paper? Yes, but keep in mind that regular paper may not allow light to shine through as beautifully.
- How do I make my suncatcher more durable? Using contact paper instead of plastic sheets can help keep it intact longer.
- Can I use this project for outdoor decoration? It’s best to keep them indoors, as direct sunlight can cause fading over time.
Creating these easy DIY suncatchers is not just a fun activity; it’s a beautiful way to brighten up your home! For more delicious recipes, check out our Linzer Cookies or Berry Crumble for treats you will love! And don’t forget to follow us on Pinterest for more creative ideas.
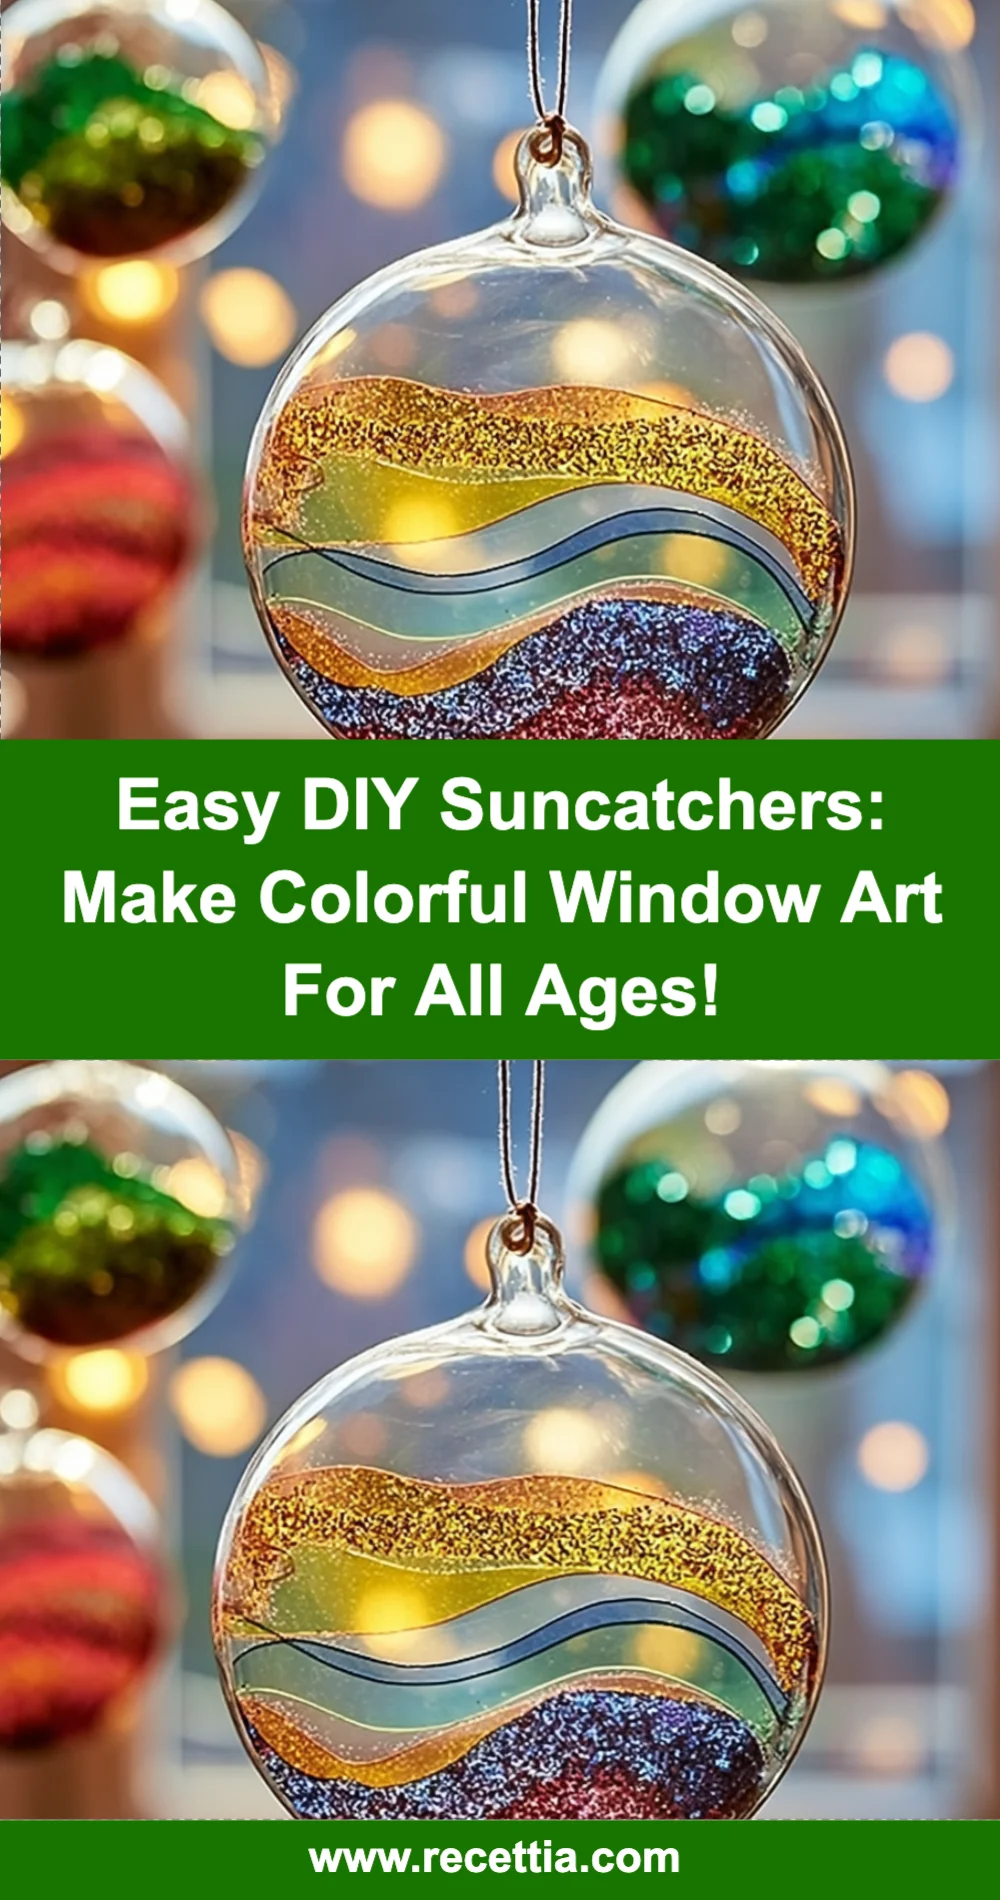
Easy DIY Suncatchers
Ingredients
Equipment
Method
- Step 1: Cut the transparent plastic sheets or contact paper into your desired shape or size.
- Step 2: Tear or cut the colored tissue paper or cellophane into small pieces.
- Step 3: Arrange the colorful pieces on the sticky side of the plastic sheet or contact paper.
- Step 4: Cover with another sheet of transparent plastic or a second layer of contact paper to seal the design.
- Step 5: Trim any excess plastic or paper around the edges if necessary.
- Step 6: (Optional) Cut a shape from black construction paper and glue your suncatcher onto it.
- Step 7: (Optional) Use a hole punch to create a hole at the top, then thread string or fishing line through to hang it.
- Step 8: Display your suncatcher in a sunny window and enjoy the colorful light display!