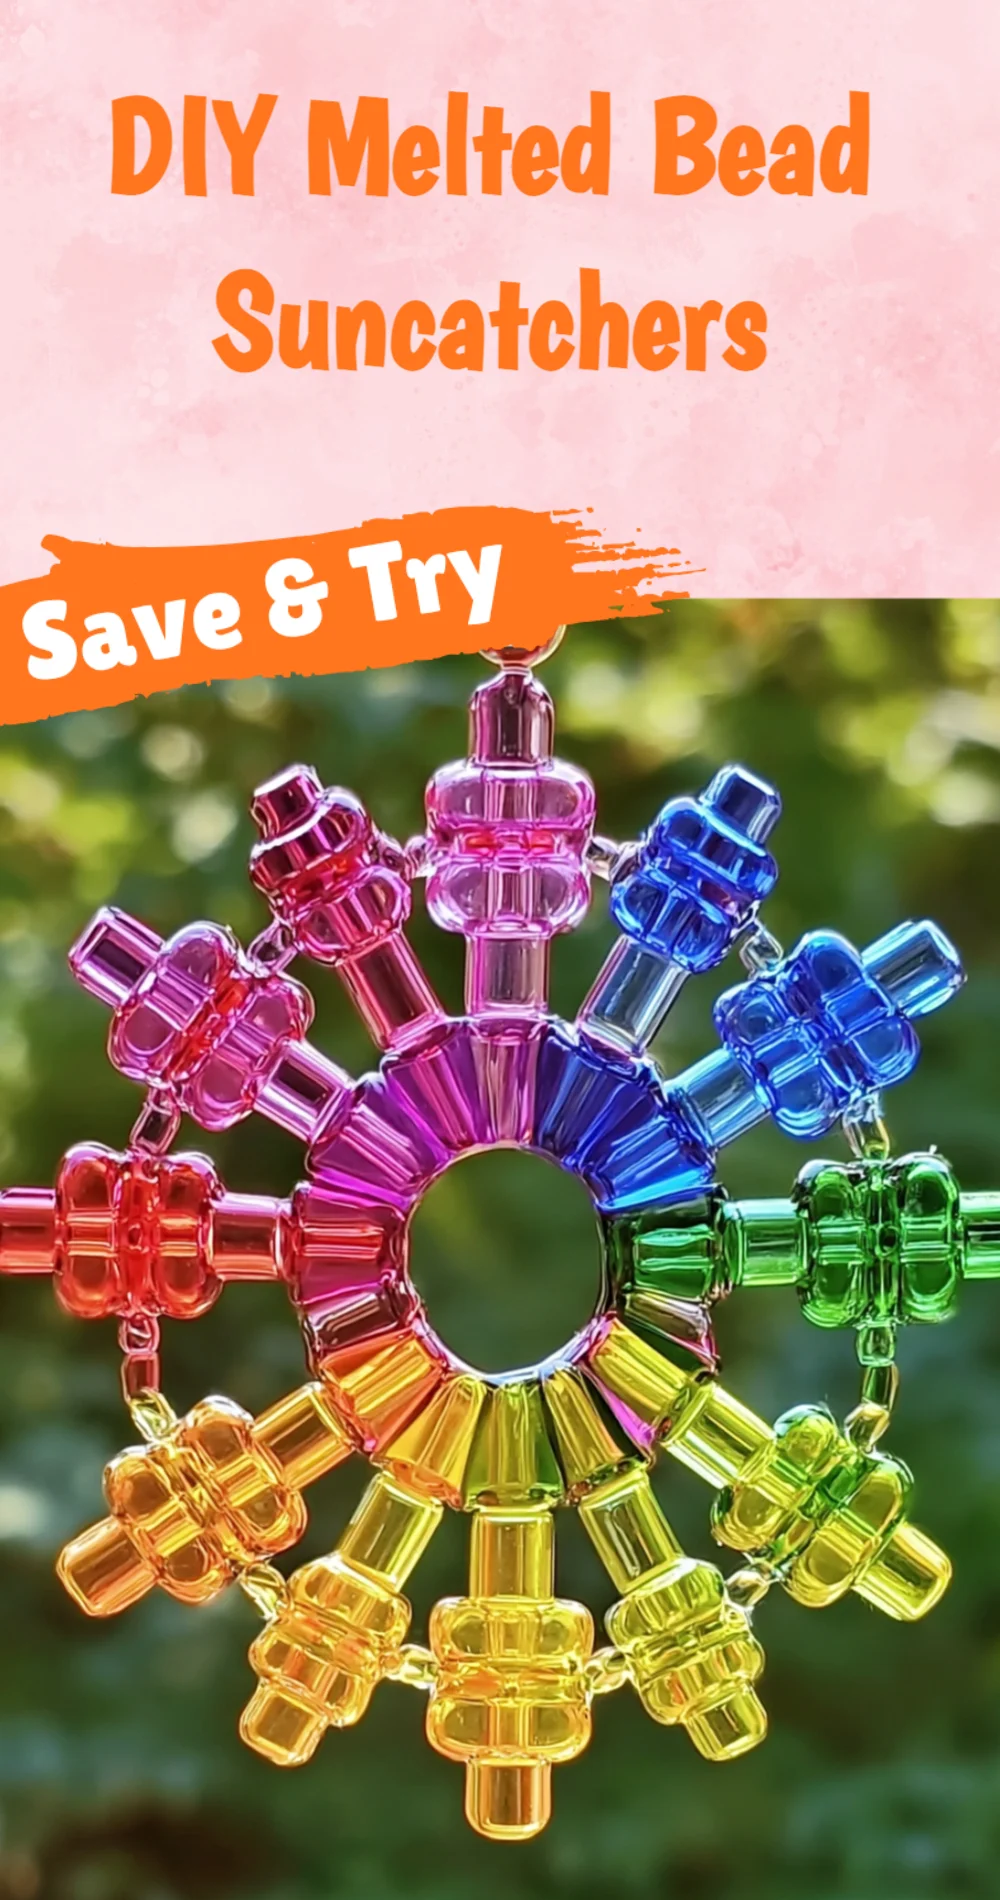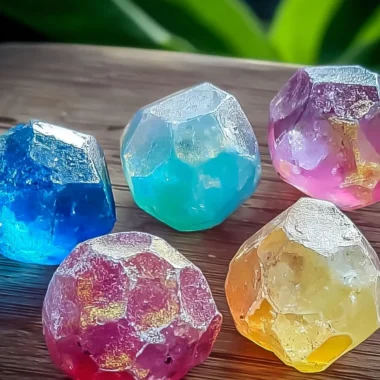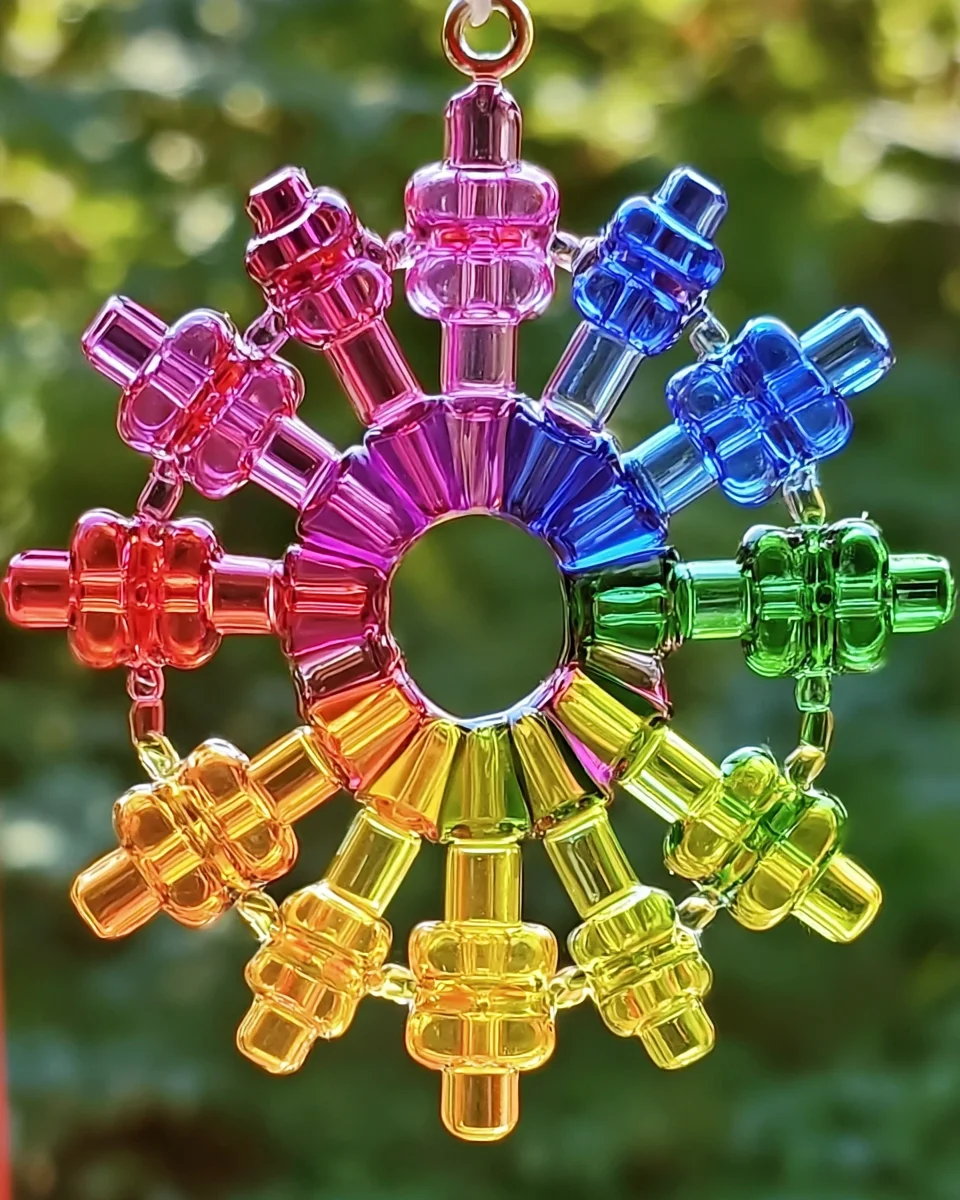
There’s something truly magical about creating art that dances with light. Remember those sunny afternoons when you would chase rainbows, the way colors painted your world? Today, we’re going to bring that nostalgia back with a delightful DIY project that not only brightens your home but also fills your heart with joy: DIY melted bead suncatchers. Imagine colorful shapes hanging in your window, casting shimmering patterns across your space as the sun streams through. This project is perfect for all ages, allowing you to create something beautiful, share laughter, and enjoy each other’s company as you craft together.
Why You’ll Love DIY Melted Bead Suncatchers
- Beginner-friendly
- Budget-friendly
- Creative and fun
- Great for kids and families
- Perfect for gifts, decorating, or everyday use
- Customizable
The Heart Behind This DIY
Creating melted bead suncatchers is more than just a craft—it’s an experience that brings people together. The process encourages creativity, allowing you to express your unique style while also teaching valuable skills like patience and planning. As you arrange the beads, you’ll find a sense of mindfulness washing over you, a moment to breathe and enjoy the simple act of creating. Plus, these vibrant suncatchers are a wonderful way to build confidence as you see your artwork come to life, brightening your home and your spirit.
A Gentle Look at the Process
Picture this: you gather around the kitchen table, surrounded by colorful beads and cookie cutters. The air is filled with laughter as you choose your favorite shapes and colors. You’ll start by preheating the oven and preparing your baking sheet, then the fun begins as you fill the cookie cutters with beads, letting your imagination run wild. The anticipation builds as you watch the beads melt and transform, eventually cooling into stunning shapes that capture the sunlight. It’s a joyful journey from start to finish, one that you will cherish long after the last bead has melted.
Materials You’ll Need
- Clear plastic or metal cookie cutters (various shapes): These will be the molds for your suncatchers.
- Perler beads or melted beads (in a variety of colors): The colorful hearts of your project.
- Baking sheet: This is where the magic happens as you melt the beads.
- Parchment paper or aluminum foil: To line your baking sheet and prevent sticking.
- Oven: The essential tool for melting your beads.
- String or fishing line (for hanging): To showcase your beautiful creations.
- Scissors: To cut your hanging material if needed.
Step-by-Step Directions
Step 1
Preheat your oven to 400°F (200°C). This is the perfect temperature for melting the beads just right.
Step 2
Line a baking sheet with parchment paper or aluminum foil. This step is crucial as it will keep your melted beads from sticking, making cleanup a breeze.
Step 3
Place the cookie cutters on the baking sheet. Inside each cookie cutter, fill the shape with a single layer of Perler beads. Get creative! You can create patterns or mix colors for a vibrant, eye-catching effect.
Step 4
Carefully place the baking sheet in the preheated oven. Bake for about 15-20 minutes, but keep an eye on them to ensure they don’t over-melt. You want the beads to be fully melted and fused together, creating a lovely, solid piece.
Step 5
Once the beads are melted, remove the baking sheet from the oven using baking mitts. Allow the suncatchers to cool completely on the baking sheet, which will take about 10-15 minutes.
Step 6
Once cooled, gently press on the sides of the cookie cutter to release the melted bead shape. If it sticks, don’t worry! You can use a knife or spatula to carefully pry it out.
Step 7
If you want to hang your suncatcher, use a drill to make a small hole at the top of the shape. Alternatively, you can attach a loop of string or fishing line directly to the suncatcher with a hot glue gun.
Step 8
Finally, use string or fishing line to hang your beautiful melted bead suncatchers in a window or outside where they can catch the sunlight. Enjoy the beautiful reflections they create!
Creative Ways to Use DIY Melted Bead Suncatchers
Once your suncatchers are complete, the possibilities for displaying them are endless! Hang them in your windows to brighten up your living space or decorate your garden by suspending them from tree branches. They also make thoughtful gifts for friends and family, especially for special occasions like birthdays or holidays. You can even create a themed collection, perhaps a series of hearts for Valentine’s Day or snowflakes for winter. The joy of these suncatchers is that they can be as unique as you are!
How to Store, Preserve, or Maintain DIY Melted Bead Suncatchers
To keep your suncatchers looking vibrant, store them in a cool, dry place when not in use. If they get dusty, simply wipe them clean with a soft cloth. Avoid exposing them to extreme heat or direct sunlight for long periods, as this may cause them to warp or fade. With a little care, your colorful creations will continue to brighten your space for years to come!
Creative Variations and Customizations
- Experiment with different colors or finishes for a unique look.
- Try seasonal themes, like pumpkins for fall or flowers for spring.
- Involve kids by letting them choose their favorite colors or shapes.
- For a more advanced project, layer different colors of beads within the same shape for a beautiful ombre effect.
- Use larger cookie cutters for bigger suncatchers, or try making mini ones for a cute display.
Tips for Success
- Common mistakes to avoid: Be cautious not to overfill the cookie cutters, as the beads will expand when melted.
- Safety tips: Always use baking mitts when handling the hot baking sheet.
- Preparation suggestions: Set up your workspace ahead of time to make the process smooth and enjoyable.
- Cleanup recommendations: Clean up any melted beads that may have spilled over the edges of the cookie cutter while they are still warm for easier removal.
- Expert tips: Don’t be afraid to mix and match colors—bright, bold combinations can create stunning effects!
FAQs About DIY Melted Bead Suncatchers
Can beginners make this?
Absolutely! This project is perfect for beginners, and it’s a wonderful way to introduce kids to crafting.
Can children participate?
Yes, this is a kid-friendly project! Just make sure to supervise them closely, especially when it comes to using the oven.
How long does it last?
With proper care, your melted bead suncatchers can last for many years, brightening your space with color!
Can I customize it?
Definitely! You can choose your favorite colors, shapes, and even add different finishes to create a truly unique piece.
A Final Creative Note
As you embark on your melted bead suncatcher journey, remember that the joy of creating is what truly matters. Each bead you place is a step towards a beautiful reflection of your creativity and personality. Celebrate your handmade art, and don’t hesitate to share your creations with others. For more delicious recipes, check out Cinnamon Orange Jam Linzer Cookies or Berry Crumble with Fresh Berries for treats you will love! Happy crafting, and may your home be filled with color and light!
If you’re looking for more DIY inspiration, be sure to follow our Pinterest for endless creative ideas!