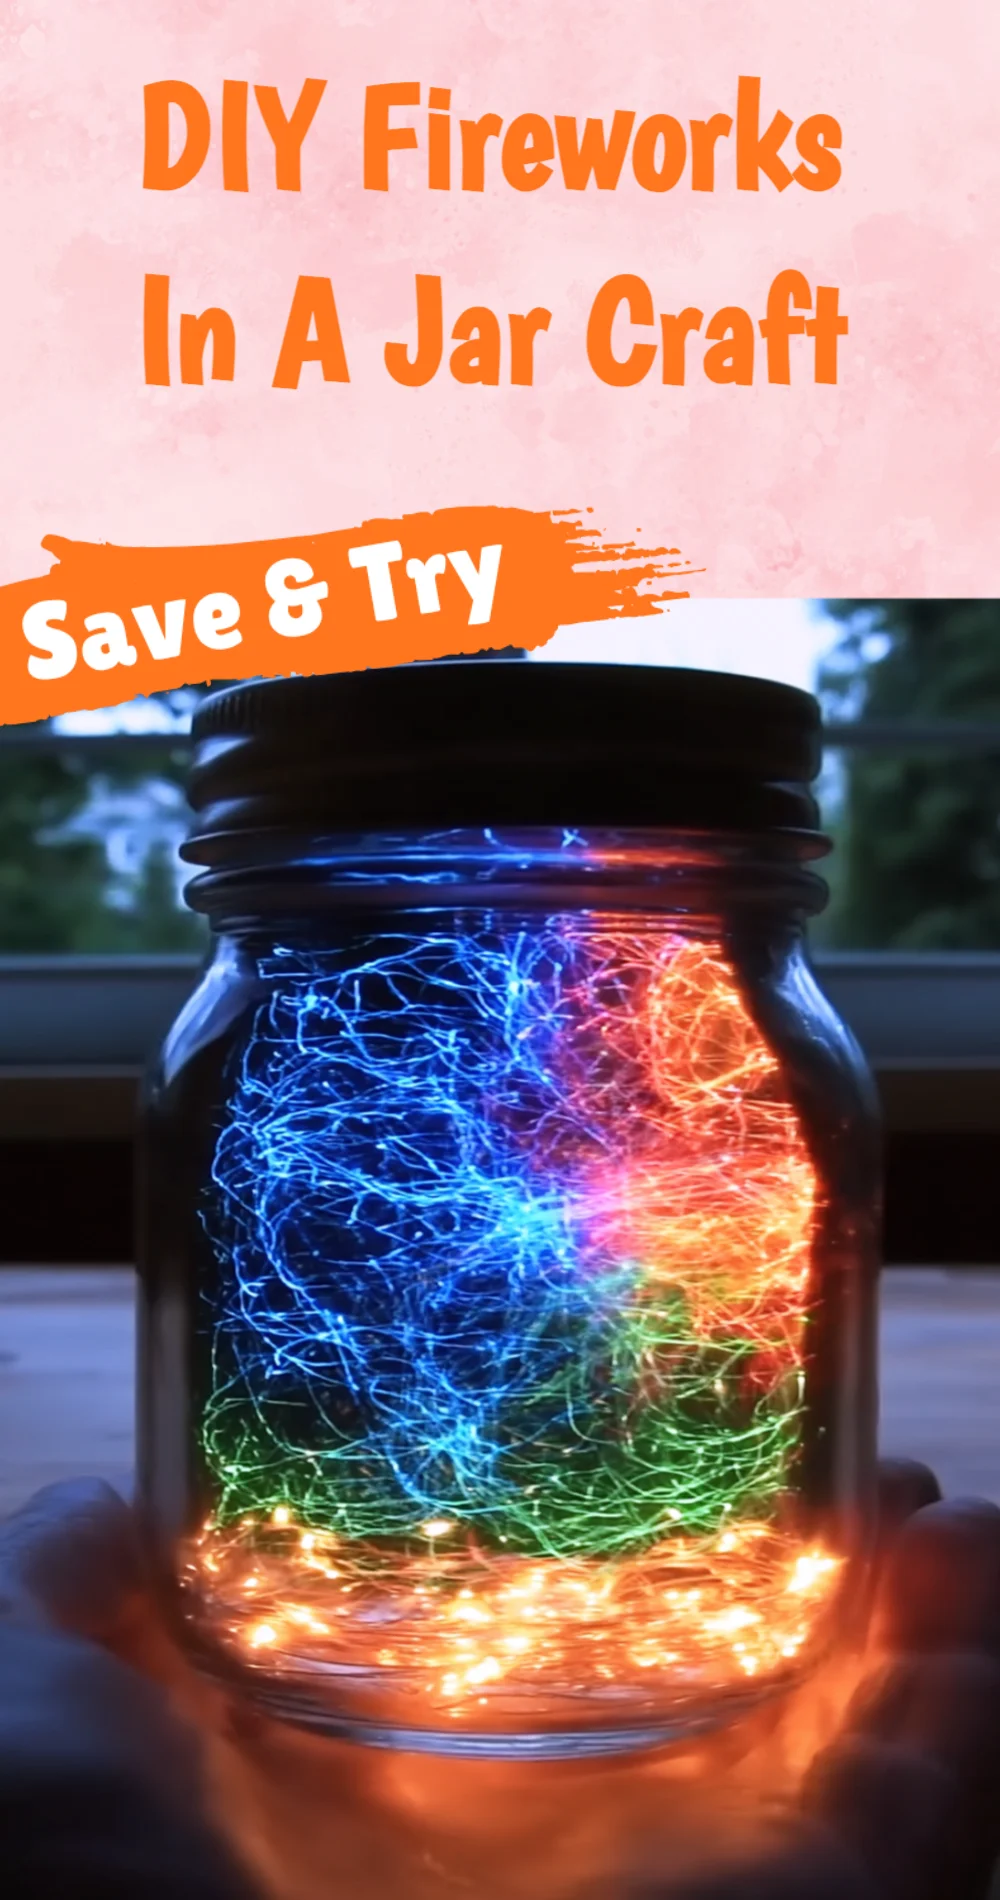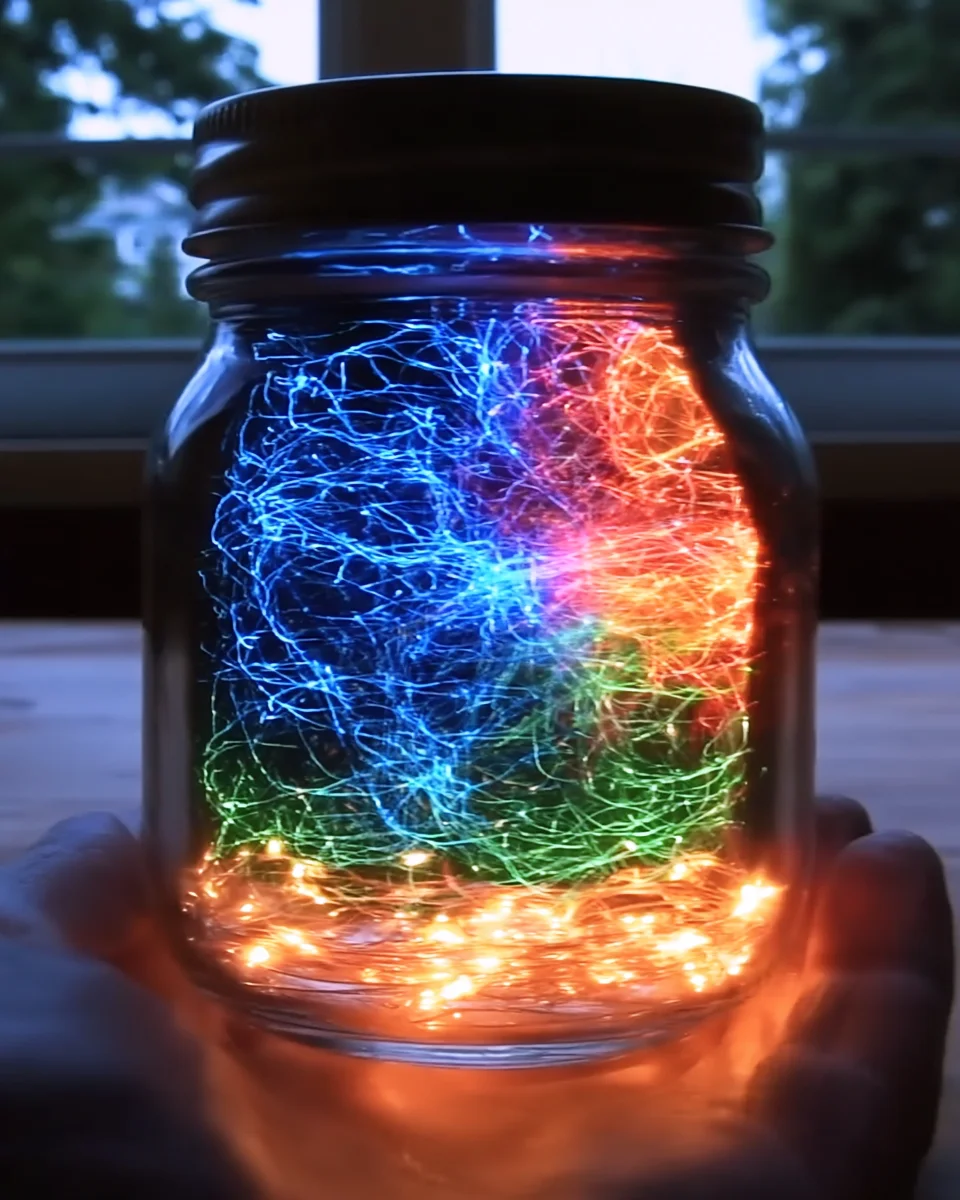
There’s something utterly magical about creating a little bit of wonder right in your own home. The DIY Fireworks In A Jar project is not just fun; it’s a delightful journey into the world of colors and creativity. Imagine watching vibrant hues swirl and dance, mimicking the excitement of fireworks lighting up the night sky. This project is perfect for a cozy afternoon with family or friends, bringing smiles and sparking joy as you craft together. It’s a fantastic way to unwind, express yourself, and enjoy the sensory experience of mixing colors and textures. I can already picture your finished creation sitting on a shelf, radiating joy and creativity!
Why You’ll Love DIY Fireworks In A Jar Craft
- Beginner-friendly
- Budget-friendly
- Creative and fun
- Great for kids and families
- Perfect for gifts, decorating, or everyday use
- Customizable
The Heart Behind This DIY
What makes this project so enjoyable is the sense of wonder it ignites in both young and old. As you watch the colors blend and swirl, you’re not just creating art; you’re engaging with science. This craft encourages mindfulness and creativity, allowing you to express yourself in a colorful way. Plus, it’s a wonderful opportunity for connection—whether it’s a quiet moment with your child or a lively gathering with friends, you’ll share laughter and amazement as you create your own mini fireworks show.
A Gentle Look at the Process
Creating DIY Fireworks In A Jar is an inviting experience. You’ll begin by gathering your materials, feeling the smooth glass of the jar and the vibrant bottles of food coloring. As you mix the oil and colors, you’ll be greeted with the satisfying sensation of watching droplets form and dance. Pouring the colorful mixture into the water is like releasing a burst of creativity, and the excitement of seeing the colors spread is a simple joy that brightens your day. It’s a soothing, sensory-filled process that leaves you feeling accomplished and inspired.
Materials You’ll Need
- Clear glass jar or container with a lid: This will hold your colorful creation.
- Water: The medium for your fireworks display.
- Vegetable oil (or baby oil): Creates the beautiful separation effect with the water.
- Food coloring (assorted colors): Adds the vibrant hues to your fireworks.
- Small bowl or cup: For mixing the oil and color.
- Spoon or stirrer: To mix your colors.
Step-by-Step Directions
Step 1
Prepare the Jar: Begin by filling your clear glass jar or container about three-quarters full with water. Leave some space at the top to avoid spills when you add the oil.
Step 2
Mix the Oil and Color: In a small bowl or cup, pour about 2 tablespoons of vegetable oil. Add several drops of food coloring into the oil. You can mix different colors to create a vibrant effect!
Step 3
Create the Fireworks Effect: Use a spoon or stirrer to gently mix the food coloring into the oil. The food coloring will not dissolve but will create small droplets in the oil.
Step 4
Combine the Mixtures: Carefully pour the oil and food coloring mixture into the jar with water. You can use a funnel to make this easier and prevent spills. Observe as the food coloring droplets sink and spread throughout the water, mimicking fireworks!
Step 5
Seal and Shake (Optional): If you want to mix the colors further or create a more dynamic effect, seal the jar with its lid and shake gently. Then, watch as the colors swirl and dance.
Step 6
Display Your Creation: Once you’re satisfied with the look, display your jar as a beautiful decoration! You can also open the jar and add more oil or colors to refresh the effect whenever you like.
Creative Ways to Use DIY Fireworks In A Jar Craft
Your DIY Fireworks In A Jar can be a stunning centerpiece for a festive gathering or a playful addition to your child’s room decor. They also make for thoughtful gifts—imagine gifting a colorful jar filled with memories and creativity! You can even use these jars as unique nightlights by placing them on a windowsill, letting the light catch the colors and create a soothing glow as dusk falls.
How to Store, Preserve, or Maintain DIY Fireworks In A Jar Craft
To ensure your Fireworks In A Jar lasts, keep it in a cool, dry place away from direct sunlight. If you notice the colors fading, simply refresh the mixture by adding more food coloring or oil. Just be cautious when opening the jar to prevent spills!
Creative Variations and Customizations
- Color or finish variations: Experiment with neon or pastel food colors for different effects.
- Theme ideas: Create seasonal jars, like red and green for Christmas or orange and black for Halloween.
- Seasonal adaptations: Add glitter or small sparkles to the water for a festive twist.
- Kid-friendly modifications: Use a larger container for a more impactful display.
- Advanced creative upgrades: Try adding scents to the oil for a multi-sensory experience.
Tips for Success
- Common mistakes to avoid: Ensure the water is not too full; leave room for the oil without spilling.
- Safety tips if applicable: If using glitter, ensure it is non-toxic and safe for all ages.
- Preparation suggestions: Gather all materials before starting to keep the process smooth.
- Cleanup recommendations: Use paper towels to wipe up any spills immediately to prevent staining.
- Expert tips: Experiment with different oils, like coconut oil, for unique effects.
FAQs About DIY Fireworks In A Jar Craft
Can beginners make this?
Absolutely! This project is beginner-friendly and perfect for anyone looking to explore their creative side.
Can children participate?
Yes! This craft is great for kids, making it a fun and educational activity for the whole family.
How long does it last?
Your Fireworks In A Jar can last indefinitely if stored properly. Refresh it whenever you like!
Can I customize it?
Definitely! You can use any color combinations, add glitter, or even scents to personalize your creation.
A Final Creative Note
As you finish your DIY Fireworks In A Jar, take a moment to appreciate the colors and creativity you’ve brought to life. Remember, every project you undertake is a chance to express yourself and share joy with those around you. For more delicious recipes, check out my favorite pistachio pavlova meringue cakes or no-bake brownie cheesecake cups for treats you will love! Let your imagination soar and keep creating—there’s always something new waiting to be made!
For more DIY inspiration, follow my Pinterest!