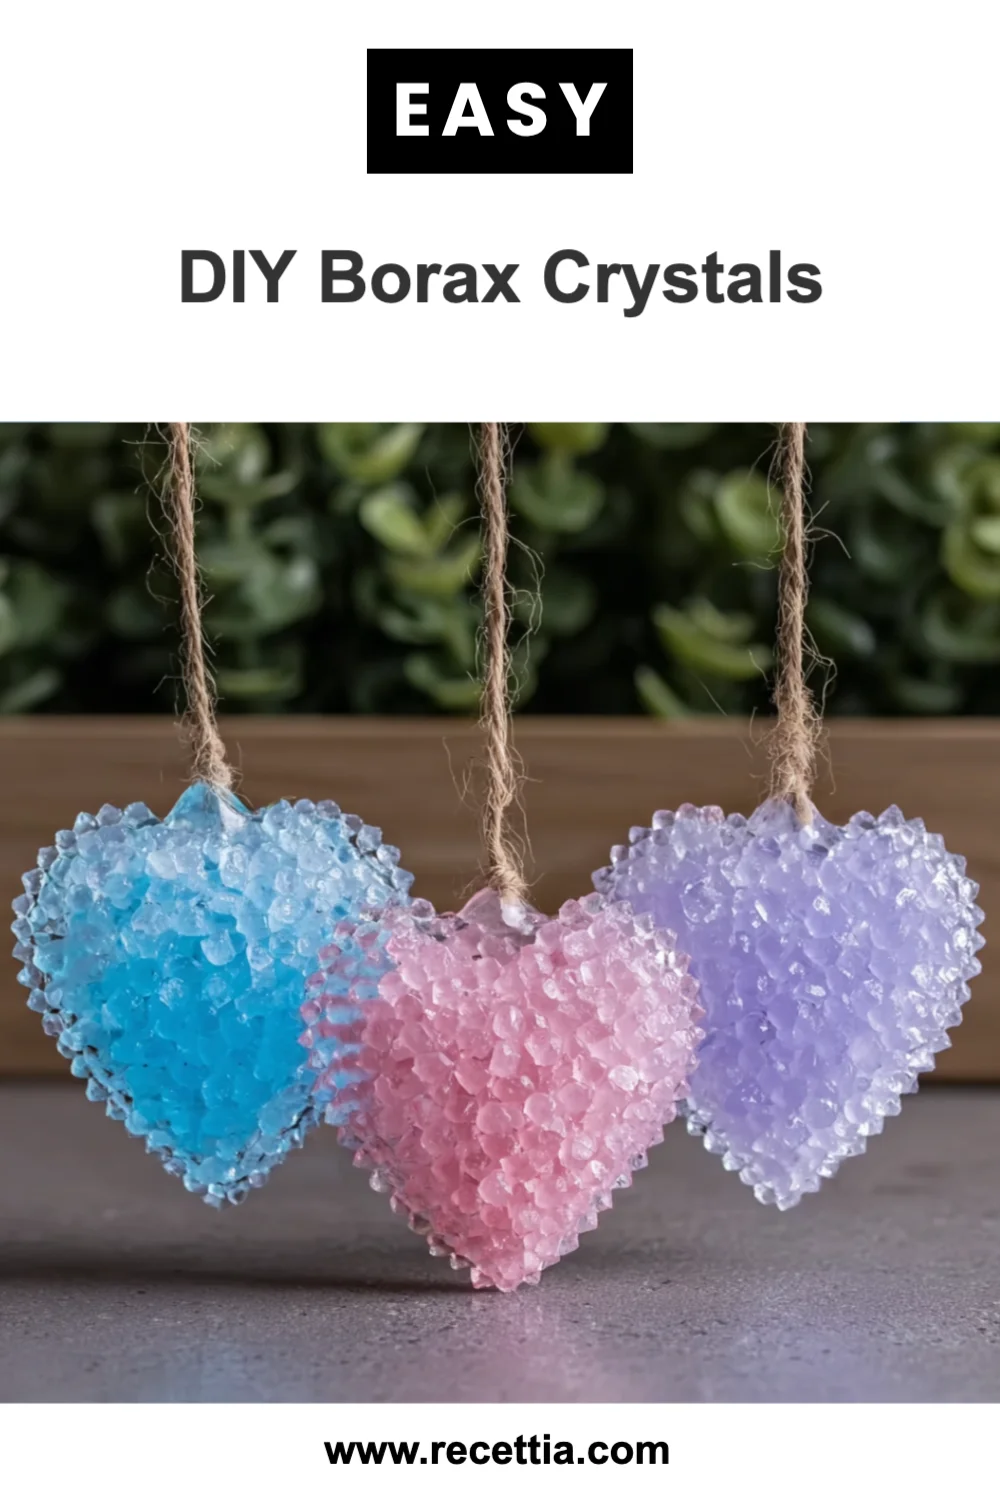
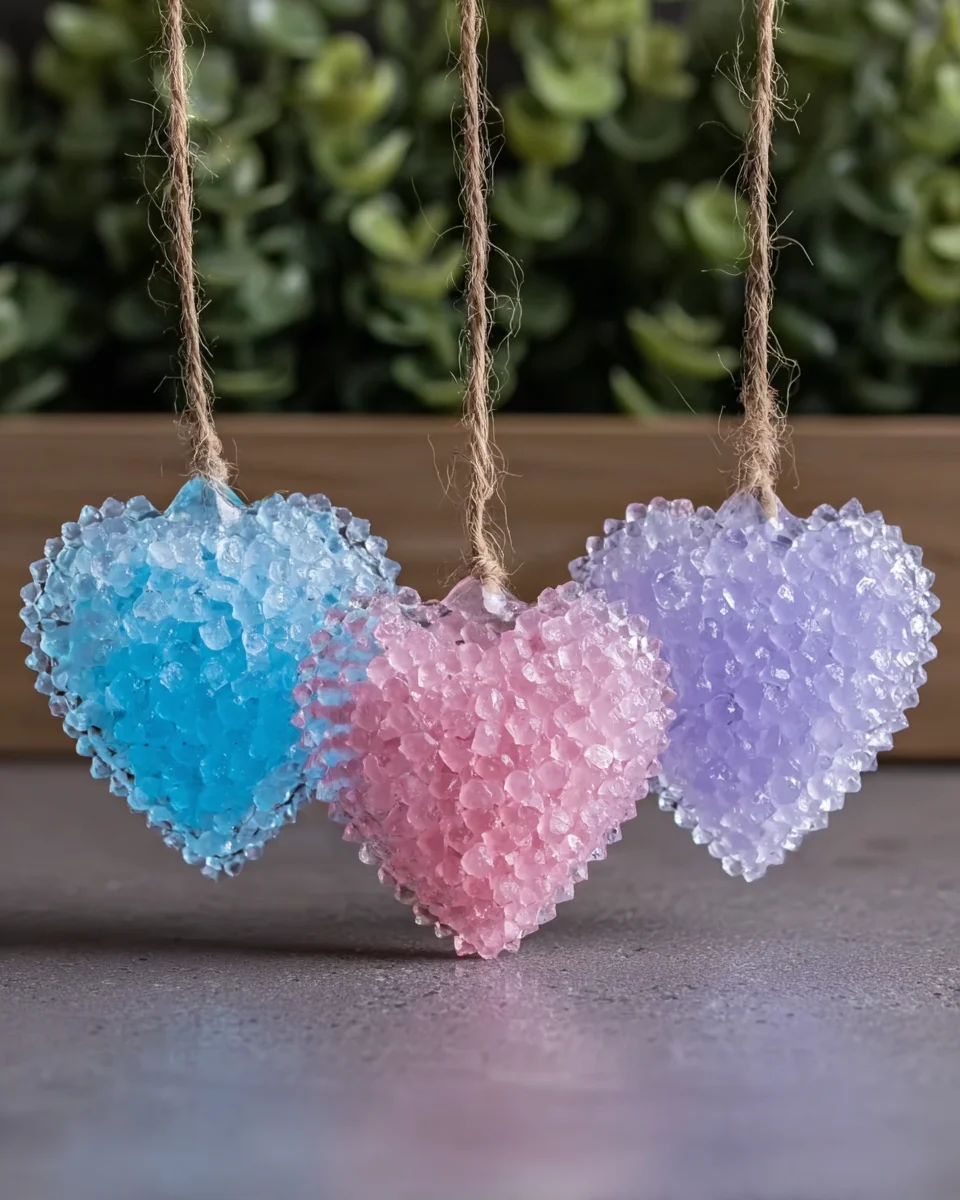
DIY Borax crystals are beautiful and mesmerizing formations that you can create at home. This engaging project allows you to explore the wonders of crystallization while crafting stunning decorations for your space.
| Prep Time | Cook Time | Total Time | Servings | Difficulty | Cuisine |
|---|---|---|---|---|---|
| 10 minutes | 24-48 hours | 24-48 hours | 1-2 crystals | Easy | N/A |
Why This Recipe Works
Creating DIY Borax crystals is an excellent way to visually demonstrate the process of crystallization. I was amazed the first time I saw the beautiful formations emerge from the solution. The science behind this project is simple yet fascinating, making it perfect for both children and adults. Watching the crystals grow over time builds anticipation and excitement.
From my experience, using a clean glass jar and ensuring the Borax is fully dissolved in hot water are key to success. The optional addition of food coloring enhances the visual appeal, allowing for unique creations. This project is not only educational but also yields stunning results that you can proudly display in your home.
Ingredients
| Ingredient | Quantity | Notes |
|---|---|---|
| Borax | 1 cup | Common cleaning agent, found in stores. |
| Hot water | 2 cups | Use boiling water for better dissolution. |
| Clean glass jar | 1 | Ensure it’s free of residue for best results. |
| String or stick | 1 | Acts as a base for crystal growth. |
| Pencil or chopstick | 1 | Used to suspend the string/stick. |
| Food coloring (optional) | As desired | Add for colored crystals. |
Step-by-Step Instructions
-
Prepare the Solution
In a clean glass jar, pour 2 cups of hot water. Carefully add 1 cup of Borax to the hot water. Stir the mixture until the Borax is completely dissolved.
-
Add Color (Optional)
If you want to color your crystals, add a few drops of food coloring to the solution and stir gently.
-
Set Up the String
Take a piece of string or a stick and tie one end to a pencil or chopstick. The other end of the string should be submerged in the Borax solution but not touching the bottom of the jar. This will be the anchor for your crystals to grow.
-
Let It Sit
Place the jar in a location where it won’t be disturbed. Allow the solution to sit undisturbed for 24 to 48 hours. Crystals will begin to form on the string/stick as the water evaporates.
-
Remove Crystals
After a day or two, carefully remove the string or stick from the jar. Rinse the crystals gently in cool water to remove any excess Borax.
-
Dry and Display
Place the crystals on a paper towel to dry completely. Once dry, display your beautiful DIY Borax crystals!
Chef Tips for Perfect Results
- Ensure the water is hot enough to dissolve the Borax completely for optimal crystal growth.
- Use clear jars to see the crystals forming better, enhancing the visual experience.
- Keep the jars in a stable environment away from drafts to prevent disturbances.
- Experiment with different lengths of string to see how crystal growth varies.
- Try using different colors of food coloring for unique crystal designs.
Common Mistakes to Avoid
- Not stirring the solution thoroughly can lead to undissolved Borax, which affects crystal formation.
- Submerging the string too deep can cause it to touch the bottom of the jar, preventing proper growth.
- Placing the jar in a location with strong airflow can disturb the crystallization process.
- Using too much food coloring can overpower the crystals, making them less visually appealing.
- Removing the string too early may result in incomplete crystal growth.
Variations and Substitutions
| Ingredient | Substitution | Impact on Flavor |
|---|---|---|
| Borax | Other crystal-forming salts (like sugar) | May produce different types of crystals. |
| Food coloring | Naturally colored liquids (like beet juice) | Results in unique hues. |
Serving Suggestions and Pairings
Though DIY Borax crystals are not edible, they make excellent decorations for various occasions. Use them as centerpieces for parties, decorations for a science-themed event, or gifts for science enthusiasts. Pair these crystals with educational books about geology or chemistry for a thoughtful gift set.
Storage and Reheating
| Method | Duration | Instructions |
|---|---|---|
| Display | Indefinite | Store in a cool, dry place away from direct sunlight. |
| Protection | Indefinite | Consider using a display case to keep them dust-free. |
Nutritional Information
| Nutrient | Amount per Serving |
|---|---|
| Calories | 0 |
| Sodium | 0 mg |
| Fats | 0 g |
| Carbohydrates | 0 g |
Frequently Asked Questions
Can I substitute Borax with sugar for crystal making?
Yes, sugar can be used as a substitute for Borax, resulting in edible crystals. However, they will differ in appearance and structure.
How can I tell when the crystals are done?
Crystals are typically ready when they have grown to a size you find appealing. This usually takes 24 to 48 hours, but you can check periodically.
What should I do if my crystals aren’t forming?
If crystals aren’t forming, ensure the Borax is fully dissolved and the solution is undisturbed. Adjusting the temperature of the water may also help.
Can I make these crystals ahead of time?
Yes, Borax crystals can be made ahead of time. They can be stored in a display case for an extended period to enjoy their beauty.
What colors can I create with food coloring?
You can create any color by mixing different food colorings. Experimenting with combinations can yield unique shades.
Conclusion
Creating DIY Borax crystals is a fun and educational experience that results in stunning decorations. This project not only showcases the beauty of crystallization but also allows for creative expression through color. For more delicious recipes, check out Easy Pecan Pie Recipe or Pistachio Pavlova Meringue Cakes for treats you will love!
DIY Borax Crystals
Ingredients
Equipment
Method
- Step 1: In a clean glass jar, pour 2 cups of hot water. Carefully add 1 cup of Borax to the hot water. Stir the mixture until the Borax is completely dissolved.
- Step 2: If you want to color your crystals, add a few drops of food coloring to the solution and stir gently.
- Step 3: Take a piece of string or a stick and tie one end to a pencil or chopstick. The other end of the string should be submerged in the Borax solution but not touching the bottom of the jar. This will be the anchor for your crystals to grow.
- Step 4: Place the jar in a location where it won’t be disturbed. Allow the solution to sit undisturbed for 24 to 48 hours. Crystals will begin to form on the string/stick as the water evaporates.
- Step 5: After a day or two, carefully remove the string or stick from the jar. Rinse the crystals gently in cool water to remove any excess Borax.
- Step 6: Place the crystals on a paper towel to dry completely. Once dry, display your beautiful DIY Borax crystals!
Notes