There’s something truly magical about desserts that bring back sweet memories from childhood and family gatherings. For me, Cherry Angel Cloud Cake is one of those special treats that instantly transports me to cozy afternoons filled with laughter, stories, and the warm scent of freshly baked cake wafting through the house. If you’re looking for a dessert that’s not only light and fluffy but also bursting with juicy cherries and creamy topping, this recipe is your new best friend.
What makes this Cherry Angel Cloud Cake so irresistible is how incredibly easy and quick it is to whip up, yet it feels like a fancy, crowd-pleasing masterpiece. Whether you’re hosting a casual get-together, need a last-minute gift for a neighbor, or just want a delightful treat for yourself, this dessert hits all the right notes. Let’s dive into why you’ll love it and how you can make it your own!
Why You’ll Love Cherry Angel Cloud Cake
- Fast: Ready in under an hour, including baking time.
- Easy: Uses a simple boxed angel food cake mix – no complicated steps.
- Giftable: Perfect for sharing with friends and family, or as a thoughtful homemade gift.
- Crowd-pleasing: Light, fruity, and creamy – a guaranteed hit at any party or potluck.
Ingredients
Keeping things straightforward is part of the charm here. You’ll need just a few staples that you might already have in your pantry or fridge. Here’s a quick look at the ingredients and what makes them special:
- Angel food cake mix: The star of the show, this mix creates a light, airy cake that’s like a fluffy cloud. Its delicate texture is perfect for pairing with sweet toppings.
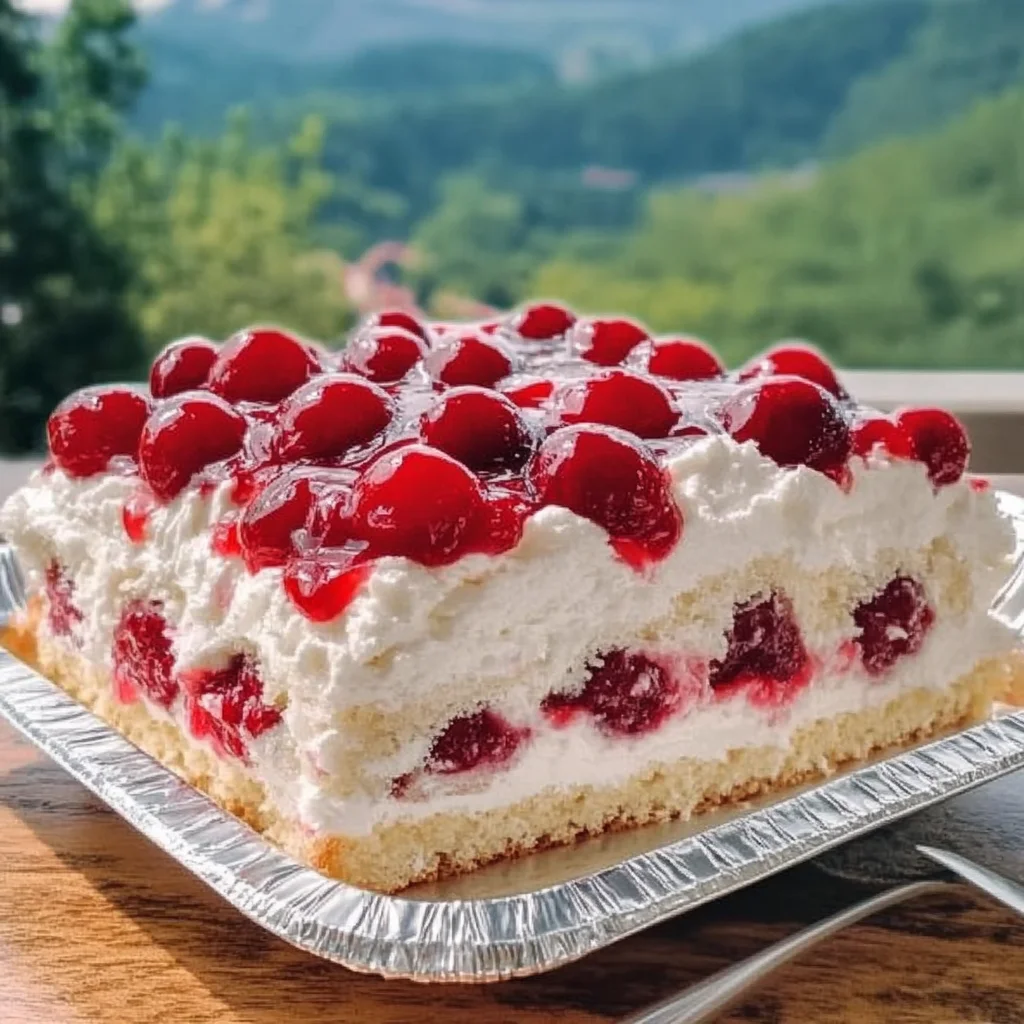
- Cherry pie filling: Adds that burst of juicy, vibrant cherry flavor and beautiful color contrast against the white cake and topping.
- Whipped topping: Creamy and cool, it balances the sweetness and adds a luscious finish. You can use store-bought or homemade whipped cream if you prefer.
How to Make Cherry Angel Cloud Cake
Now, here’s where the magic happens. This recipe is so simple, and I promise the results are nothing short of spectacular. Follow these steps, and you’ll have a stunning cake ready to impress.
- Preheat your oven as directed on the angel food cake mix box. This usually means setting it around 350°F (175°C), but be sure to check your package.
- Prepare the cake batter. Follow the package instructions carefully. Typically, this involves mixing the cake mix with water, egg whites, and sometimes oil. I find using fresh egg whites whipped to soft peaks makes the cake extra fluffy, but the mix does all the heavy lifting for you.
- Pour the batter into a Bundt pan. The classic angel food cake shape comes from baking it in a Bundt or tube pan. This helps the cake rise beautifully and bake evenly. Make sure not to grease the pan, as the batter needs to cling to the sides to rise properly.
- Bake according to package directions. Usually about 35 to 40 minutes. The cake should spring back when lightly pressed and start to pull away from the pan edges.
- Cool completely. This step is crucial. Let the cake cool upside down in the pan (if your pan has feet) so it doesn’t collapse. Once cooled, gently loosen the edges with a knife and remove it from the pan.
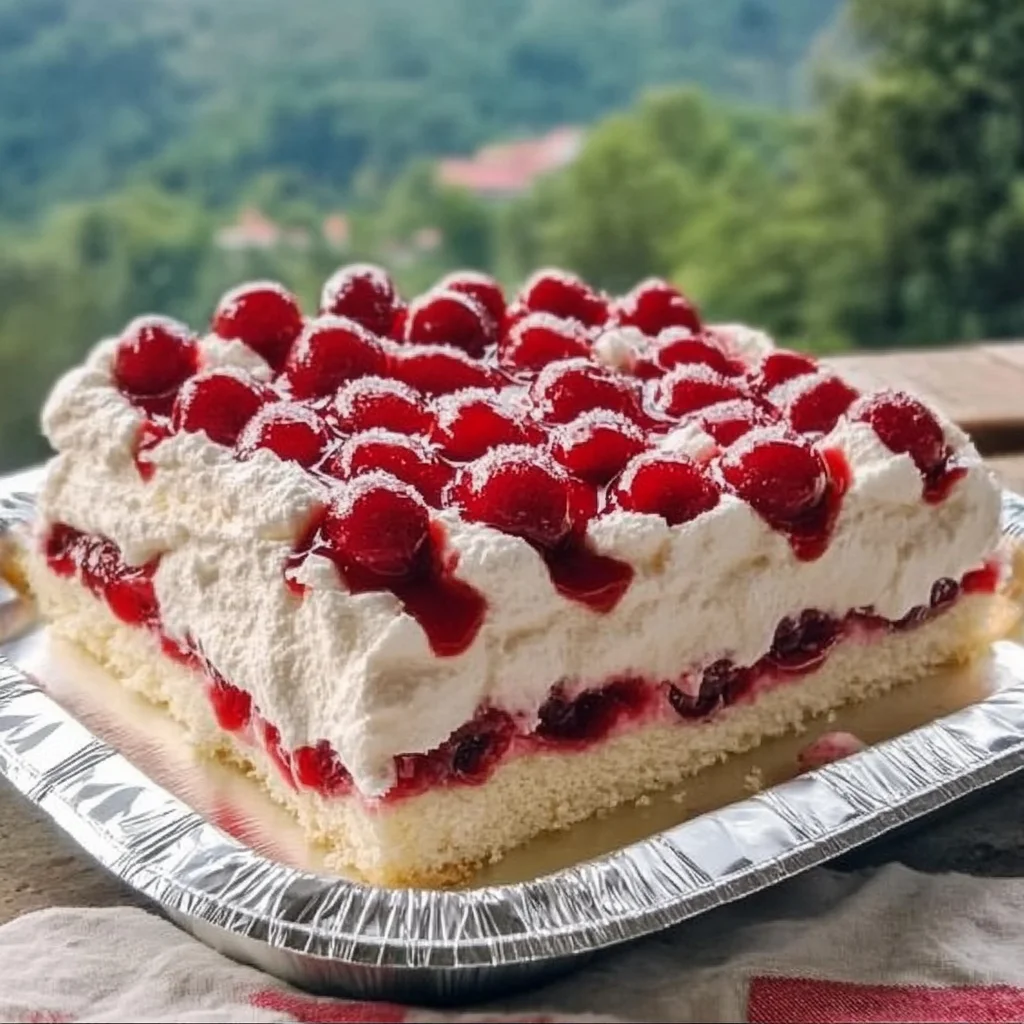
- Assemble your cake. Spread a generous layer of cherry pie filling over the top of the cake, letting those luscious cherries spread evenly. Then, dollop or spread the whipped topping on top for that creamy, dreamy finish.
- Serve immediately and watch everyone’s faces light up with delight. If you want, garnish with a few fresh cherries or a sprinkle of toasted almonds for a little crunch.
Substitutions & Additions
One of the best things about this recipe is how easy it is to make your own with simple swaps or fun additions. Here are some ideas to personalize your Cherry Angel Cloud Cake:
- Fruit swaps: Swap the cherry pie filling with blueberry, strawberry, or raspberry pie filling for a different fruity twist. Each brings its own unique flavor and color.
- Whipped topping alternatives: Use homemade whipped cream flavored with a splash of vanilla extract or almond extract for a richer taste. Coconut whipped cream is also a great dairy-free option that pairs wonderfully.
- Add layers: Slice the cake horizontally and spread a layer of fruit filling and whipped topping between the layers for a more elegant, layered dessert.
- Mix-ins: Sprinkle mini chocolate chips, toasted coconut flakes, or chopped nuts over the whipped topping for extra texture and flavor.
- Make it boozy: For adult gatherings, add a splash of cherry liqueur or amaretto to the cherry pie filling before spreading it on the cake.
Tips for Success
To make sure your Cherry Angel Cloud Cake turns out perfectly every time, here are some of my personal tips and tricks I’ve learned along the way:
- Don’t grease the pan: Angel food cake needs to cling to the sides to rise properly, so avoid greasing your Bundt or tube pan.
- Beat egg whites well: If you’re using fresh egg whites, whip them to stiff peaks for the lightest texture. The boxed mix usually calls for egg whites, but adding a little extra fluff helps.
- Cool upside down: If your pan has feet, invert it to cool so the cake doesn’t fall. If not, place it on a wire rack and cool completely before removing.
- Use chilled whipped topping: Keep the whipped topping cold until you’re ready to spread it to maintain its fluffy texture.
- Prepare ahead: You can bake the cake a day ahead and store it in an airtight container. Add the cherry filling and whipped topping just before serving to keep everything fresh.
How to Store Cherry Angel Cloud Cake
Since this cake is topped with whipped topping and fruit filling, it’s best enjoyed fresh, but here’s how to keep it at its best:
- Refrigerate: Cover the assembled cake loosely with plastic wrap or store in an airtight container and keep it refrigerated. It will stay fresh for up to 2 days.
- Unassembled storage: If you want to prepare the cake in advance, store the baked and cooled cake at room temperature wrapped tightly in plastic wrap for up to 2 days. Add the cherry filling and whipped topping just before serving.
- Freeze for longer: Angel food cake freezes well. Wrap it tightly in plastic wrap and aluminum foil, then freeze for up to 3 months. Thaw overnight in the fridge before topping with cherries and whipped cream.
FAQs
Can I make this cake without a Bundt pan?
Yes! You can use a tube pan or even a deep round cake pan. Just keep in mind that the classic angel food cake texture benefits from the tube pan’s shape for even rising and baking.
Is it okay to use homemade whipped cream instead of store-bought whipped topping?
Absolutely! Homemade whipped cream adds a lovely fresh flavor and creaminess. Just whip heavy cream with a bit of sugar and vanilla until soft peaks form, then spread it on just before serving.
Can I use fresh cherries instead of canned pie filling?
You can! If using fresh cherries, cook them down with a bit of sugar and lemon juice until they’re soft and syrupy to mimic the pie filling texture. This adds a fresh, vibrant twist.
How do I prevent the whipped topping from melting too quickly?
Keep the cake chilled until serving and apply the whipped topping last minute. If you’re serving outdoors or in warm weather, consider using stabilized whipped cream or a whipped topping designed to hold up longer.
If you love simple yet stunning desserts like this one, you might also enjoy exploring other easy cake recipes such as the delightful Pineapple Cream Cheese Pound Cake or the crowd-pleasing Easy Pecan Pie Recipe. These recipes share the same welcoming vibe and are perfect for those moments when you want to impress without stress.
For more inspiration on quick, fuss-free desserts and meals that bring comfort and joy, be sure to browse the full collection available at Recettia. It’s my go-to spot when I want reliable, delicious recipes that feel like home.
So next time you’re craving a light, fruity treat that’s as easy as pie (literally!), give this Cherry Angel Cloud Cake a try. It’s a simple recipe that delivers big on flavor and nostalgia, perfect for any occasion or just because.
And hey, if you love this recipe and want to keep discovering more sweet and savory ideas, don’t forget to follow us on Pinterest for daily inspiration and drool-worthy dishes!
Cherry Angel Cloud Cake
Ingredients
Equipment
Method
- Step 1: Preheat your oven as directed on the angel food cake mix box, usually around 350°F (175°C).
- Step 2: Prepare the cake batter following the package instructions carefully, mixing cake mix with water, egg whites, and oil as directed.
- Step 3: Pour the batter into an ungreased Bundt or tube pan to help the cake rise evenly.
- Step 4: Bake according to package directions, usually for 35 to 40 minutes, until the cake springs back when pressed and starts pulling away from the pan edges.
- Step 5: Cool the cake completely upside down in the pan (if pan has feet) to prevent collapse. Once cooled, loosen edges with a knife and remove from the pan.
- Step 6: Spread a generous layer of cherry pie filling evenly over the top of the cake.
- Step 7: Dollop or spread whipped topping over the cherry layer for a creamy finish.
- Step 8: Serve immediately and optionally garnish with fresh cherries or toasted almonds.