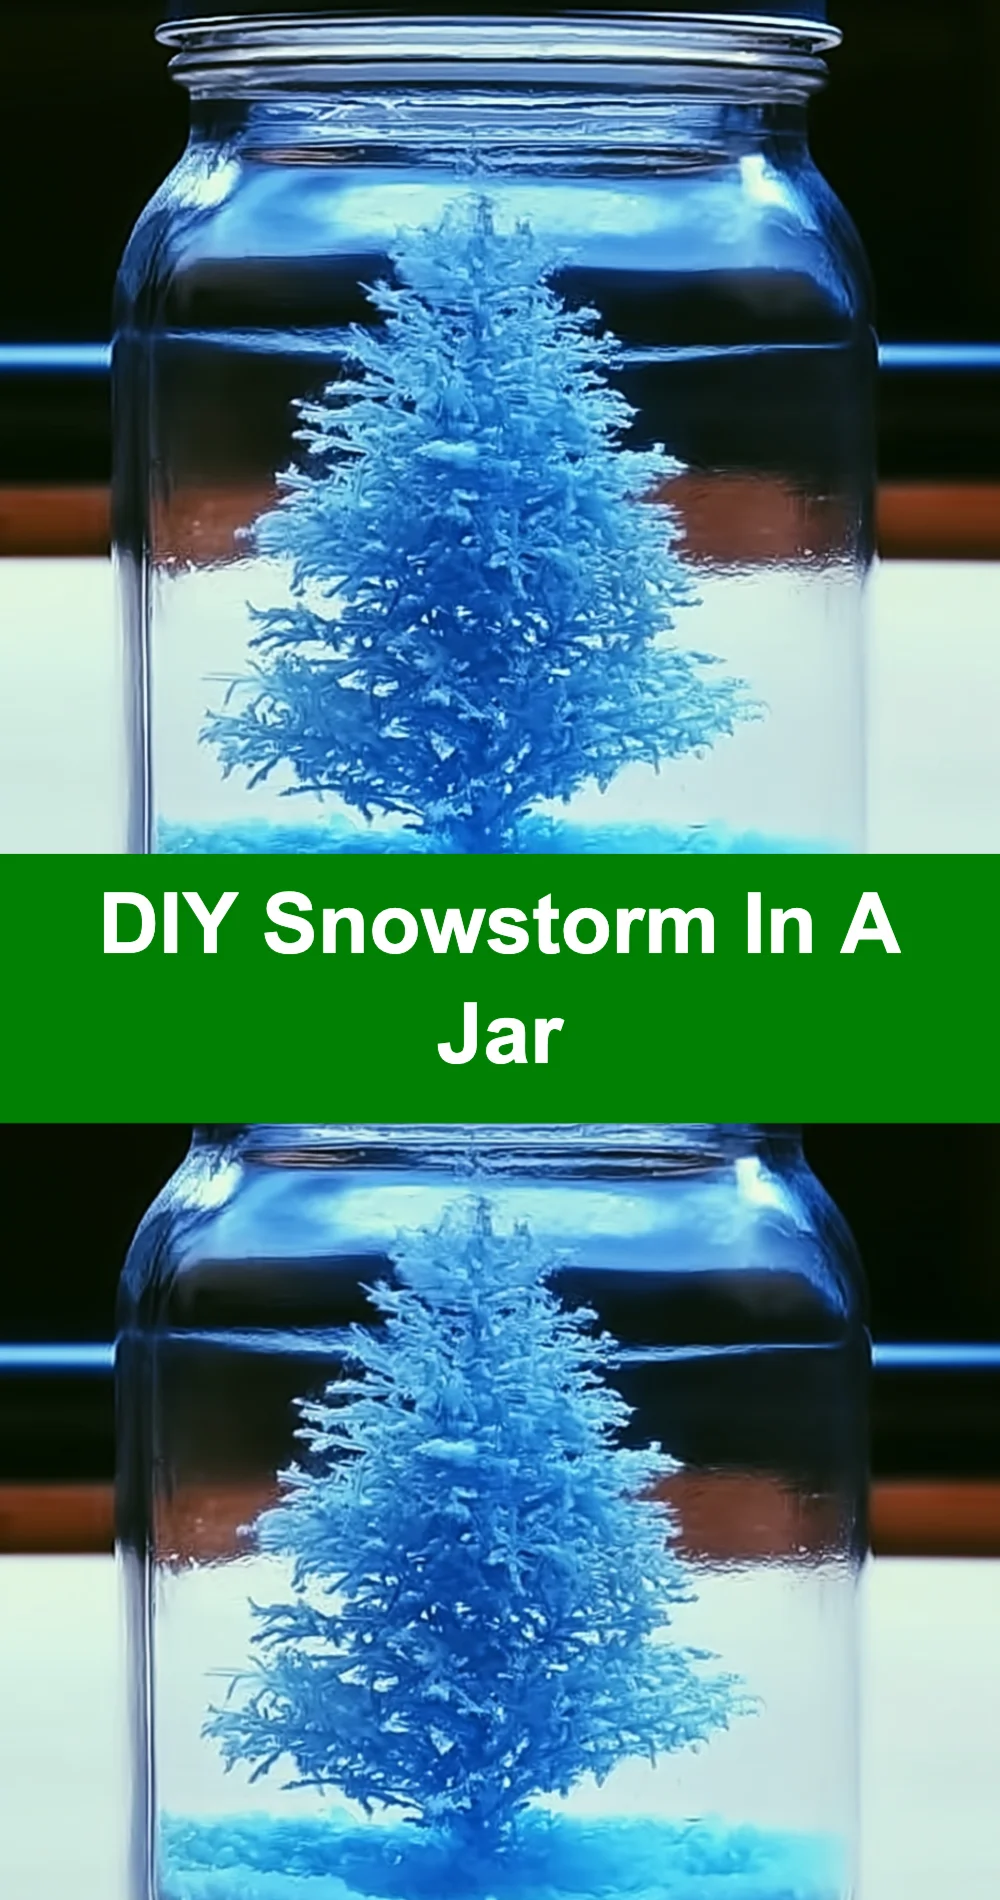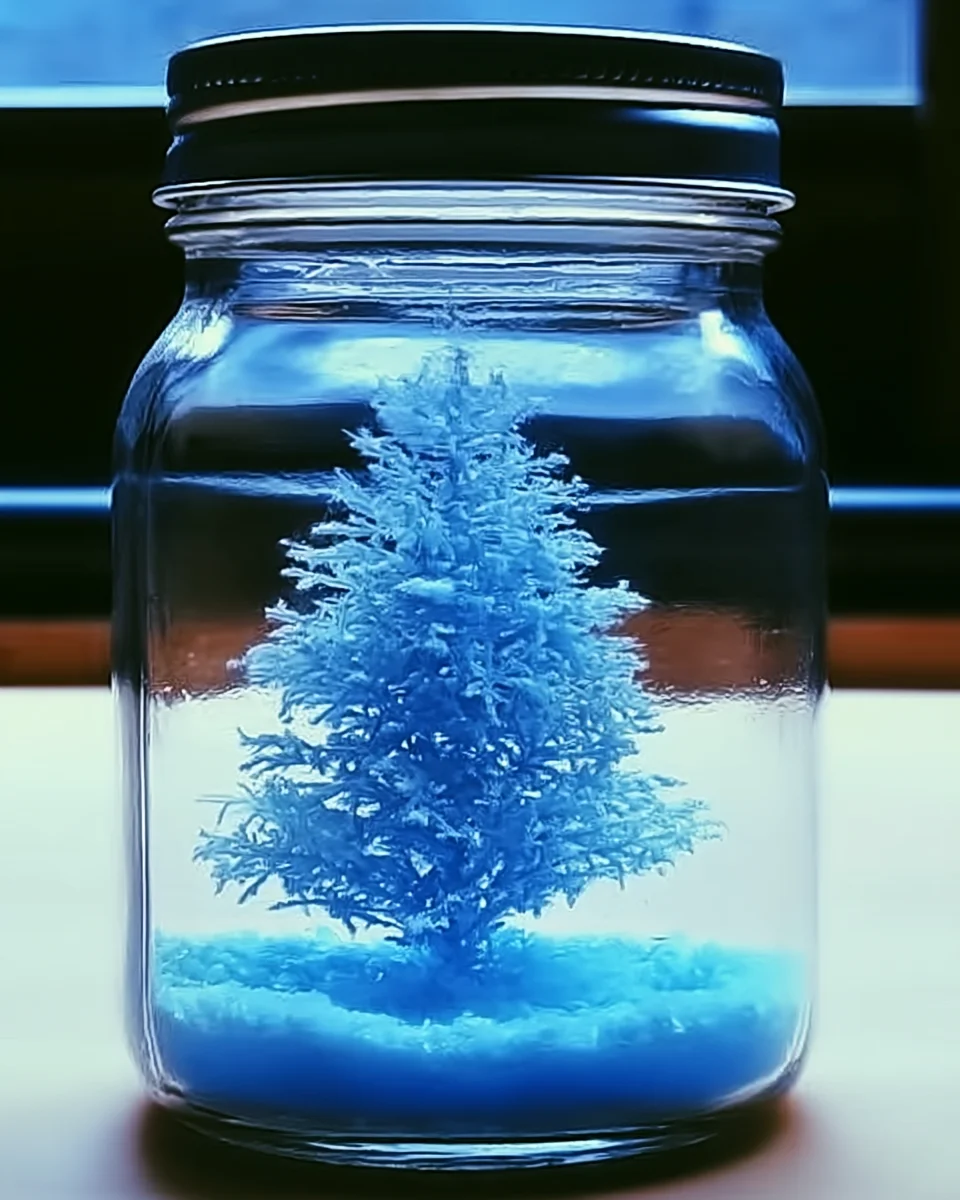
Have you ever gazed out the window on a snowy day, feeling that warm glow inside as the world transforms into a winter wonderland? Imagine capturing that magic in a jar, where you can create your very own snowstorm at home! This DIY Snowstorm In A Jar project is not just a fun activity; it’s a chance to bring a little joy and wonder into your life. The best part? You can customize it to reflect your personality and style. Whether you’re creating it for yourself, a friend, or as a delightful gift, the finished creation will fill your heart with warmth and nostalgia.
Why You’ll Love DIY Snowstorm In A Jar
- Beginner-friendly
- Budget-friendly
- Creative and fun
- Great for kids and families
- Perfect for gifts, decorating, or everyday use
- Customizable
The Heart Behind This DIY
There’s something incredibly satisfying about engaging in a hands-on project like this. It encourages you to slow down and embrace creativity, connecting you with your inner child. As you mix the ingredients, you’ll experience the delightful sensory journey of textures and colors, not to mention the joy of watching your snowstorm come to life. This project is perfect for sparking conversations with family and friends, making memories together, and fostering a sense of accomplishment as you create something uniquely yours.
A Gentle Look at the Process
Creating your DIY Snowstorm In A Jar is a soothing experience. Picture yourself gathering all the materials, feeling the cool glass of the jar in your hands. As you pour the distilled water and sprinkle in the glitter, you’ll find yourself lost in the process, captivated by the swirling sparkles. You’ll feel the excitement build as you carefully add your decorations and seal the jar, eagerly anticipating the moment you give it a gentle shake. It’s a delightful journey from start to finish!
Materials You’ll Need
- Clear glass jar with a lid (mason jar or similar) – this will be your snowstorm vessel.
- Distilled water – pure and clear to showcase the beauty of your creation.
- Glycerin – this magical ingredient slows down the glitter for a mesmerizing effect.
- White glitter or fake snow – the stars of your snowstorm, creating that lovely winter feel.
- Small figurines or decorations (e.g., miniature trees, snowmen, etc.) – to bring your snowy scene to life.
- Optional: food coloring – for a playful twist if you want to add a splash of color.
Step-by-Step Directions
Step 1
Start by cleaning the glass jar thoroughly to remove any dust or residue. Make sure it is completely dry before proceeding. This ensures that your snowstorm will be crystal clear without any distractions.
Step 2
Use the measuring cup to pour distilled water into the jar, filling it about three-quarters full. Watching the water pour into the jar is a calming experience!
Step 3
Measure approximately 1-2 tablespoons of glycerin and add it to the water. This will slow down the movement of the glitter, creating a more realistic snowstorm effect. Stir gently to combine.
Step 4
Sprinkle in a generous amount of white glitter or fake snow. Start with about 1-2 tablespoons and add more if desired. Stir the mixture gently to distribute the glitter evenly—it’s like adding the finishing touch to your masterpiece!
Step 5
If you’d like to include small figurines or decorations, carefully place them in the jar. Ensure they are positioned securely and won’t float to the top—they should look cozy in their snowy environment.
Step 6
If you want a colored effect, add a few drops of food coloring to the mixture and stir gently until you achieve your desired color. This is where your creativity truly shines!
Step 7
Once you are happy with the contents of your jar, secure the lid tightly to prevent any leakage. Feel the satisfaction of sealing in your creation!
Step 8
Turn the jar upside down and shake it gently. Watch as the glitter swirls around, creating a beautiful snowstorm effect! This is the moment you’ve been waiting for, and it’s sure to bring a smile to your face.
Creative Ways to Use DIY Snowstorm In A Jar
Your DIY Snowstorm In A Jar can be used in so many delightful ways! Display it on your coffee table or bookshelf as a whimsical decoration that sparks joy. Gift it to a friend or family member as a heartfelt present, perhaps adding a personalized ribbon or tag for a special touch. You can even create themed jars for different seasons—how about a springtime jar with pastel colors and flowers to celebrate the change of seasons? Let your imagination run wild!
How to Store, Preserve, or Maintain DIY Snowstorm In A Jar
To keep your Snowstorm In A Jar looking its best, store it in a cool, dry place away from direct sunlight. If you notice any buildup of residue on the jar, a gentle wipe with a damp cloth should do the trick. Remember, this is a decorative piece, so handle it with care to preserve its beauty!
Creative Variations and Customizations
- Color or finish variations: Experiment with different colors of glitter or use metallic finishes for a unique look.
- Theme ideas: Create themed jars for holidays like Halloween or Christmas with corresponding decorations.
- Seasonal adaptations: Change the contents to reflect seasonal changes, like adding mini pumpkins for fall.
- Kid-friendly or beginner-friendly modifications: Let kids choose their decorations and colors for a fun family activity.
- Advanced creative upgrades: Try layering different types of glitter or adding small LED lights for a magical glow.
Tips for Success
- Common mistakes to avoid: Don’t overfill the jar; leave some space for the snowstorm to swirl freely.
- Safety tips: If using small figurines, ensure they are safe for children if they will be involved in the project.
- Preparation suggestions: Gather all your materials beforehand to make the process smoother.
- Cleanup recommendations: Use a tray or newspaper to catch any glitter spills while you work.
- Expert tips: Use a funnel for easier pouring when adding the water and glycerin mixture to the jar.
FAQs About DIY Snowstorm In A Jar
Can beginners make this?
Absolutely! This project is perfect for beginners and requires no special skills—just a little creativity and fun!
Can children participate?
Yes, this is a fantastic activity for kids! Supervise them while handling small parts and let them choose their decorations.
How long does it last?
As long as the jar is sealed and stored properly, your snowstorm can last indefinitely. Just be mindful of any glitter settling at the bottom.
Can I customize it?
Definitely! The beauty of this project is in its customization—feel free to experiment with colors, themes, and decorations!
A Final Creative Note
Every time you shake your DIY Snowstorm In A Jar, you are not just creating a charming decoration; you are also celebrating the joy of creativity and self-expression. I hope this project inspires you to explore new crafts and share them with your loved ones. For more delicious recipes, check out this delightful pound cake or this easy pecan pie recipe for treats you will love! Remember, every creation starts with a spark of imagination, so keep making and keep smiling!
For more DIY inspiration, follow us on Pinterest.