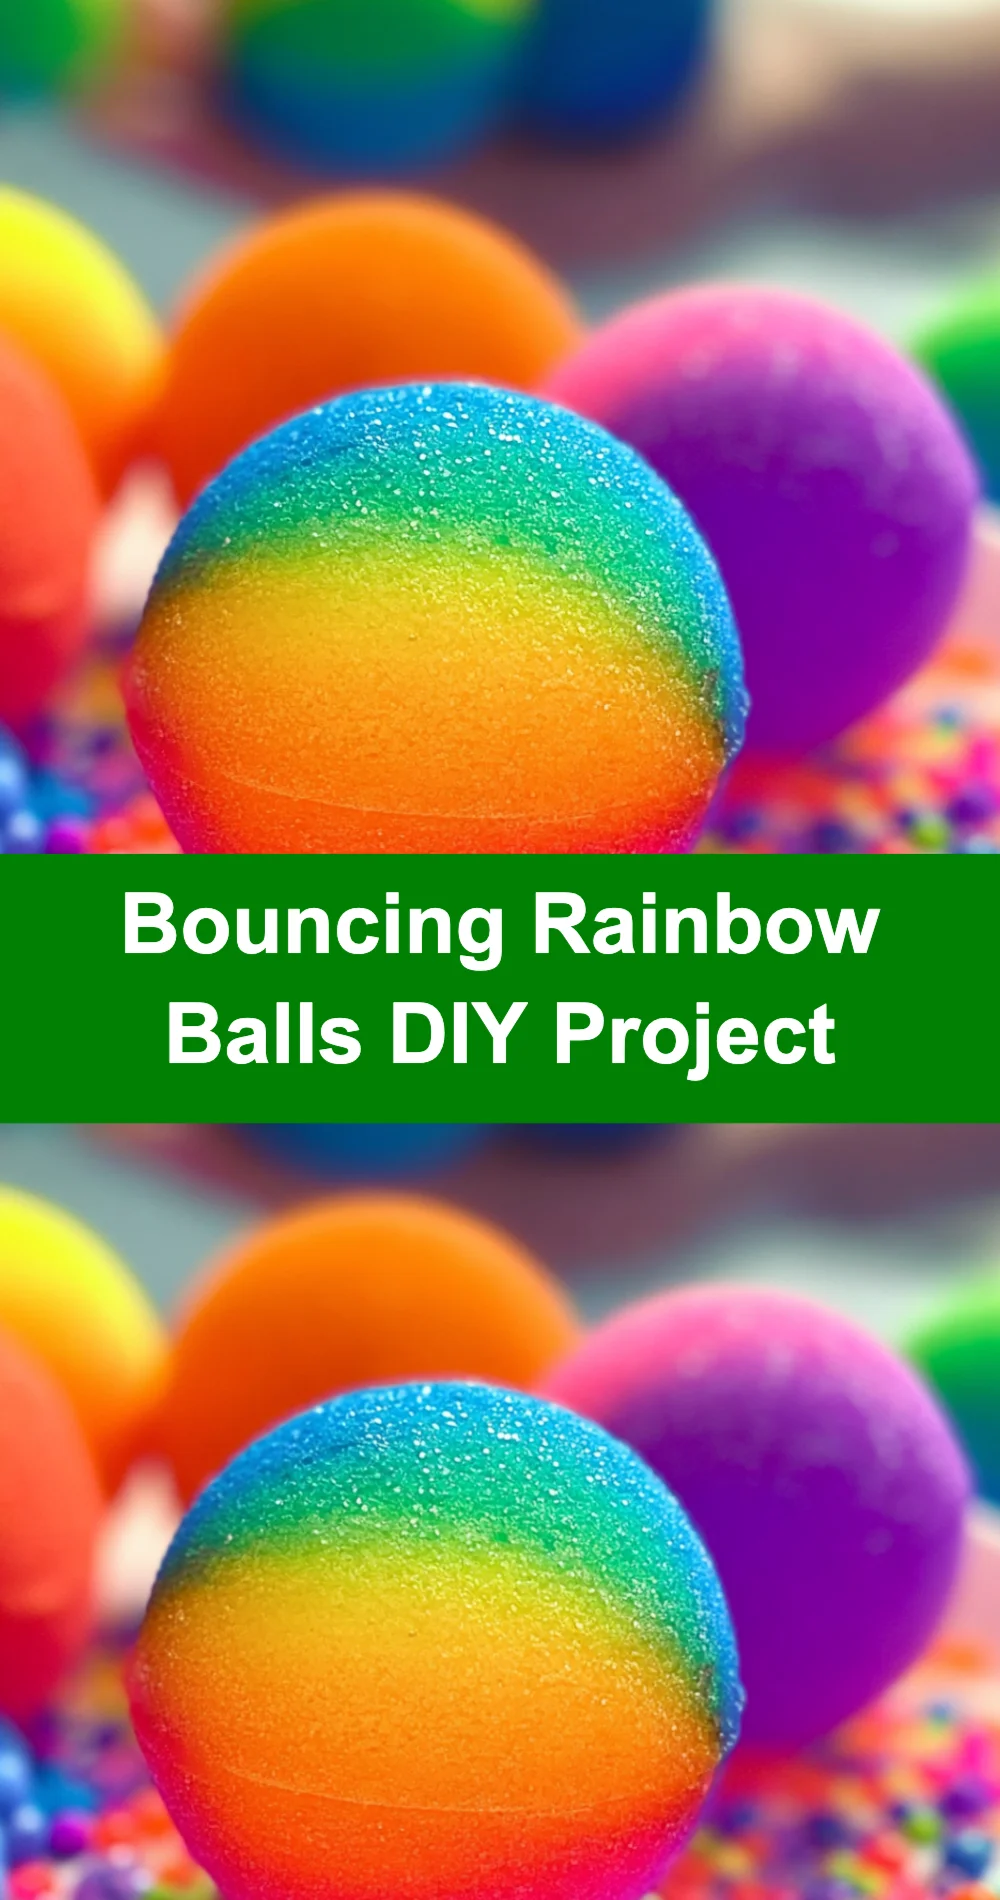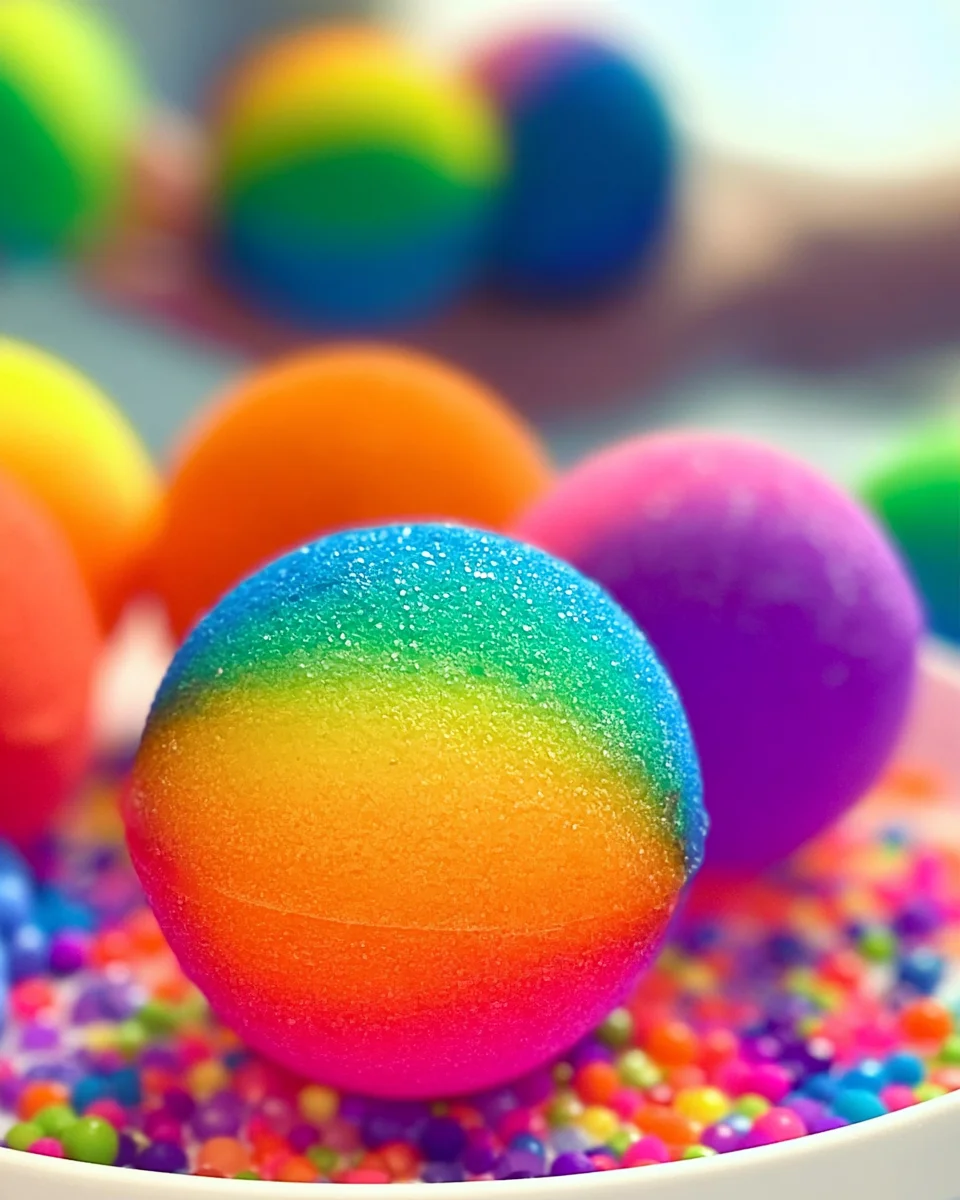
Are you ready to dive into a world of color and creativity? Making your own Bouncing Rainbow Balls is not just a fun project; it’s a delightful experience that brings out the kid in all of us. Imagine the joy of watching your vibrant creations bounce and dance across the floor, each one a little piece of art that you crafted with your own hands. This project is perfect for family bonding, a fun afternoon with friends, or even a special gift for someone you love. So, roll up your sleeves and let’s get crafting!
Why You’ll Love Bouncing Rainbow Balls DIY Project
- Beginner-friendly
- Budget-friendly
- Creative and fun
- Great for kids and families
- Perfect for gifts, decorating, or everyday use
- Customizable
The Heart Behind This DIY
Creating Bouncing Rainbow Balls is more than just a craft; it’s a journey into self-expression and creativity. As you mix colors and knead the soft, squishy mixture, you’ll discover a sense of calm and joy. The tactile experience is not only satisfying but also encourages mindfulness and focus. You can also involve your little ones, teaching them about colors and textures while building their confidence in crafting. It’s a beautiful way to connect, share laughter, and create lasting memories together.
A Gentle Look at the Process
Imagine gathering your materials and setting up a cozy workspace, perhaps with a cheerful playlist in the background. You’ll start by mixing the glue and starch, feeling the transformation as it thickens. Then, it’s time to add colors, and oh, the joy of swirling those vibrant shades! Kneading the mixture feels like magic as it turns from sticky to smooth. Finally, shaping those colorful balls and watching them dry is the cherry on top of this delightful project. You’ll be amazed at what you can create!
Materials You’ll Need
- 1 cup of white school glue – the base for your bouncy creation
- 1 cup of liquid starch – helps to bind the glue and create that perfect texture
- Food coloring (various colors) – bring your rainbow to life!
- Mixing bowl – for all your mixing adventures
- Spoon or spatula – to stir and combine your ingredients
- Measuring cups – to ensure perfect proportions
- Plastic gloves (optional) – keep those hands clean if you wish!
- Airtight container for storage – to keep your creations fresh
Step-by-Step Directions
Step 1
Prepare Your Workspace: Lay down some newspaper or a plastic tablecloth to protect your work surface from spills. This will help you create without worry!
Step 2
Mix the Glue and Starch: In a mixing bowl, combine 1 cup of white school glue with 1 cup of liquid starch. Stir the mixture well until fully combined. You’ll feel the texture starting to change, which is so exciting!
Step 3
Add Food Coloring: If you want to create multiple colors, divide the glue and starch mixture into smaller bowls. Add a few drops of food coloring to each bowl and mix until you achieve your desired colors. The vibrant hues will brighten your day!
Step 4
Knead the Mixture: Once the mixture has thickened and is no longer sticky, take it out of the bowl and start kneading it with your hands. This should take about 2-3 minutes. If the mixture is too sticky, add a little more liquid starch. Enjoy the squishy feel as you work!
Step 5
Shape Into Balls: After kneading, start rolling the mixture into small balls, aiming for about 1-2 inches in diameter. Feel free to create a variety of sizes for a fun assortment. Each roll brings a little more joy!
Step 6
Let Them Dry: Place the balls on a paper towel to dry for a few hours. This will help them firm up and enhance their bouncing ability. Take a moment to admire your colorful creations!
Step 7
Test Your Bouncing Balls: Once dry, take your rainbow balls outside or onto a hard surface to test their bounce. What a thrilling moment to see them spring into action!
Step 8
Store Properly: If you have leftover balls or want to save some for later, store them in an airtight container to keep them from drying out. You’ll want to keep this fun alive!
Creative Ways to Use Bouncing Rainbow Balls DIY Project
Once your Bouncing Rainbow Balls are complete, the fun doesn’t stop there! You can use them in various ways. They make unique decorations for a child’s room, adding a splash of color to any space. They can also be delightful gifts for birthdays or holidays. Additionally, playtime can be enhanced by using them for outdoor games, or you could even create a colorful centerpiece for a party. The possibilities are as endless as your imagination!
How to Store, Preserve, or Maintain Bouncing Rainbow Balls DIY Project
To keep your Bouncing Rainbow Balls in tip-top shape, store them in an airtight container when not in use. This will prevent them from drying out and losing their bounciness. If they begin to feel a bit firm, a light spray of water can help rejuvenate their texture. Just be careful not to soak them!
Creative Variations and Customizations
- Color or finish variations – try pastel shades for a softer look or metallic colors for a fun twist
- Theme ideas – create balls that match holidays or your favorite colors
- Seasonal adaptations – use fall colors for autumn or bright hues for summer
- Kid-friendly or beginner-friendly modifications – simplify the process for younger children
- Advanced creative upgrades – experiment with glitter or add scents for a sensory experience
Tips for Success
- Common mistakes to avoid – ensure your measurements are precise for the best results
- Safety tips if applicable – supervise young children, especially with food coloring to avoid stains
- Preparation suggestions – have all your materials ready before you start to make the process smooth
- Cleanup recommendations – keep a damp cloth nearby for quick cleanups
- Expert tips – don’t hesitate to experiment with colors and shapes; it’s all part of the fun!
FAQs About Bouncing Rainbow Balls DIY Project
Can beginners make this?
Absolutely! This project is perfect for beginners and is easy to follow.
Can children participate?
Yes, children can definitely join in! Just be sure to supervise during the mixing and kneading stages.
How long does it last?
With proper storage, your Bouncing Rainbow Balls can last for several weeks!
Can I customize it?
Definitely! Feel free to experiment with colors and sizes to make your balls truly unique.
A Final Creative Note
As you complete your Bouncing Rainbow Balls, take a moment to appreciate the joy of creating something beautiful and playful. Each ball represents a little piece of your imagination and creativity. Embrace the joy of making and remember that every project you undertake is a chance to express yourself. For more delicious recipes, check out Berry Crumble with Fresh Berries or No-Bake Peanut Butter Pie for treats you will love! I can’t wait to see what you create next!
For more DIY inspiration, be sure to follow our Pinterest!