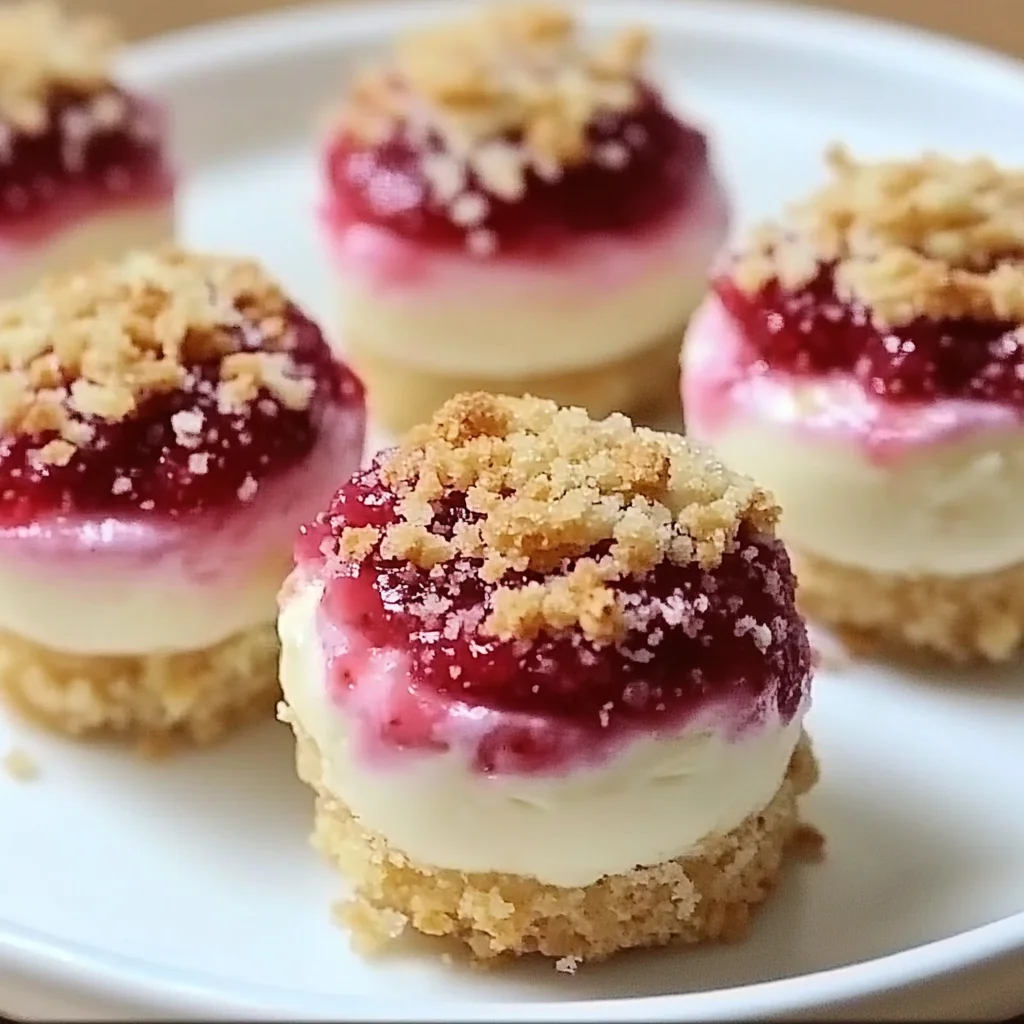
There is something so delightful about small, sweet treats that bring back memories of sunny days and family gatherings. Strawberry Crunch Cheesecake Bites are not only incredibly delicious but also a breeze to make. With just a few ingredients, you can whip up a dessert that will have your friends and family asking for seconds. Trust me, these little bites are sure to become a cherished recipe in your home!
Why You’ll Love Strawberry Crunch Cheesecake Bites
- Fast
- Easy
- Giftable
- Crowd-pleasing
Ingredients
- 1 cup graham cracker crumbs: This will form the delicious crust.
- 1/4 cup unsalted butter, melted: Butter adds richness to the crust.
- 1/4 cup granulated sugar: Just the right amount of sweetness for the crust.
- 8 oz cream cheese, softened: The creamy base for your cheesecake filling.
- 1/4 cup powdered sugar: For a touch of sweetness in the filling.
- 1 teaspoon vanilla extract: Adds a lovely aroma and flavor.
- 1 cup whipped topping: Lightens the cheesecake mixture for a fluffy texture.
- 1 cup fresh strawberries, chopped: Fresh fruit brings vibrant flavor and color.
- 1/2 cup strawberry crunch topping: A delightful crunch that makes these bites special.
How to Make Strawberry Crunch Cheesecake Bites
- Preheat your oven to 350°F (175°C). This step is crucial for getting your crust just right.
- In a bowl, combine the graham cracker crumbs, melted butter, and granulated sugar. Mix until everything is well combined.
- Press the mixture into the bottom of a lined mini muffin tin to form the crust. Bake for 5-7 minutes, then allow it to cool completely.
- In a separate bowl, beat the softened cream cheese, powdered sugar, and vanilla extract until smooth and creamy.
- Gently fold in the whipped topping and chopped strawberries until everything is evenly mixed. This step is where the magic happens!
- Spoon the cheesecake mixture into the cooled crusts, filling them to the top.
- Sprinkle the strawberry crunch topping over each cheesecake bite for that perfect finishing touch.
- Refrigerate for at least 2 hours before serving. This chilling time helps the flavors meld beautifully.
Substitutions & Additions
If you want to get creative, here are some substitutions and additions you might consider:
- Swap the strawberries for another berry like blueberries or raspberries for a different flavor.
- Try using crushed Oreos instead of graham crackers for a chocolatey twist.
- Add a splash of lemon juice or zest for a refreshing zing in your cheesecake mixture.
Tips for Success
- Make sure your cream cheese is softened to avoid lumps in your filling.
- Don’t skip the chilling time; this helps the cheesecake set properly.
- Be gentle when folding in the whipped topping to maintain that light and airy texture.
How to Store Strawberry Crunch Cheesecake Bites
These little bites are best enjoyed fresh, but you can store any leftovers in an airtight container in the refrigerator. They will last for up to 3 days, but trust me, they will likely disappear much sooner!
FAQs
- Can I make these bites ahead of time? Absolutely! They are perfect for making a day in advance.
- What can I use instead of strawberries? You can use any fresh fruit or even a fruit puree for a different flavor.
- Can I freeze these cheesecake bites? While they are best served fresh, you can freeze them for up to a month. Just thaw in the refrigerator before serving.
These Strawberry Crunch Cheesecake Bites are not just a treat; they are a sweet escape into nostalgia and joy. For more delicious recipes, check out no-bake peanut butter pie or no-bake brownie cheesecake cups for treats you will love!
Don’t forget to follow us on Pinterest for more sweet inspiration!
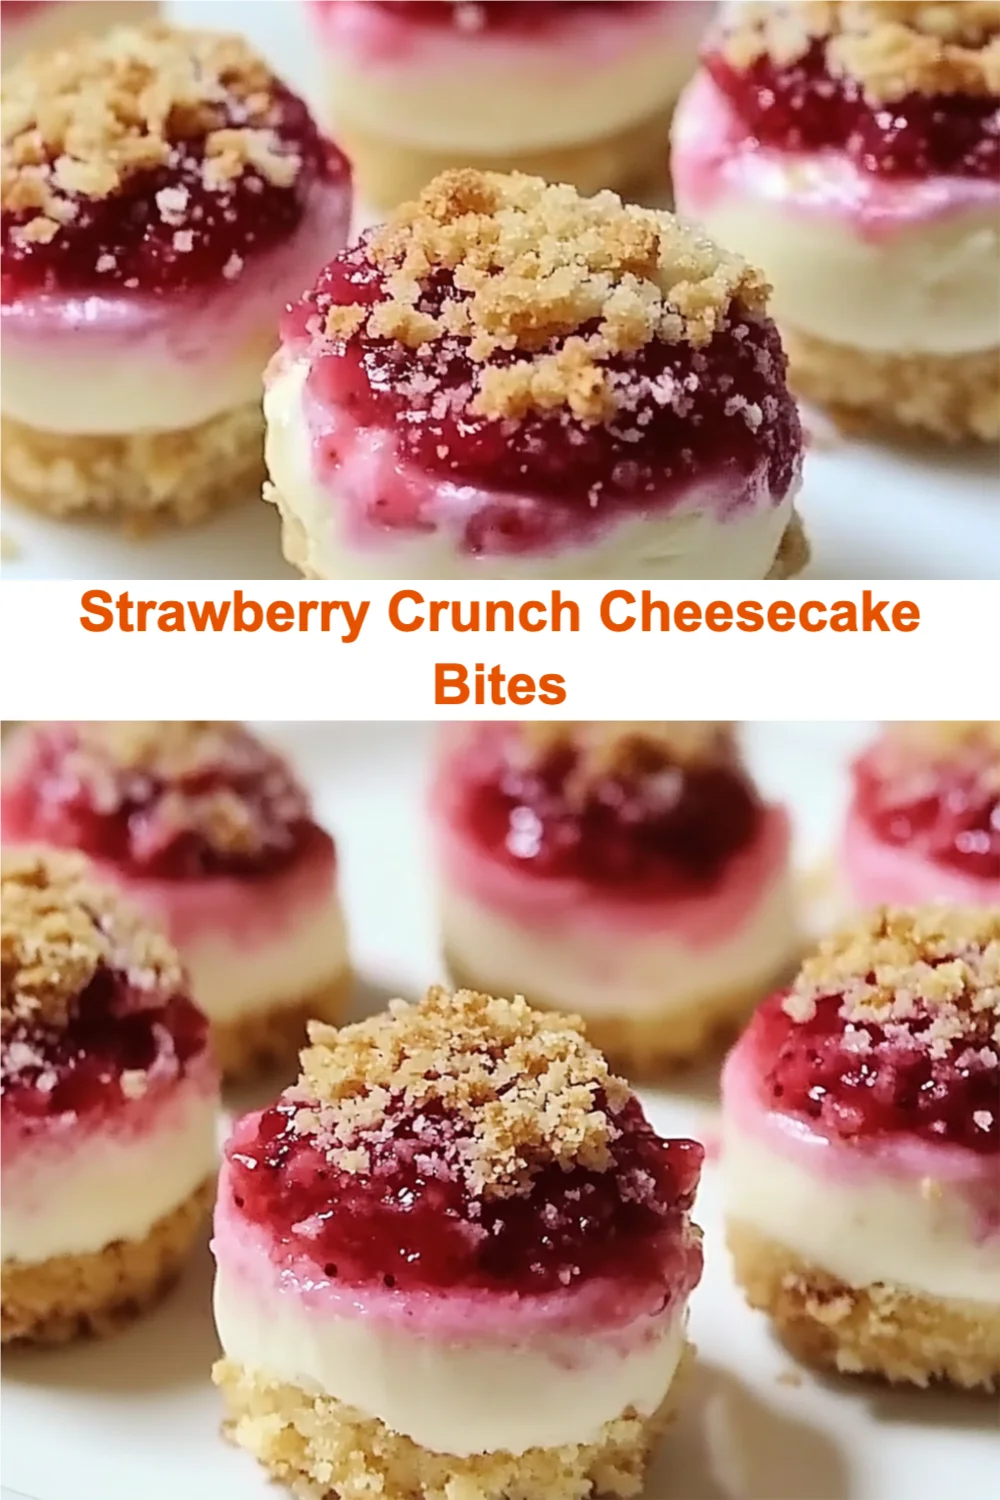
Sweet and Simple Strawberry Crunch Cheesecake Bites
Ingredients
Equipment
Method
- Step 1: Preheat your oven to 350°F (175°C).
- Step 2: In a bowl, combine the graham cracker crumbs, melted butter, and granulated sugar. Mix until everything is well combined.
- Step 3: Press the mixture into the bottom of a lined mini muffin tin to form the crust. Bake for 5-7 minutes, then allow it to cool completely.
- Step 4: In a separate bowl, beat the softened cream cheese, powdered sugar, and vanilla extract until smooth and creamy.
- Step 5: Gently fold in the whipped topping and chopped strawberries until everything is evenly mixed.
- Step 6: Spoon the cheesecake mixture into the cooled crusts, filling them to the top.
- Step 7: Sprinkle the strawberry crunch topping over each cheesecake bite.
- Step 8: Refrigerate for at least 2 hours before serving.