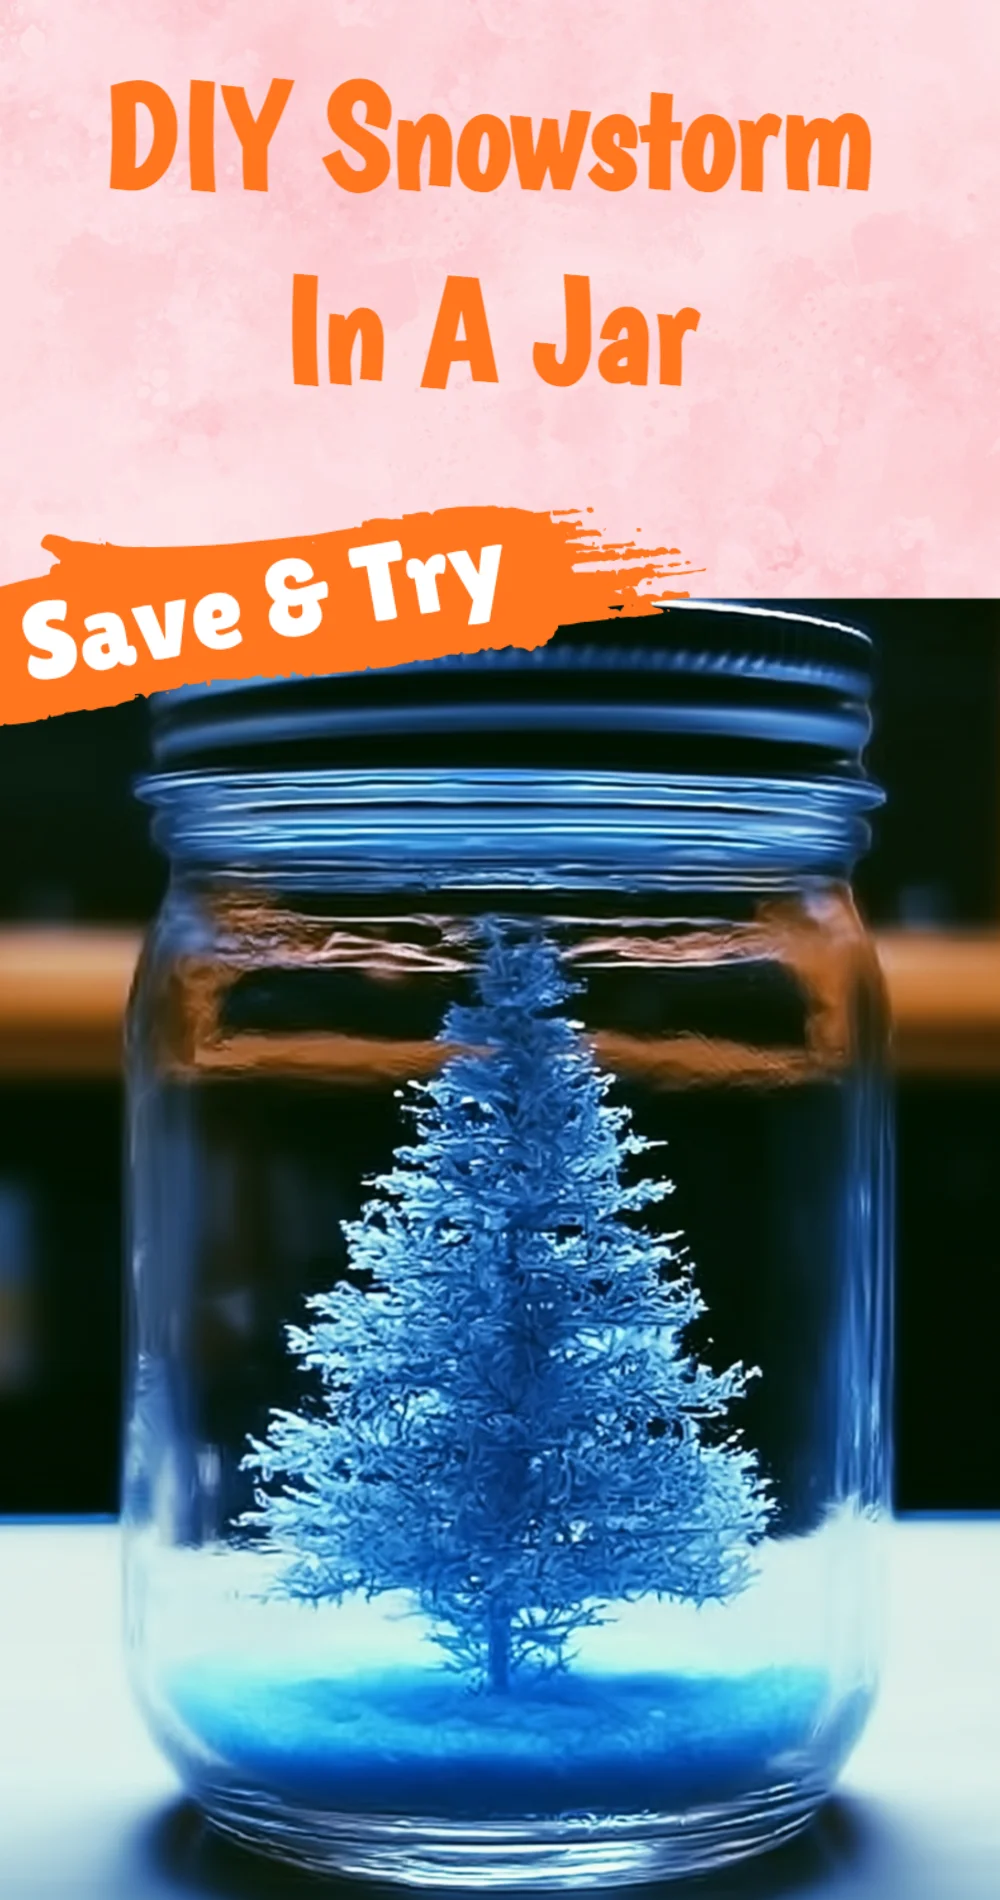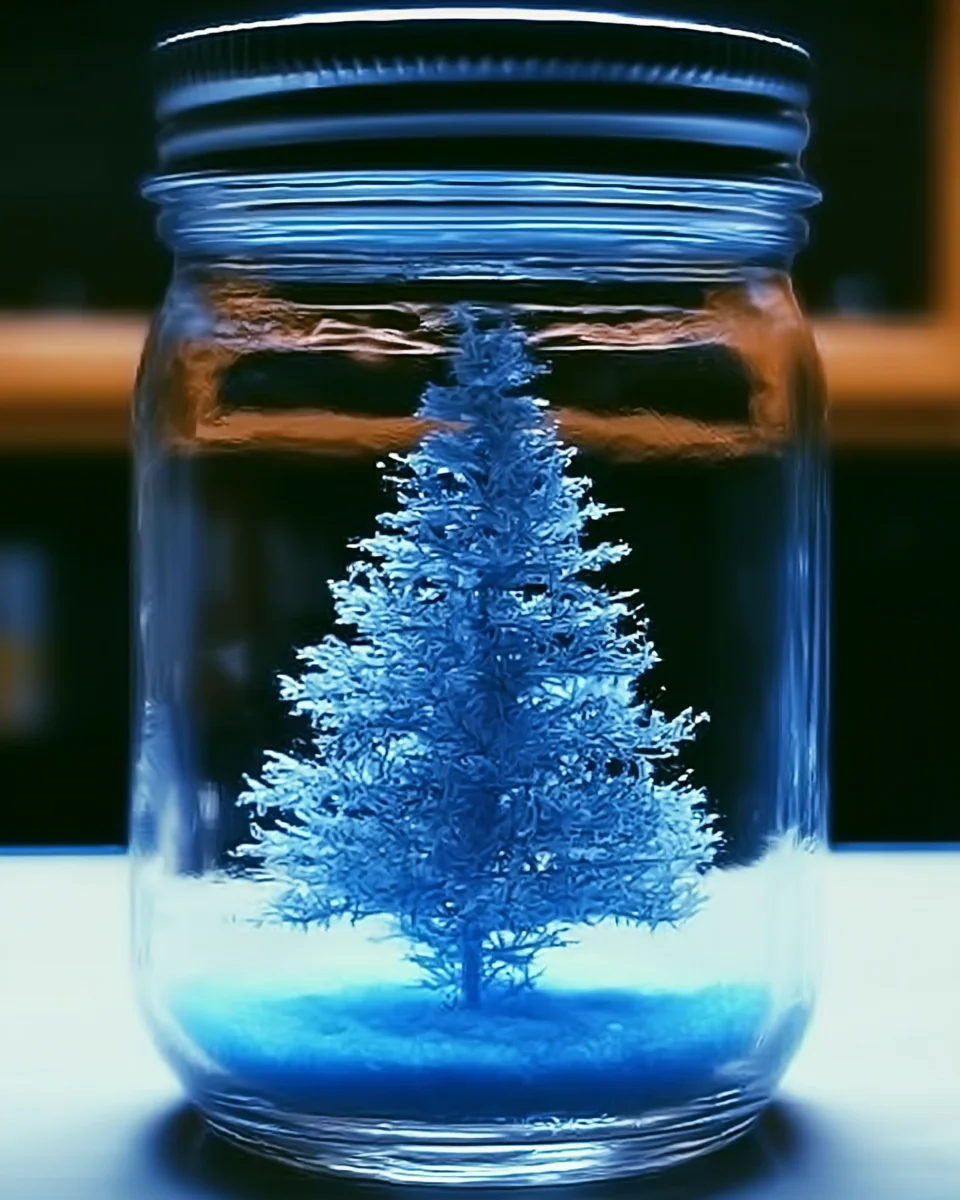
Have you ever wished for a winter wonderland right in your home? Imagine shaking a jar and watching a delicate flurry of snow swirl around, encapsulating the magic of a snowy day. The DIY Snowstorm In A Jar project is not just a delightful craft; it’s a chance to capture a moment of beauty and joy. Whether you are a crafty beginner or looking for a fun family activity, this project is perfect for you. Get ready to unleash your creativity and make something truly special that you can treasure or gift to someone you love!
Why You’ll Love DIY Snowstorm In A Jar
- Beginner-friendly
- Budget-friendly
- Creative and fun
- Great for kids and families
- Perfect for gifts, decorating, or everyday use
- Customizable
The Heart Behind This DIY
Creating your own Snowstorm In A Jar is about more than just crafting; it’s about embracing the joy of making something with your own hands. This project invites you to explore your imagination and express your personal style, while also encouraging mindfulness and focus. As you mix, stir, and shake, you’ll find a moment of peace, a chance to step away from the hustle and bustle of daily life. Plus, it’s an activity that fosters connection, whether you’re working alongside family or gifting your creation to a friend. There’s something so satisfying about watching the snow swirl and settle, reminding us of the beauty in simple moments.
A Gentle Look at the Process
As you embark on this creative journey, picture yourself gathering around a table with your supplies laid out like a treasure map. You’ll start with a clean glass jar, feeling its cool, smooth surface in your hands. Mixing the ingredients will feel like a magical potion-making session, and as you shake the jar and watch the snow dance, you’ll be transported to a serene winter landscape. This is a project that pulls at the heartstrings and ignites the imagination, promising a delightful experience from start to finish.
Materials You’ll Need
- Clear glass jar with a lid – A mason jar works great for this project.
- Distilled water – Ensures clarity and prevents cloudiness.
- Glycerin – Available at craft stores or pharmacies, it helps slow down the snow effect.
- Artificial snow or glitter – Choose white or silver for a classic look.
- Small figurines – Think snowmen, trees, or animals to add charm.
- Optional: food coloring – For a fun colored effect!
Step-by-Step Directions
Step 1
Prepare the Jar: Start with a clean glass jar. Remove any labels and ensure it’s completely dry. The clearer the jar, the more magical your snowstorm will look!
Step 2
Secure the Base: If you’re using small figurines, you may want to secure them to the inside of the jar lid using a hot glue gun. This will prevent them from floating around when the snowstorm effect is created. Allow the glue to dry completely.
Step 3
Mix the Liquid: In a measuring cup, combine 1 cup of distilled water with 2 tablespoons of glycerin. The glycerin helps slow down the movement of the snow, making it look more like a snowstorm. Stir the mixture well.
Step 4
Add Glitter or Artificial Snow: Add a few tablespoons of artificial snow or glitter to the mixture. Start with a small amount and adjust based on how dense you want the “snow” to be. Stir gently to combine.
Step 5
Color the Mixture (Optional): If you’d like to add a tint to your snowstorm, add a drop or two of food coloring to the mixture and stir until the color is evenly distributed.
Step 6
Fill the Jar: Using a funnel (if needed), carefully pour the snow mixture into the jar, leaving a little space at the top to avoid overflow when you add the lid.
Step 7
Cap the Jar: Place the lid securely on the jar. If you’ve glued the figurines to the lid, check that they are firmly attached before sealing.
Step 8
Create the Snowstorm Effect: Shake the jar gently to see the snow swirl around. You can also turn it upside down and shake to create a more dynamic effect. The excitement of watching the snow dance is truly magical!
Creative Ways to Use DIY Snowstorm In A Jar
Once you have your enchanting snowstorm jar completed, the possibilities are endless! You can display it on a shelf, use it as a centerpiece for a winter gathering, or gift it to a friend as a heartfelt gesture. Imagine giving this unique creation during the holidays or as a birthday surprise. You can also create a series of jars in different sizes or colors to showcase a whole winter wonderland display in your home!
How to Store, Preserve, or Maintain DIY Snowstorm In A Jar
Your Snowstorm In A Jar is best displayed in a cool, dry place, away from direct sunlight, to prevent any fading of colors or materials. If you ever need to refresh your snow, simply shake the jar again to bring the snow back to life!
Creative Variations and Customizations
- Color or finish variations – Use different colors of glitter or figurines to match your decor.
- Theme ideas – Create a beach jar with sand and seashells, or a holiday-specific theme with festive decorations.
- Seasonal adaptations – Change the contents with the seasons; think autumn leaves or spring flowers.
- Kid-friendly or beginner-friendly modifications – Use larger jars and easier-to-handle materials for younger crafters.
- Advanced creative upgrades – Add LED fairy lights inside for a magical glow.
Tips for Success
- Common mistakes to avoid – Make sure your jar is completely dry before filling it to prevent any cloudiness.
- Safety tips – If using a hot glue gun, supervise children closely.
- Preparation suggestions – Lay out all your materials before starting to keep the process smooth.
- Cleanup recommendations – Cover your workspace with newspaper to catch any spillage.
- Expert tips – Experiment with the glycerin-to-water ratio for the perfect snow effect!
FAQs About DIY Snowstorm In A Jar
Can beginners make this?
Absolutely! This project is designed for crafters of all skill levels, making it a perfect beginner-friendly activity.
Can children participate?
Yes! Kids will love creating their own snowstorms, especially with adult supervision for hot glue and pouring.
How long does it last?
With proper care and storage, your DIY Snowstorm In A Jar can last a long time, bringing joy for many seasons to come.
Can I customize it?
Definitely! Feel free to get creative with colors, figurines, and themes to make it uniquely yours.
A Final Creative Note
As you wrap up your cozy crafting session, remember that the heart of this project lies in the joy of creation. Celebrate the little moments of creativity and self-expression that fill your home with warmth and joy. With every shake of your Snowstorm In A Jar, may you be reminded of the beauty of handmade treasures. For more delicious recipes, check out Caramel Butter Pecan Praline Poke Cake or No-Bake Peanut Butter Pie for treats you will love!
For more DIY inspiration, be sure to follow Pinterest.