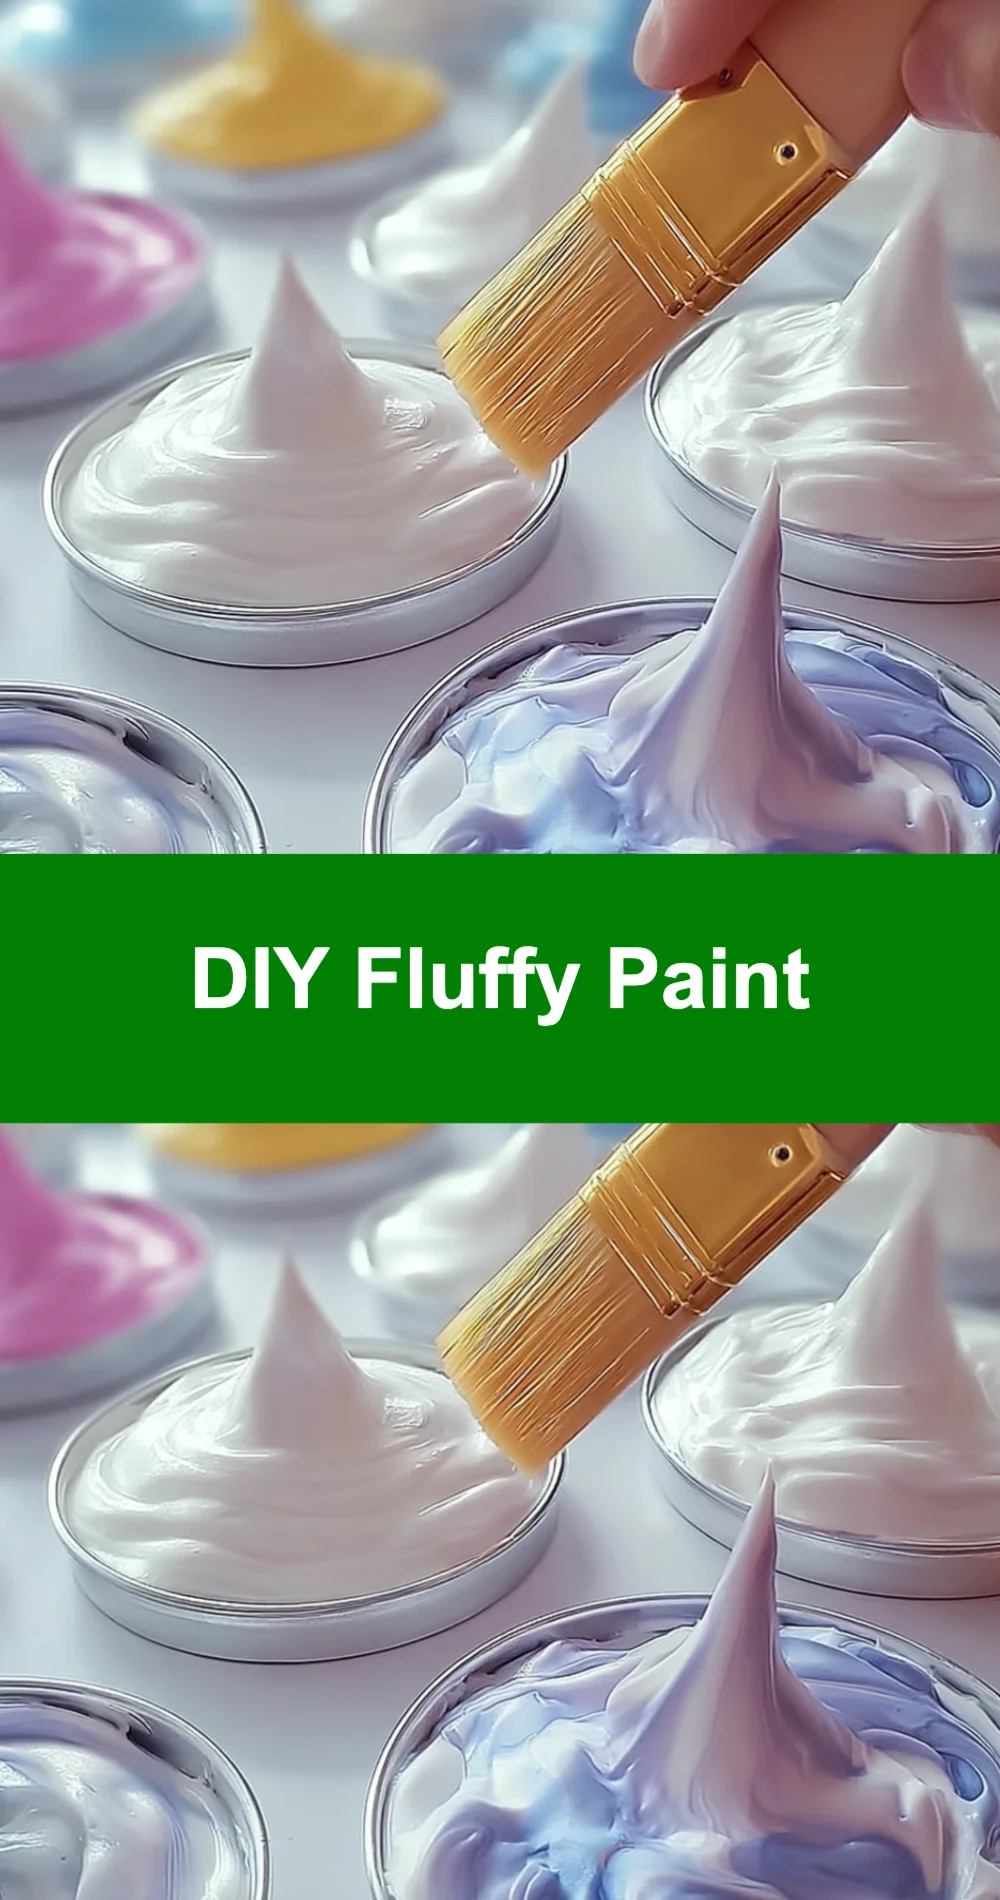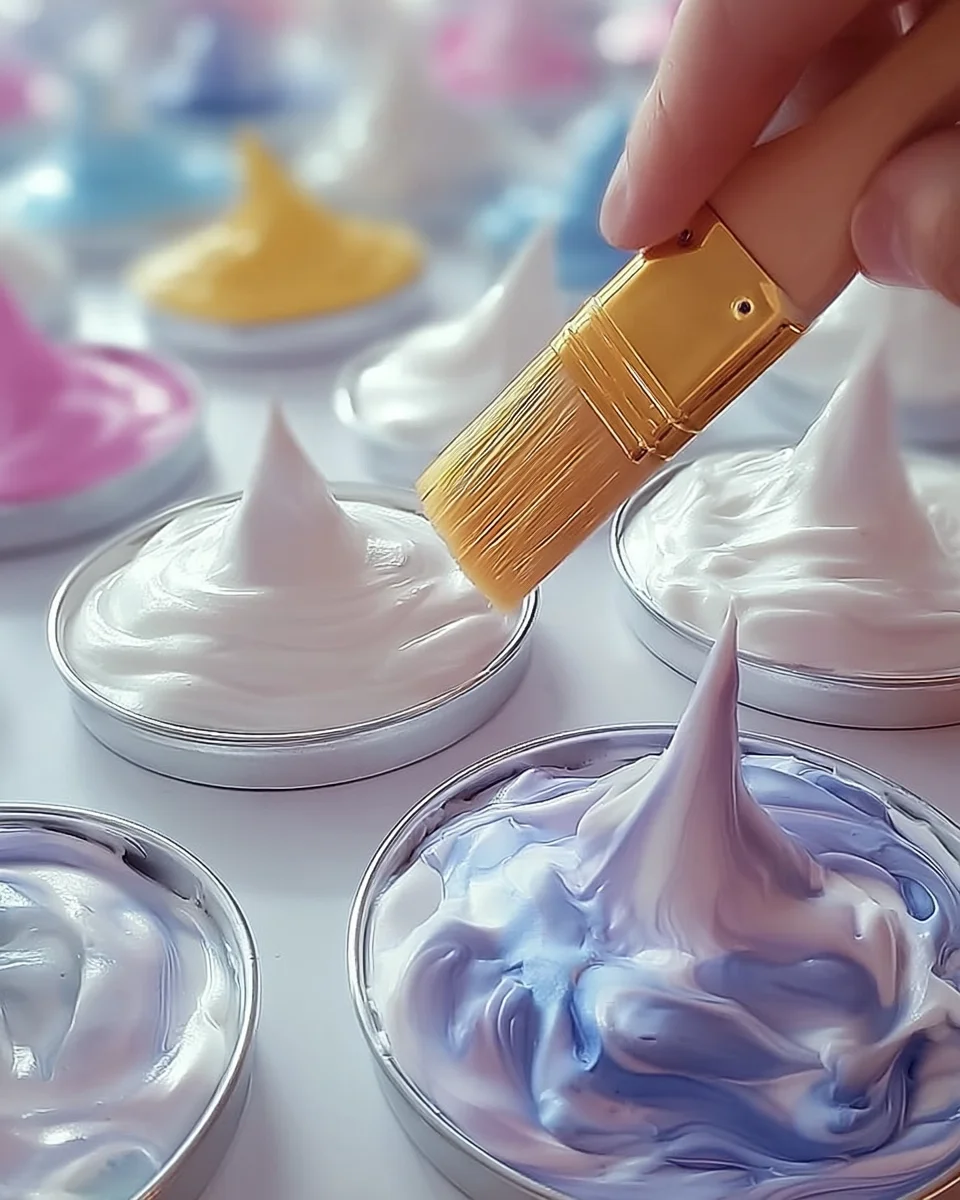
Have you ever thought about how much joy a simple paint project can bring? Picture this: the delightful scent of shaving cream filling the air, vibrant colors swirling together, and your hands creating a masterpiece of fluffy textures. DIY fluffy paint is not just a craft; it’s a sensory experience that evokes childhood memories and sparks creativity. This project is perfect for families, beginners, or anyone looking for a fun way to express themselves. So, grab your supplies and get ready to unleash your inner artist!
Why You’ll Love DIY Fluffy Paint
- Beginner-friendly
- Budget-friendly
- Creative and fun
- Great for kids and families
- Perfect for gifts, decorating, or everyday use
- Customizable
The Heart Behind This DIY
Creating DIY fluffy paint is more than just mixing glue and shaving cream. It’s about the joy of making something unique with your hands. As you blend the materials, you’ll feel a sense of mindfulness wash over you. This project encourages creativity, builds confidence, and fosters connections, whether you are crafting with a child or a friend. The tactile experience of fluffiness invites you to explore textures and colors, making it an engaging and educational journey for all ages.
A Gentle Look at the Process
When you embark on this fluffy paint adventure, you’ll be swept away by the simplicity and joy of creating. Imagine the soft, airy texture forming as you mix your ingredients, the colors brightening as you add food coloring, and the satisfaction of seeing your final creation come to life. This process is all about exploration and fun, allowing you to express yourself artistically while enjoying the moment.
Materials You’ll Need
- 1 cup of white school glue: This forms the base of your fluffy paint.
- 1 cup of shaving cream: Make sure it’s foam, as this gives your paint that delightful fluffiness.
- Food coloring (optional): Add a splash of color to make your art pop!
- Mixing bowl: A large bowl for combining your ingredients.
- Stirring stick or spoon: For mixing everything together.
- Airtight container for storage: To keep your fluffy paint fresh for future projects.
Step-by-Step Directions
Step 1
Prepare Your Workspace: Lay down a plastic sheet or drop cloth to protect your surfaces from any spills or mess. This will help keep your creative space tidy and enjoyable.
Step 2
Measure the Glue: In a mixing bowl, measure out 1 cup of white school glue. This will serve as the base of your fluffy paint, giving it structure and adhesion.
Step 3
Add Shaving Cream: Measure 1 cup of shaving cream and add it to the mixing bowl with the glue. This is where the magic happens, transforming your paint into a delightful fluffy concoction.
Step 4
Mix the Ingredients: Using a whisk or electric mixer, mix the glue and shaving cream together until they are completely combined and the mixture becomes fluffy. You’ll love watching it transform!
Step 5
Add Color (Optional): If you want to add color to your fluffy paint, add a few drops of food coloring to the mixture. Stir well until the color is evenly distributed. You can create different colors by dividing the mixture into separate bowls and adding various food colorings to each.
Step 6
Store the Paint: Transfer your fluffy paint into an airtight container for storage. Make sure to seal it tightly to keep it fresh for future use, so you can enjoy this project again and again.
Step 7
Clean Up: Clean your mixing tools and workspace with soap and water right after use, as the paint can dry quickly. A tidy space makes for more enjoyable crafting next time!
Step 8
Application: Use paintbrushes or sponges to apply your fluffy paint to surfaces. It works great on paper, cardboard, or even canvas. Let your creativity flow as you create your masterpiece!
Creative Ways to Use DIY Fluffy Paint
Once your fluffy paint is ready, the possibilities are endless! You can use it to create colorful art pieces for your home, decorate greeting cards for special occasions, or even personalize gift wrap. Kids will love making fun designs on paper or experimenting with textures. Imagine gifting a handmade card adorned with fluffy paint; it’s sure to bring a smile! You can even use it to add character to your projects or crafts, like creating a fluffy cloud scene or an abstract masterpiece.
How to Store, Preserve, or Maintain DIY Fluffy Paint
To preserve your fluffy paint, always store it in an airtight container. Keep it in a cool, dry place to maintain its quality. If it starts to dry out, a little water can help revive the texture. Always remember to clean your brushes and tools right after use to prevent any unwanted residue from hardening on them.
Creative Variations and Customizations
- Color or finish variations: Experiment with different shades and finishes by mixing various food colorings.
- Theme ideas: Create themed paints for holidays or special events, like pastel colors for Easter or vibrant hues for summer.
- Seasonal adaptations: Adjust the colors and textures to match the seasons, such as warm tones for fall or icy shades for winter.
- Kid-friendly or beginner-friendly modifications: Use non-toxic materials to make it safe for children.
- Advanced creative upgrades: For those looking to go further, consider adding glitter or sparkles for an enchanting effect.
Tips for Success
- Avoid common mistakes by measuring your ingredients accurately to achieve the right consistency.
- Safety tips: Always supervise children during the project, especially during the mixing phase.
- Preparation suggestions: Gather all your materials beforehand to make the process smooth and enjoyable.
- Cleanup recommendations: Have a damp cloth ready for quick spills, making cleanup easier.
- Expert tips: Don’t be afraid to experiment! The beauty of DIY is that it allows for personal expression.
FAQs About DIY Fluffy Paint
Can beginners make this?
Absolutely! This project is beginner-friendly and perfect for anyone wanting to explore their creative side.
Can children participate?
Yes, children will love this project! Just ensure adult supervision, especially during the mixing phase.
How long does it last?
When stored in an airtight container, your fluffy paint can last for several weeks, allowing for multiple creative sessions.
Can I customize it?
Definitely! You can experiment with colors, textures, and finishes to create a unique fluffy paint that reflects your style.
A Final Creative Note
As you embark on your DIY fluffy paint adventure, remember that the true joy lies in the process of creating. Celebrate your creativity and self-expression as you mix, paint, and explore. Each brushstroke is a step toward discovering your artistic voice. For more delicious recipes, check out the pistachio pavlova meringue cakes or no-bake brownie cheesecake cups for treats you will love! Let your imagination soar and enjoy every moment of your crafting journey!
For more DIY inspiration, follow our Pinterest account!