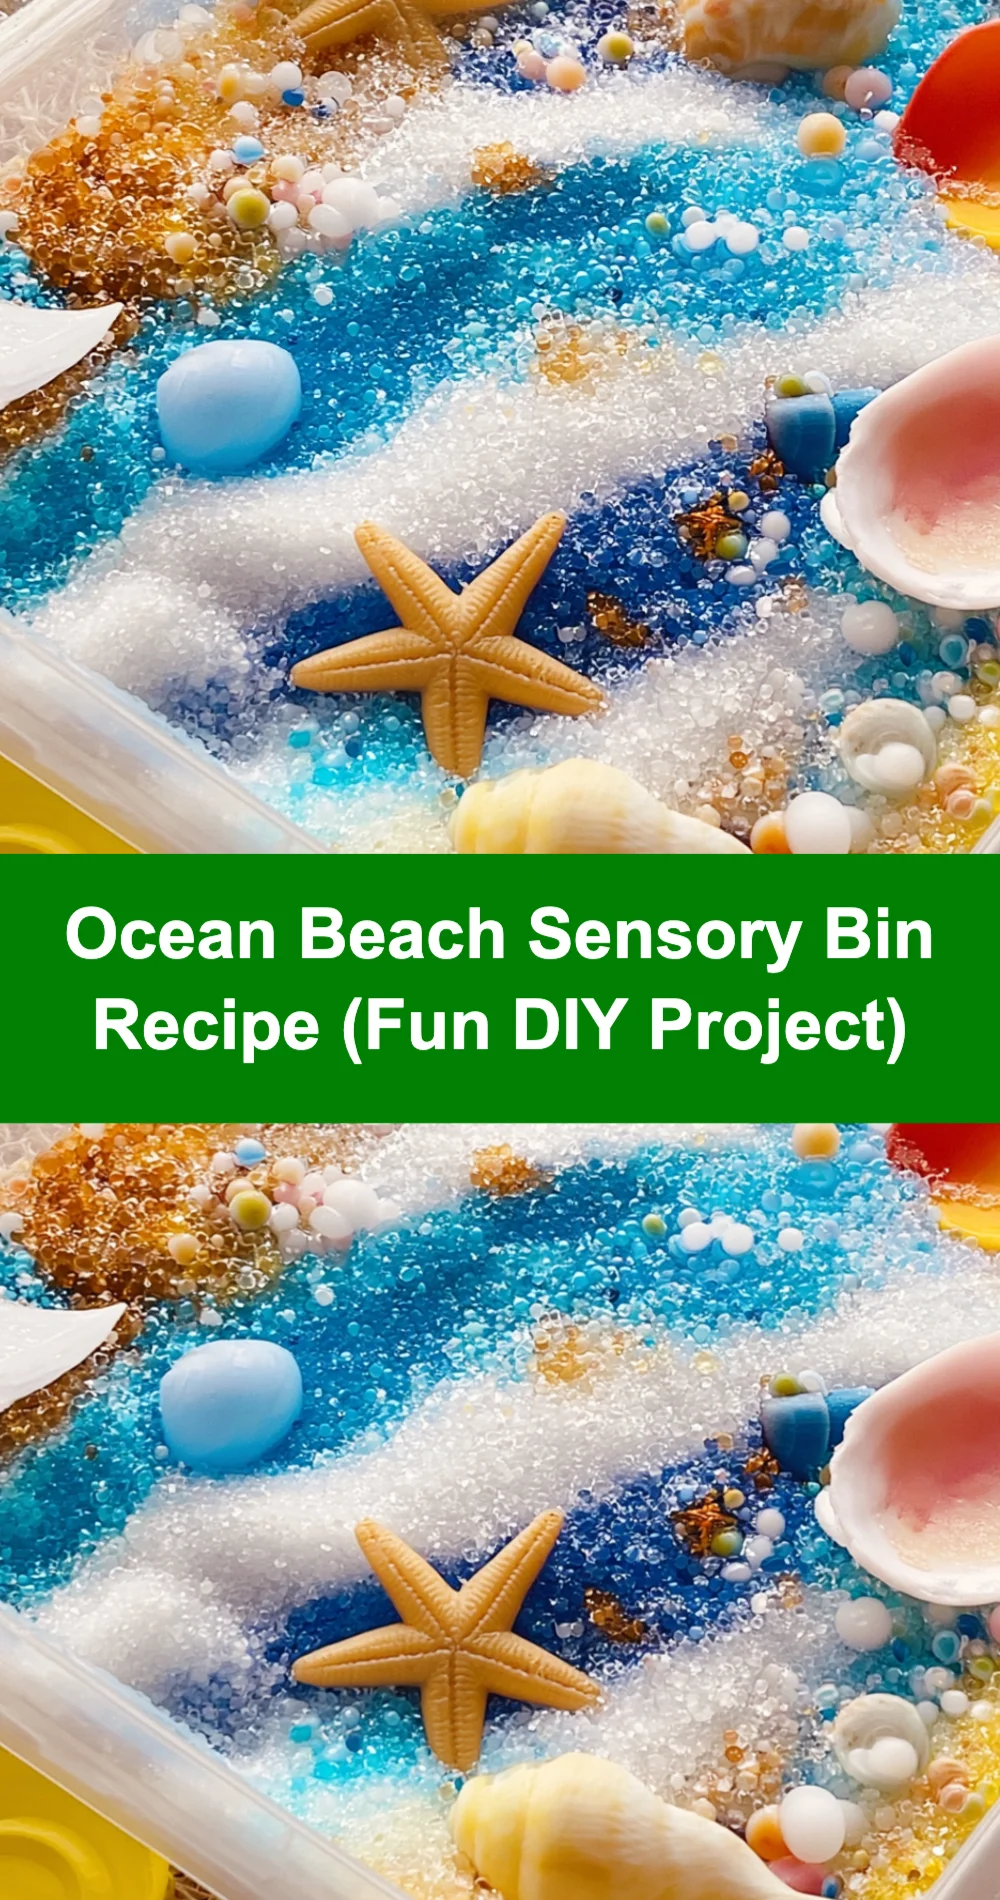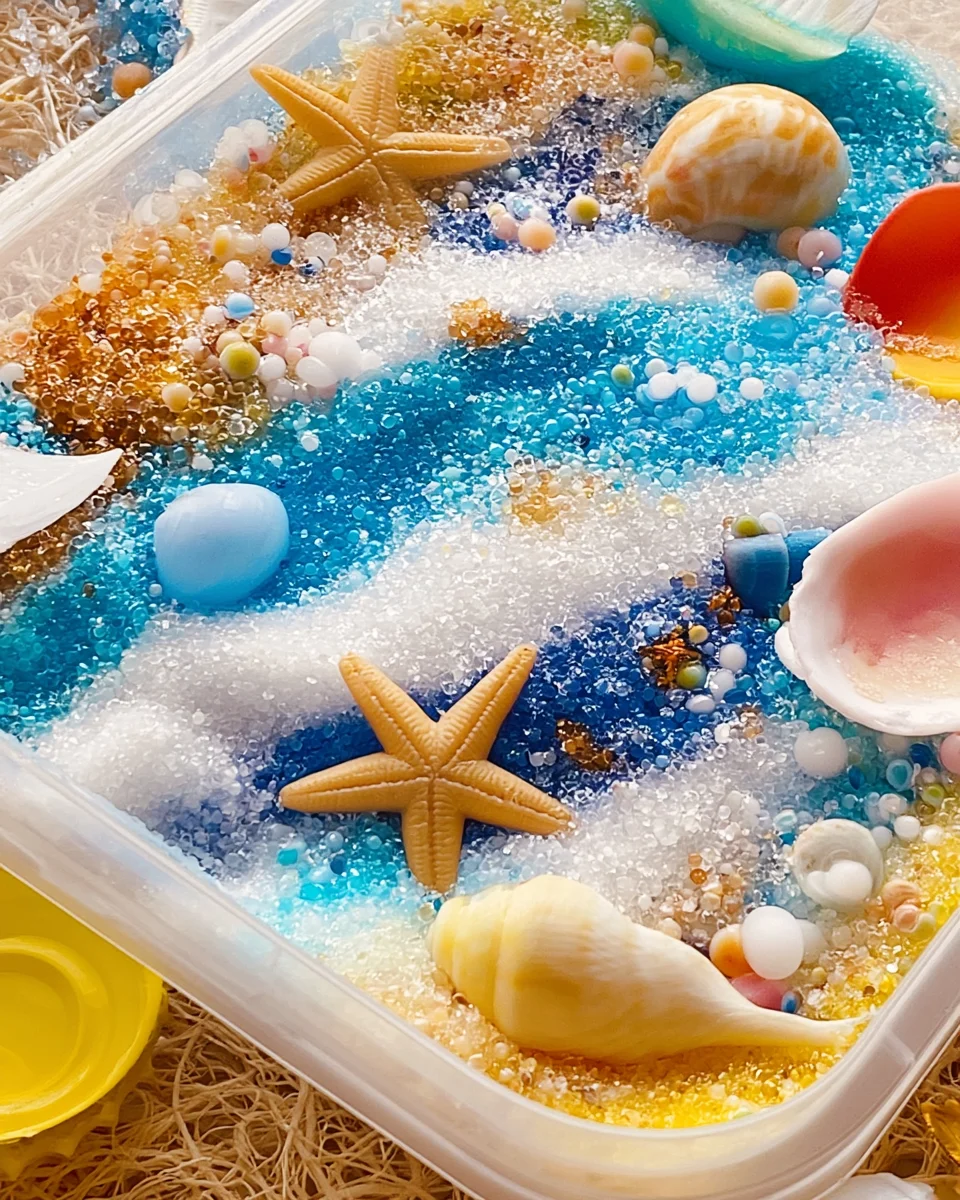
Have you ever felt that spark of joy when you see a child’s eyes light up with wonder? Creating an Ocean Beach Sensory Bin is one of those magical projects that invites exploration and ignites the imagination. It’s a simple yet captivating activity that offers endless possibilities for play and learning. With the gentle sound of waves and the feel of soft sand, this sensory bin will transport you and your little ones to a sun-kissed beach, right in your home.
Why You’ll Love Ocean Beach Sensory Bin Recipe (Fun DIY Project)
- Beginner-friendly
- Budget-friendly
- Creative and fun
- Great for kids and families
- Perfect for gifts, decorating, or everyday use
- Customizable
The Heart Behind This DIY
This project is more than just a fun activity; it’s a way to encourage creativity, mindfulness, and connection. As you and your child create, you are not only building a sensory experience but also nurturing a space for exploration and learning. The textures of the sand, the glimmer of the water beads, and the variety of seashells will ignite curiosity and spark conversations. It’s an opportunity to bond, laugh, and play together while fostering confidence in their creative expression.
A Gentle Look at the Process
Imagine gathering your materials, feeling the cool sand between your fingers, and watching as vibrant colors and textures come together. As you pour, mix, and arrange, you will witness the transformation of simple ingredients into a delightful sensory experience. This project allows you to engage your senses and embrace the joy of creating something beautiful and interactive.
Materials You’ll Need
- 1 large plastic bin or container: This will be the home for your sensory creation.
- 10 lbs of kinetic sand (or regular sand): Soft and moldable, it provides the perfect base.
- 2 cups of water beads (blue or clear): These add a squishy, fun texture.
- 1 cup of seashells (various sizes): Perfect for beach exploration.
- 1 cup of small ocean animals: Think plastic fish, starfish, and more for exciting discoveries.
- 1 cup of pebbles or small rocks: To enhance the beachy feel.
- 1 cup of glitter (optional): For that extra sparkle!
- Beach toys: Small shovels, buckets, and other fun tools for imaginative play.
- Blue food coloring (optional): To color your sand and mimic the ocean.
- A few drops of essential oil (coconut or ocean scent, optional): For a delightful aroma.
Step-by-Step Directions
Step 1
Start by pouring the kinetic sand (or regular sand) into the large plastic bin. If you’d like to add a touch of color, mix in a few drops of blue food coloring with water in a spray bottle. Lightly mist the sand until you achieve your desired color, creating a beautiful ocean effect.
Step 2
In a separate bowl, soak the water beads in water for about 4-6 hours or until they expand fully. Once they are ready, drain any excess water and add them to the bin. These squishy gems will add an exciting texture to the sensory experience.
Step 3
Now, scatter the seashells and pebbles throughout the sand, creating a realistic beach feel that encourages exploration and play. The contrast of textures will delight little hands as they dig and discover.
Step 4
Randomly place the small ocean animals in the bin. Kids will love the thrill of finding these hidden treasures as they dive into their imaginative play.
Step 5
If you want to add a sparkling effect, sprinkle a cup of glitter over the contents. This step is optional but can enhance the overall visual appeal, making it feel like a magical beach scene.
Step 6
Add small beach toys like shovels and buckets to encourage imaginative play. These tools will inspire kids to dig, build, and create their own beach adventures.
Step 7
For an added sensory experience, consider adding a few drops of coconut or ocean-scented essential oil to the sand. This will fill the air with a delightful aroma, transporting everyone to a seaside paradise.
Step 8
Now comes the best part! Invite your children to explore the sensory bin. Encourage them to dig, pour, and create their own beach scenes, letting their creativity flow freely.
Creative Ways to Use Ocean Beach Sensory Bin Recipe (Fun DIY Project)
Once your Ocean Beach Sensory Bin is complete, the fun doesn’t have to stop there! You can encourage themed activities like counting seashells, sorting ocean animals by size or color, or even creating stories based on their beach adventures. This sensory bin can also serve as a lovely centerpiece for a beach-themed birthday party or a thoughtful gift for a friend who loves ocean fun.
How to Store, Preserve, or Maintain Ocean Beach Sensory Bin Recipe (Fun DIY Project)
When playtime is over, cover the bin or store it in a dry place to keep the materials fresh for future use. This ensures the sensory experience remains inviting and enjoyable every time you bring it out for play.
Creative Variations and Customizations
- Color or finish variations: Use different colors of sand or add colored shells.
- Theme ideas: Incorporate a pirate theme with treasure maps or mermaid figurines.
- Seasonal adaptations: Create a winter wonderland sensory bin with fake snow or holiday decorations.
- Kid-friendly or beginner-friendly modifications: Simplify by using fewer materials or larger items.
- Advanced creative upgrades: Introduce DIY elements like painted rocks or homemade ocean animals.
Tips for Success
- Common mistakes to avoid: Don’t overfill the bin; leave room for exploration and movement.
- Safety tips: Always supervise young children when playing with small items to avoid choking hazards.
- Preparation suggestions: Set up the sensory bin in a space that is easy to clean.
- Cleanup recommendations: Use a large blanket underneath for easy cleanup.
- Expert tips: Encourage imaginative play by joining in and asking open-ended questions.
FAQs About Ocean Beach Sensory Bin Recipe (Fun DIY Project)
Can beginners make this?
Absolutely! This project is simple and can be done by anyone, making it perfect for beginners.
Can children participate?
Yes! This activity is designed for children and encourages hands-on play.
How long does it last?
With proper storage, the sensory bin can last for several weeks, offering repeated fun!
Can I customize it?
Definitely! Feel free to adapt the materials and themes to suit your child’s interests.
A Final Creative Note
Creating your Ocean Beach Sensory Bin is not just about making a fun project; it’s about cherishing moments of creativity and connection with your little ones. I hope you feel inspired to dive into this delightful DIY adventure. Remember, the joy of crafting is in the journey, so embrace every moment! For more delicious recipes, check out Cinnamon Orange Jam Linzer Cookies or Strawberry Cream Cheese Pound Cake for treats you will love!
For more DIY inspiration, follow our Pinterest account!