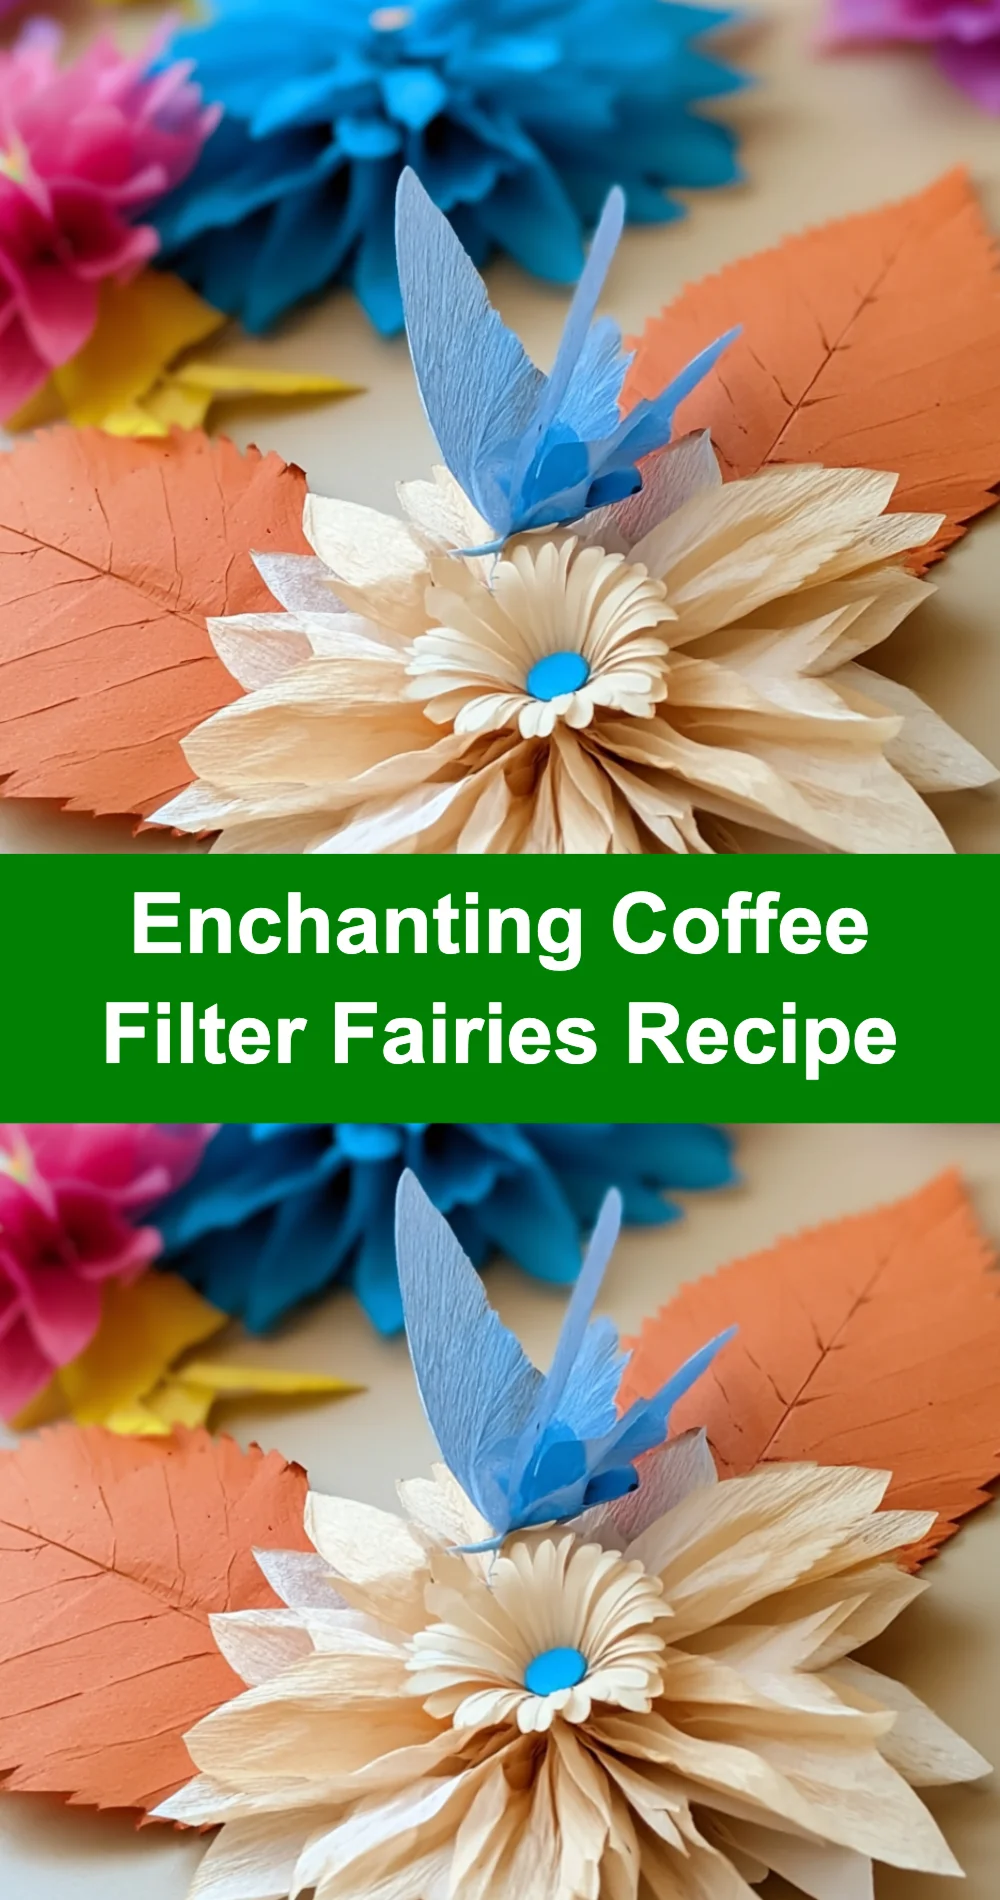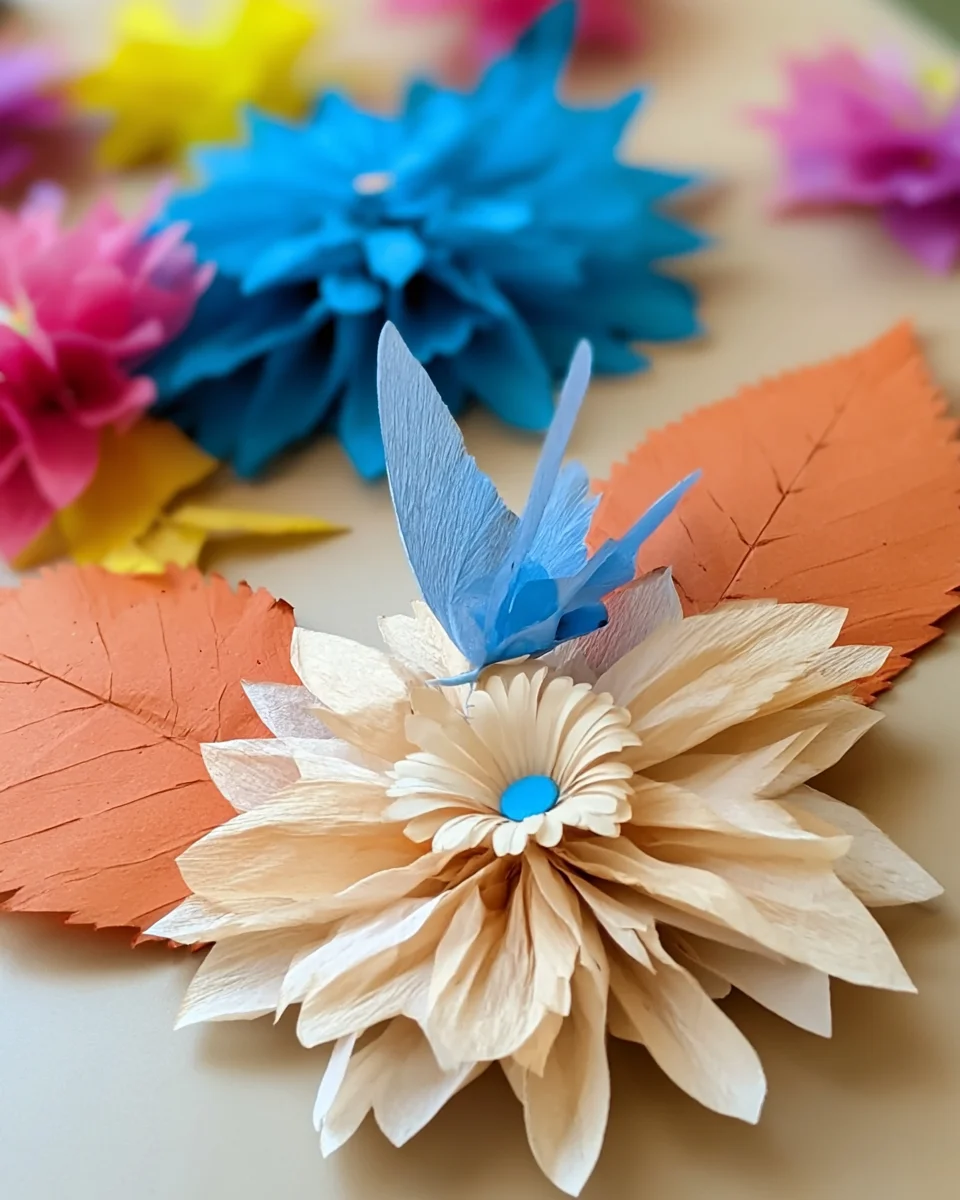
Do you remember the magic of childhood, when the world was filled with possibilities and every little thing held a sprinkle of enchantment? Creating your very own coffee filter fairies is a delightful way to reconnect with that feeling. This whimsical DIY project is not only simple but also allows you to express your creativity while making adorable decorations that can brighten up any space. Imagine the joy of watching these charming little fairies dance around your home, each one uniquely crafted with love and imagination. Let’s embark on this delightful journey together!
Why You’ll Love Enchanting Coffee Filter Fairies Recipe
- Beginner-friendly
- Budget-friendly
- Creative and fun
- Great for kids and families
- Perfect for gifts, decorating, or everyday use
- Customizable
The Heart Behind This DIY
Crafting coffee filter fairies brings a sense of joy and nostalgia that is hard to replicate. As you gather your materials and start creating, you’ll find yourself immersed in a world of creativity. This project encourages mindfulness, allowing you to focus on the colors, textures, and shapes as you bring your fairy to life. It is a wonderful way to boost your confidence, as every little creation is a testament to your creativity. Plus, it’s a great opportunity to bond with family and friends, sharing laughter and inspiration along the way.
A Gentle Look at the Process
As you dive into this enchanting project, expect to feel a burst of excitement as you color your coffee filters, cut and shape them, and finally assemble your fairies. The process is soothing and meditative, inviting you to embrace each step. Picture yourself surrounded by vibrant colors, soft textures, and the sweet satisfaction of creating something beautiful with your own hands. Get ready to feel the magic as your coffee filter fairies begin to take shape!
Materials You’ll Need
- Coffee filters (white or colored) – these will be the foundation of your fairies.
- Markers or watercolor paints – perfect for adding vibrant colors and patterns.
- Scissors – necessary for shaping your filters and creating the fairy’s features.
- Pipe cleaners (various colors) – these will form the body and arms of your fairies.
- Glitter (optional) – for a touch of sparkle and whimsy.
- Googly eyes – to give your fairies a charming personality.
- Craft glue – for assembling your fairy’s features.
- Small beads (optional for added decoration) – to embellish your fairy’s skirt or body.
- Ribbon or string (for hanging) – to display your fairies beautifully.
Step-by-Step Directions
Step 1: Prepare Your Workspace
Begin by setting up your craft area. Lay down a craft mat or some old newspaper to catch any spills or messes. Gather all your materials and tools, and let the fun begin!
Step 2: Color Your Coffee Filters
Using your markers or watercolor paints, color your coffee filters. You can choose to create patterns, beautiful gradients, or simply fill them in with solid hues. If you use watercolors, be sure to let the filters dry completely before moving on to the next step.
Step 3: Shape the Fairy Body
Take one colored coffee filter and fold it in half. Then, fold it in half again to create a smaller triangle. Cut the bottom edge to create a rounded shape, which will become the fairy’s skirt. Unfold it to reveal the lovely skirt shape.
Step 4: Create the Fairy Head
Using another coffee filter, cut out a smaller circle (about 2-3 inches in diameter) for the fairy’s head. Feel free to color this filter similarly to the skirt or leave it white for a classic look.
Step 5: Assemble the Fairy
Take a pipe cleaner and fold it in half to form the body of your fairy. Slip the head (the smaller coffee filter) onto the folded end of the pipe cleaner, then gather the skirt (the larger coffee filter) around the bottom of the head. Twist the end of the pipe cleaner to secure the skirt in place.
Step 6: Add Features
Glue googly eyes onto the head and use markers to draw a mouth or other facial features. You can also glue small beads onto the skirt for added decoration and sparkle.
Step 7: Create Wings (Optional)
For a magical touch, cut out two wing shapes from another coffee filter or craft paper. Decorate them with markers or glitter, and attach the wings to the back of the fairy by gluing or using small pieces of tape.
Step 8: Add a Hanging Option
If you’d like to hang your fairies, tie a piece of ribbon or string around the top of the pipe cleaner, ensuring you leave enough length for hanging.
Step 9: Display Your Fairies
Find a lovely spot in your home to display your enchanting coffee filter fairies. They can adorn shelves, windows, or be used as festive decorations that spread joy to everyone who sees them.
Creative Ways to Use Enchanting Coffee Filter Fairies Recipe
Once your coffee filter fairies are complete, the possibilities are endless! You can display them in a sunny window, create a whimsical fairy garland, or even use them as unique gift toppers. They make delightful gifts for friends or family, especially during special occasions like birthdays or holidays. You could even host a fairy-making party, inviting friends over for a fun craft day, complete with snacks and laughter!
How to Store, Preserve, or Maintain Enchanting Coffee Filter Fairies Recipe
To keep your enchanting coffee filter fairies looking their best, store them in a cool, dry place away from direct sunlight. If you’ve added glitter, you may wish to keep them in a box to prevent any mess. These little creations can last for years with proper care.
Creative Variations and Customizations
- Experiment with different colors and finishes to create unique fairies.
- Theme ideas: create seasonal fairies for holidays like Halloween or Christmas.
- Adapting them for spring by incorporating floral designs.
- Kid-friendly modifications, such as using stickers instead of googly eyes.
- Advanced creative upgrades, like adding fabric for clothing or using more elaborate designs for wings.
Tips for Success
- Avoid common mistakes by ensuring your coffee filters are dry before assembly.
- Be cautious with scissors, especially if children are involved; supervision is key.
- Prepare all your materials beforehand to streamline the crafting process.
- Cleanup is easy; just gather up the materials and dispose of any scraps.
- If you’re feeling adventurous, try adding scents with essential oils to your filters for an extra sensory experience!
FAQs About Enchanting Coffee Filter Fairies Recipe
Can beginners make this?
Absolutely! This project is very beginner-friendly and perfect for all ages.
Can children participate?
Yes! Children will love making these fairies with adult supervision, especially when using scissors and glue.
How long does it last?
With proper care, these fairies can last for many years, adding a touch of magic to your home.
Can I customize it?
Definitely! You can personalize your fairies with different colors, decorations, and themes.
A Final Creative Note
As you wrap up your enchanting coffee filter fairies, take a moment to appreciate the creativity and joy you’ve poured into this project. Each fairy represents your imagination and love, making them truly special. So gather your supplies and let your creativity soar! For more delightful recipes and crafts, check out my blog for fun ideas like no-bake peanut butter pie or easy homemade hush puppies for treats you will love! Don’t forget to follow Pinterest for more DIY inspiration.