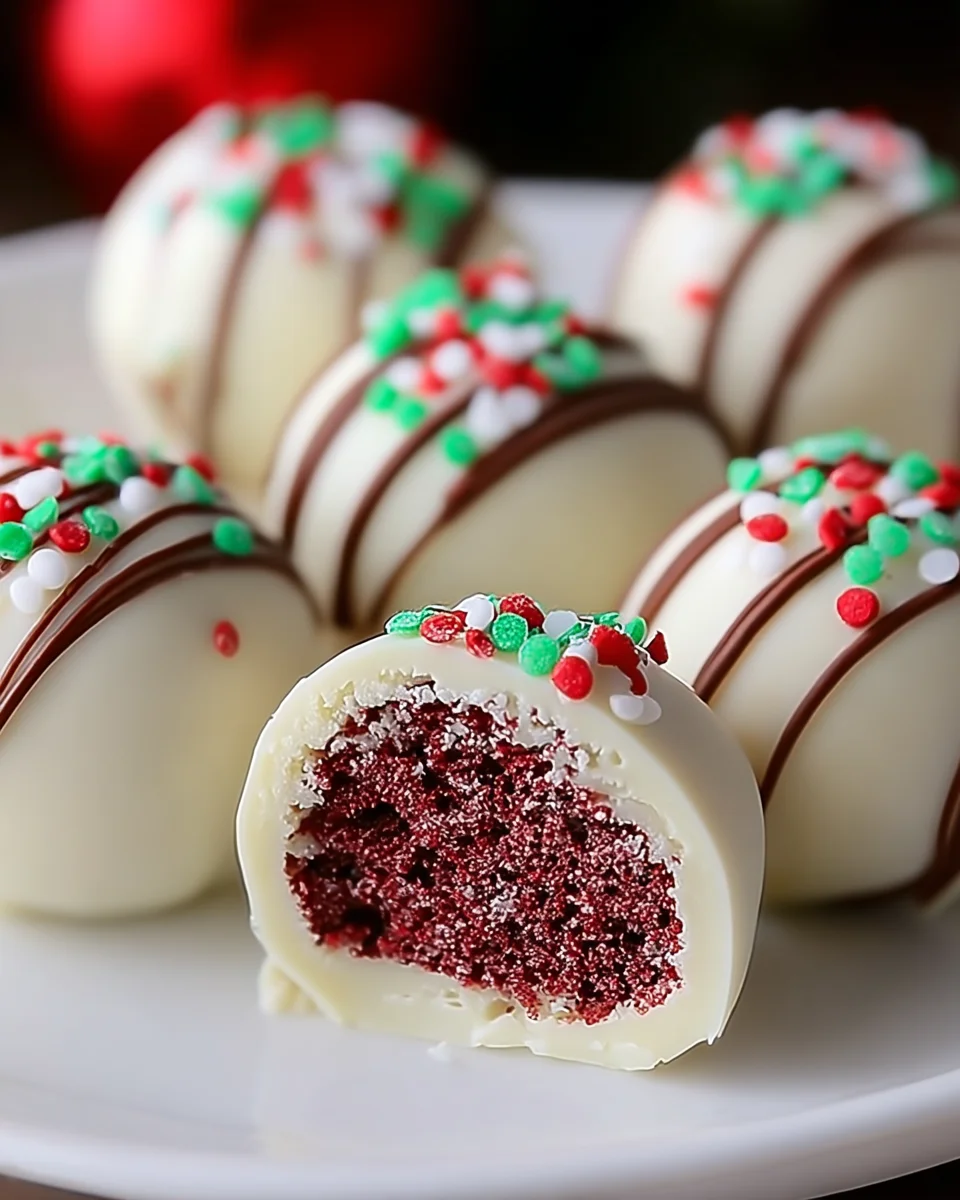
Ah, the holidays! There’s something so magical about this time of year, isn’t there? The twinkling lights, the aroma of freshly baked goodies wafting through the air, and those delightful moments spent with family and friends. One treat that always brings a smile to my face is the beloved Little Debbie Christmas Tree Cakes. Today, I’m excited to share a simple and quick recipe that transforms these nostalgic snacks into irresistible no-bake cake balls that are perfect for any holiday gathering or gift-giving occasion!
Why You’ll Love Easy No-bake Little Debbie Christmas Cake Balls Recipe
- Fast
- Easy
- Giftable
- Crowd-pleasing
Ingredients
- 1 box of Little Debbie Christmas Tree Cakes: These festive cakes provide the perfect base for our cake balls.
- 8 oz cream cheese, softened: Adds creaminess and helps bind the mixture together.
- 1 cup of white chocolate chips: For dipping and drizzling, creating a sweet outer layer.
- 1 tablespoon of vegetable oil: Helps the chocolate melt smoothly.
- Sprinkles: For decoration and that extra festive touch!
How to Make Easy No-bake Little Debbie Christmas Cake Balls Recipe
Let’s get started! This recipe is a breeze to whip up, and you will love how easy it is.
- Crumble the Little Debbie Christmas Tree Cakes into a large mixing bowl. It’s fun to let loose and break them up with your hands!
- Add the softened cream cheese to the crumbled cakes and mix until well combined. I like to use my hands for this part; it gets messy, but it’s so satisfying!
- Roll the mixture into small balls, approximately 1 inch in diameter, and place them on a baking sheet lined with parchment paper.
- Freeze the cake balls for about 30 minutes or until firm. This step is essential to ensure they hold their shape.
- In a microwave-safe bowl, combine the white chocolate chips and vegetable oil. Heat in the microwave in 30-second intervals, stirring in between, until completely melted and smooth.
- Dip each cake ball into the melted white chocolate, ensuring they are fully coated. Allow any excess chocolate to drip off.
- Place the coated cake balls back on the parchment-lined baking sheet and sprinkle with decorative sprinkles before the chocolate sets.
- Refrigerate the cake balls for at least 30 minutes to allow the chocolate to harden.
- Serve and enjoy! These little bites of joy are sure to be a hit!
Substitutions & Additions
If you want to switch things up a bit, here are some fun ideas:
- Use dark chocolate or milk chocolate instead of white chocolate for a different flavor.
- Add in some crushed peppermint candies to the mixture for a minty twist.
- Mix in some chopped nuts for added crunch.
- Try using different types of cake or frosting as a base for a unique flavor.
Tips for Success
Here are a few tips to ensure your cake balls turn out perfectly:
- Make sure your cream cheese is softened to room temperature for easy mixing.
- Don’t skip the freezing step; it really helps keep the balls from falling apart when you dip them in chocolate.
- If the chocolate is too thick, add a touch more vegetable oil to achieve a smoother consistency.
How to Store Easy No-bake Little Debbie Christmas Cake Balls Recipe
These delightful cake balls can be stored in an airtight container in the refrigerator for up to one week. If you want to keep them longer, they can also be frozen for up to three months. Just be sure to separate layers with parchment paper to prevent sticking.
FAQs
- Can I make these gluten-free? Yes! Just look for gluten-free alternatives to the Little Debbie cakes.
- How do I prevent the chocolate from cracking? Make sure the cake balls are well-chilled before dipping, and don’t let the chocolate cool too much before using it.
- What can I use if I don’t have vegetable oil? You can use coconut oil or any neutral oil you have on hand.
These Easy No-bake Little Debbie Christmas Cake Balls are sure to bring joy and sweetness to your holiday celebrations. For more delicious recipes, check out No-Bake Peanut Butter Pie or Easy Pecan Pie Recipe for treats you will love!
Happy baking, and don’t forget to share your cake ball creations with friends and family! For more fun ideas and recipes, be sure to follow our Pinterest for inspiration!
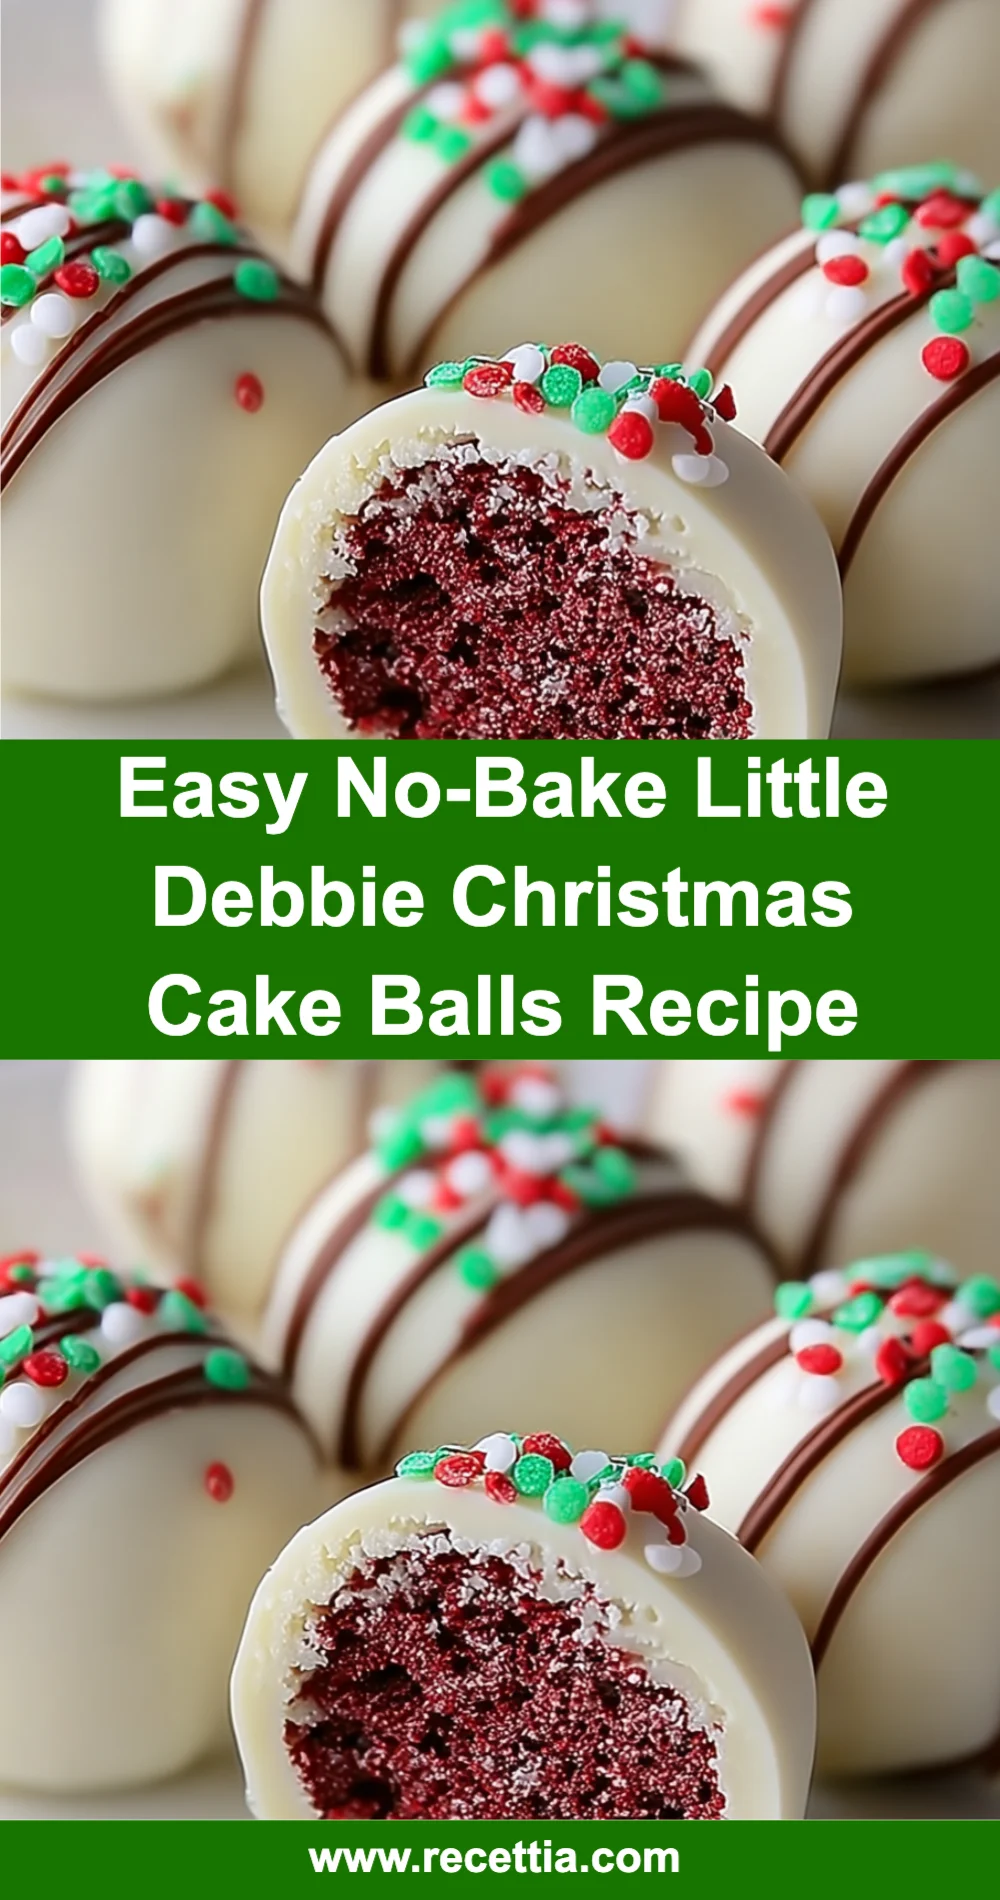
Easy No-Bake Little Debbie Christmas Cake Balls
Ingredients
Equipment
Method
- Step 1: Crumble the Little Debbie Christmas Tree Cakes into a large mixing bowl.
- Step 2: Add the softened cream cheese to the crumbled cakes and mix until well combined.
- Step 3: Roll the mixture into small balls, approximately 1 inch in diameter, and place them on a baking sheet lined with parchment paper.
- Step 4: Freeze the cake balls for about 30 minutes or until firm.
- Step 5: In a microwave-safe bowl, combine the white chocolate chips and vegetable oil. Heat in the microwave in 30-second intervals, stirring in between, until completely melted and smooth.
- Step 6: Dip each cake ball into the melted white chocolate, ensuring they are fully coated.
- Step 7: Place the coated cake balls back on the parchment-lined baking sheet and sprinkle with decorative sprinkles before the chocolate sets.
- Step 8: Refrigerate the cake balls for at least 30 minutes to allow the chocolate to harden.
- Step 9: Serve and enjoy!