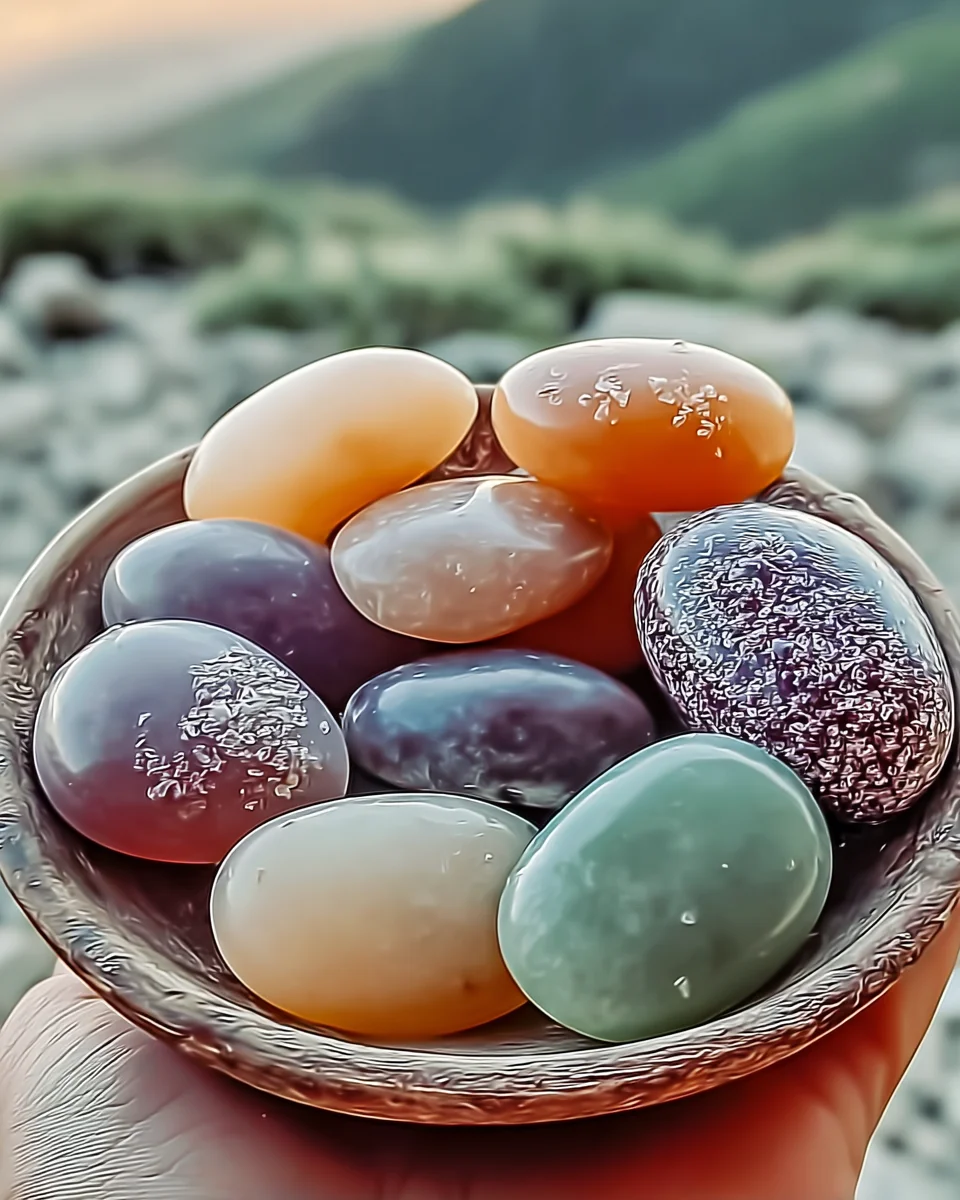
There’s something magical about walking into a room filled with delightful aromas that instantly lifts your spirits. Remember those cozy afternoons spent crafting with your loved ones? This Easy DIY Scented Aroma Stones Recipe is not just quick and simple; it’s a wonderful way to infuse your home with your favorite scents. Plus, these charming stones make great gifts for friends and family!
Why You’ll Love Easy DIY Scented Aroma Stones Recipe
- Fast
- Easy
- Giftable
- Crowd-pleasing
Ingredients
- 2 cups baking soda – This is the base for your aroma stones. It absorbs and holds scents beautifully.
- 1 cup cornstarch – This adds a nice texture and helps the stones set.
- 2 cups water – To bring everything together into a smooth mixture.
- 10-15 drops of essential oil – Choose your favorite scent, like lavender for relaxation or citrus for a fresh vibe.
- Food coloring (optional) – Add a splash of color to your stones for a fun touch.
- Silicone molds or cookie cutters – Use these to shape your stones. They come in all sorts of fun designs!
How to Make Easy DIY Scented Aroma Stones Recipe
Let’s get crafty! Follow these simple steps to create your own scented aroma stones:
- In a mixing bowl, combine the baking soda and cornstarch. Stir them together until they are evenly mixed.
- Gradually add the water to the dry ingredients, stirring continuously until the mixture is smooth and without lumps.
- Add the essential oil and mix thoroughly. If you want to get creative, incorporate a few drops of food coloring to achieve your preferred color.
- Pour the mixture into silicone molds or use cookie cutters to shape the aroma stones. I love using fun shapes like hearts or stars!
- Allow the stones to dry for 24-48 hours until completely hardened. Patience is key here!
- Once dried, gently remove the stones from the molds and store them in an airtight container until you are ready to use them.
Substitutions & Additions
If you want to customize your aroma stones, consider these fun swaps:
- Use different types of essential oils like eucalyptus for a refreshing scent or peppermint for an invigorating aroma.
- For an added texture, mix in dried flowers or herbs into your mixture.
- Try different molds, like mini muffin tins or fun-shaped ice cube trays for unique designs.
Tips for Success
Here are some helpful tips to ensure your aroma stones turn out perfectly:
- Mix well to avoid lumps; a smooth mixture is essential for a good set.
- If you find your mixture too runny, add a bit more baking soda until you reach a thick paste.
- Make sure your mold is clean and dry before pouring the mixture to avoid any unwanted textures.
How to Store Easy DIY Scented Aroma Stones Recipe
To keep your aroma stones fresh, store them in an airtight container. They will last for several months if kept in a cool, dry place. When you’re ready to use them, simply place them in a bowl, or tuck them into a drawer for a lovely scent surprise every time you open it!
FAQs
Can I use any essential oils?
Yes! Feel free to experiment with your favorite scents. Just remember that some oils are stronger than others, so adjust the amount according to your preference.
How long does the scent last?
The scent can last for weeks, but you can refresh them by adding a few more drops of essential oil if needed.
Can I use these stones in my car?
Absolutely! Just place them in a small dish or hang them from your rearview mirror for a lovely aroma while you drive.
For more delightful recipes, check out the One Pot Smoky BBQ Meatball Pasta or the No Bake Peanut Butter Pie for treats you will love!
So, gather your ingredients and let’s make your home a fragrant haven with these easy DIY scented aroma stones. Happy crafting!
For more inspiration, follow us on Pinterest!
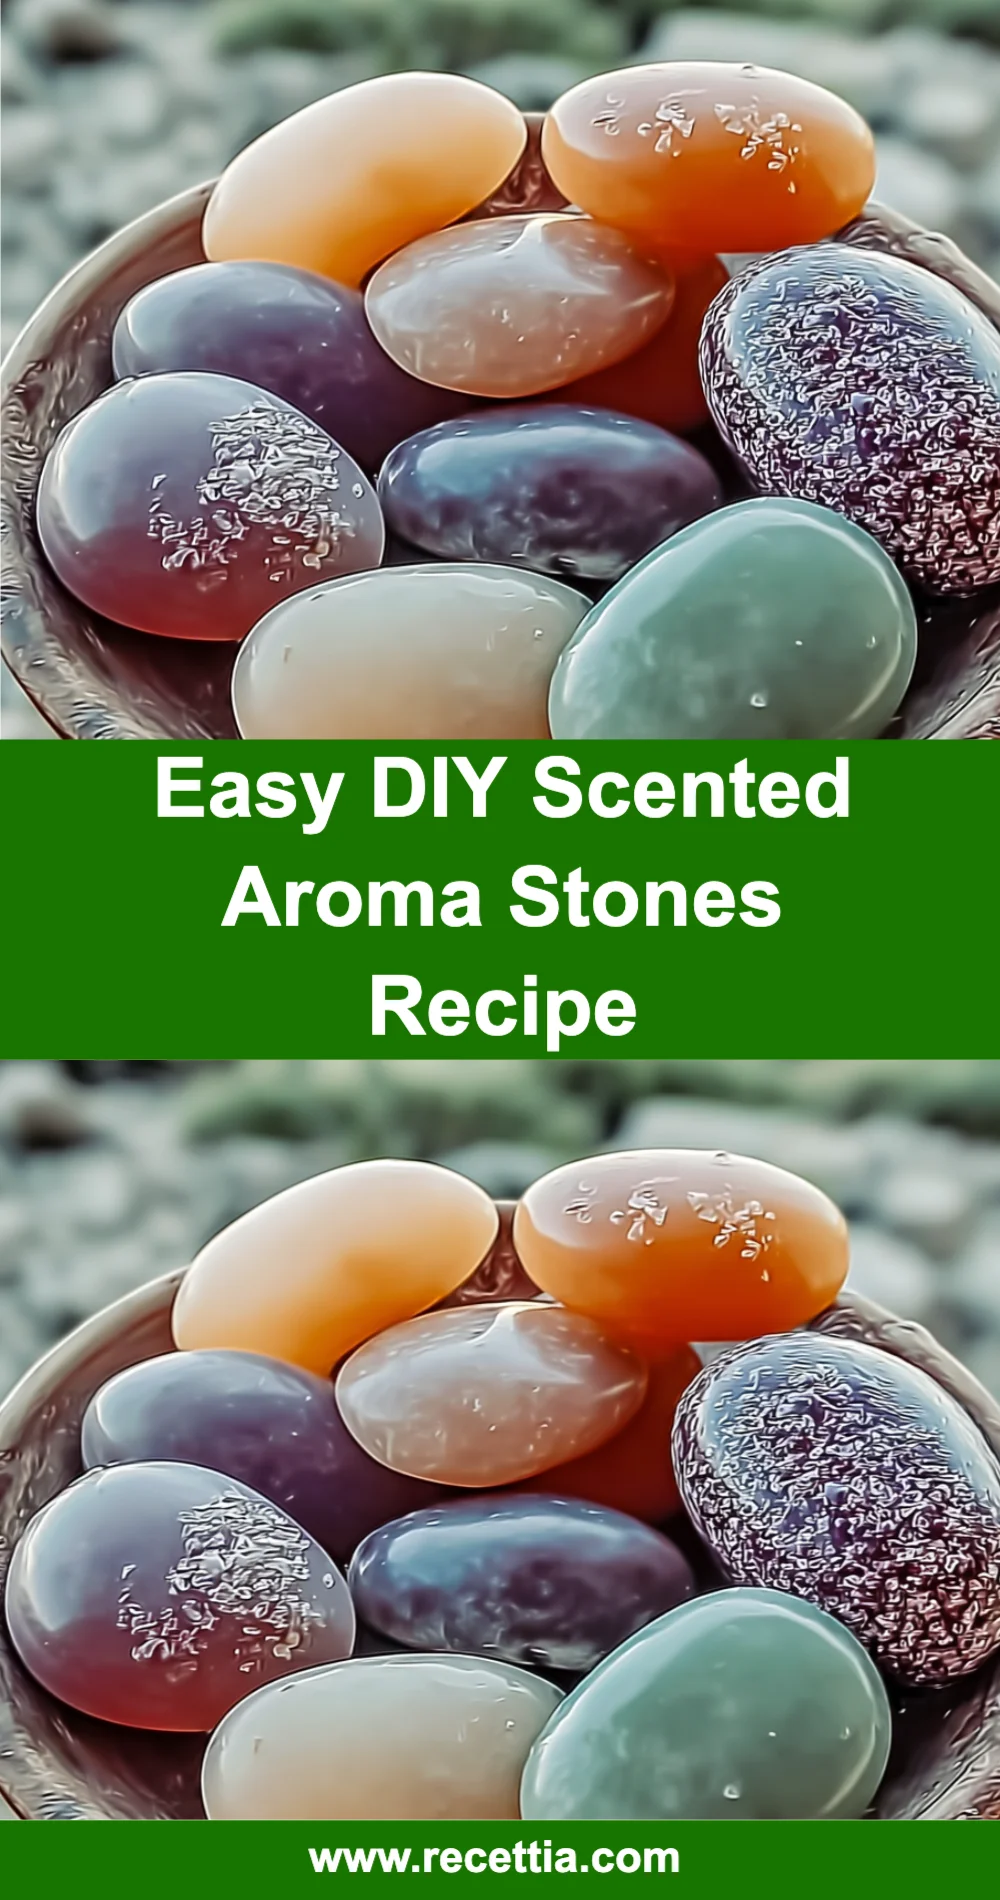
Easy DIY Scented Aroma Stones
Ingredients
Equipment
Method
- Step 1: In a mixing bowl, combine the baking soda and cornstarch. Stir them together until evenly mixed.
- Step 2: Gradually add the water to the dry ingredients, stirring continuously until the mixture is smooth and without lumps.
- Step 3: Add the essential oil and mix thoroughly. If desired, incorporate food coloring for a fun touch.
- Step 4: Pour the mixture into silicone molds or use cookie cutters to shape the aroma stones.
- Step 5: Allow the stones to dry for 24-48 hours until completely hardened.
- Step 6: Once dried, gently remove the stones from the molds and store them in an airtight container until ready to use.