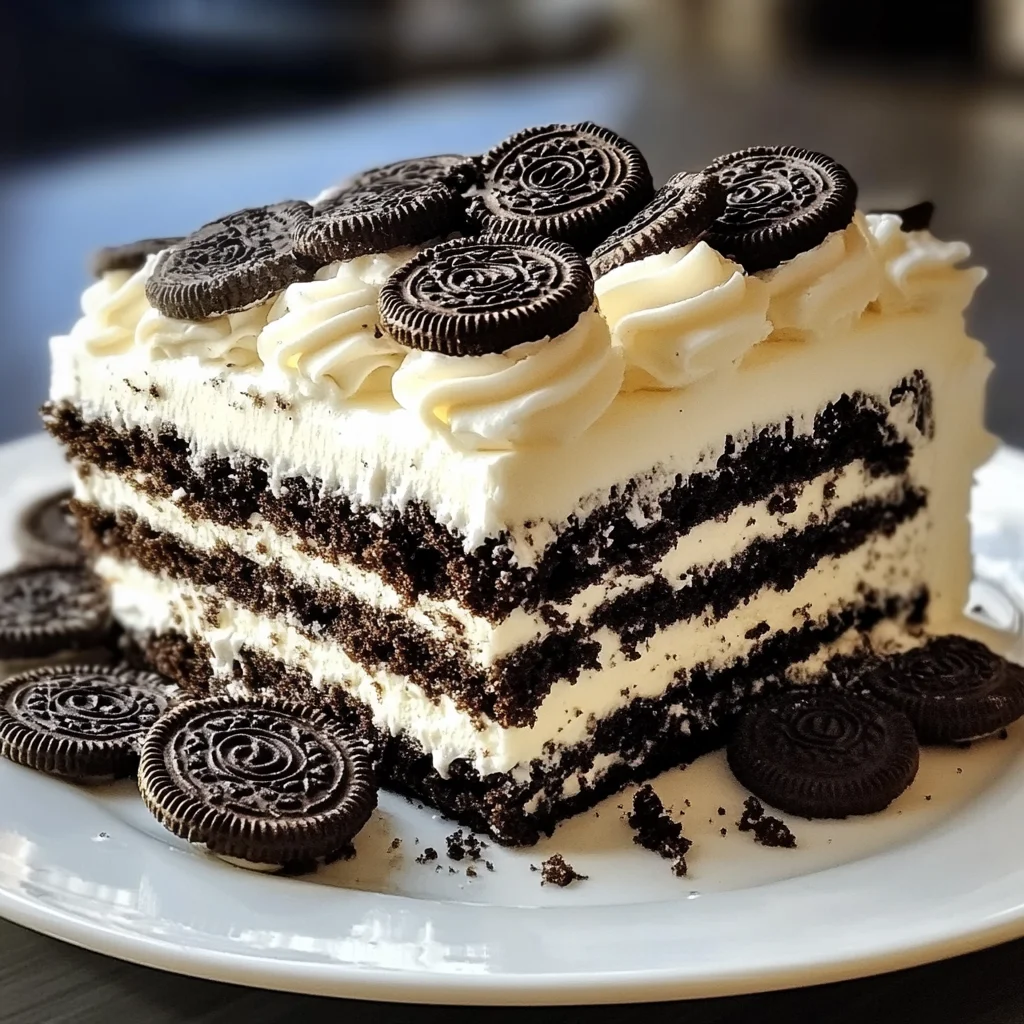
Remember those hot summer days when you craved something sweet but didn’t want to turn on the oven? Well, this Oreo Icebox Cake is just the answer! It’s a simple, no-bake dessert that brings back those cozy memories. With layers of creamy whipped goodness and crunchy Oreos, it’s sure to become a family favorite. Plus, it’s quick to whip up, making it perfect for last-minute gatherings or just a sweet treat at home.
Why You’ll Love 🍪 Oreo Icebox Cake 🍪
- Fast
- Easy
- Giftable
- Crowd-pleasing
Ingredients
- 2 packs of Oreo cookies – the star of the show with their chocolatey crunch.
- 1 cup of milk – to soften those Oreos just right.
- 2 cups of heavy whipping cream – for that luscious, creamy texture.
- 1 cup of powdered sugar – to sweeten the whipped cream perfectly.
- 1 teaspoon of vanilla extract – adds a warm, aromatic flavor.
- Chocolate syrup (for drizzling, optional) – because who doesn’t love a little extra chocolate?
How to Make 🍪 Oreo Icebox Cake 🍪
- In a shallow dish, pour the milk. You want to make sure it’s deep enough to dip the Oreos without getting too soggy.
- Quickly dip each Oreo cookie in the milk, ensuring they are coated but not soggy. This step is crucial for keeping that nice crunch!
- In a mixing bowl, whip the heavy cream until soft peaks form. Gradually add the powdered sugar and vanilla extract, continuing to whip until stiff peaks form. Trust me, the fluffiness of the whipped cream will make this cake irresistible.
- In a rectangular dish, layer the bottom with a single layer of dipped Oreos. Make sure to cover the bottom completely.
- Spread a layer of the whipped cream mixture over the Oreos. Get generous with the cream; it’s what makes this cake so delightful!
- Repeat the layers, alternating between dipped Oreos and whipped cream, until all ingredients are used, finishing with a layer of whipped cream on top. Don’t be shy with those layers!
- Cover the dish with plastic wrap and refrigerate for at least 4 hours or overnight to allow the flavors to meld and the cake to set. This waiting time is what transforms it into a dreamy dessert!
- Before serving, drizzle with chocolate syrup if desired. Slice and enjoy!
Substitutions & Additions
If you want to mix things up a bit, here are some fun ideas:
- Use flavored Oreos like mint or peanut butter for a twist.
- Swap the heavy cream for whipped topping for a lighter version.
- Add crushed candy bars or sprinkles between the layers for extra flavor and crunch.
Tips for Success
Here are some tips to ensure your Oreo Icebox Cake turns out perfectly:
- Don’t let the Oreos soak in the milk too long; a quick dip is all you need.
- For best results, refrigerate overnight. This allows the flavors to truly meld together.
- If you want to make it ahead of time, it can be stored in the fridge for up to 3 days.
How to Store 🍪 Oreo Icebox Cake 🍪
To keep your Oreo Icebox Cake fresh, cover it tightly with plastic wrap or transfer it to an airtight container. It will stay delicious in the fridge for up to 3 days. Just be warned, it might disappear faster than you think!
FAQs
- Can I use a different type of cookie? Absolutely! Any sandwich cookie works well in this recipe.
- Is it necessary to refrigerate the cake? Yes, refrigeration helps it set and enhances the flavors.
- Can I make this cake gluten-free? Yes, just use gluten-free Oreo cookies!
So, why not give this easy and delightful Oreo Icebox Cake a try? It’s perfect for any occasion, whether it’s a family gathering, a potluck, or just a cozy night in. For more delicious recipes, check out the easy pecan pie recipe or the no-bake peanut butter pie for treats you will love!
Don’t forget, you can follow us on Pinterest for more sweet ideas and inspiration!
Oreo Icebox Cake
Ingredients
Equipment
Method
- Step 1: In a shallow dish, pour the milk. You want to make sure it’s deep enough to dip the Oreos without getting too soggy.
- Step 2: Quickly dip each Oreo cookie in the milk, ensuring they are coated but not soggy.
- Step 3: In a mixing bowl, whip the heavy cream until soft peaks form. Gradually add the powdered sugar and vanilla extract, continuing to whip until stiff peaks form.
- Step 4: In a rectangular dish, layer the bottom with a single layer of dipped Oreos.
- Step 5: Spread a layer of the whipped cream mixture over the Oreos.
- Step 6: Repeat the layers, alternating between dipped Oreos and whipped cream, until all ingredients are used, finishing with a layer of whipped cream on top.
- Step 7: Cover the dish with plastic wrap and refrigerate for at least 4 hours or overnight.
- Step 8: Before serving, drizzle with chocolate syrup if desired. Slice and enjoy!