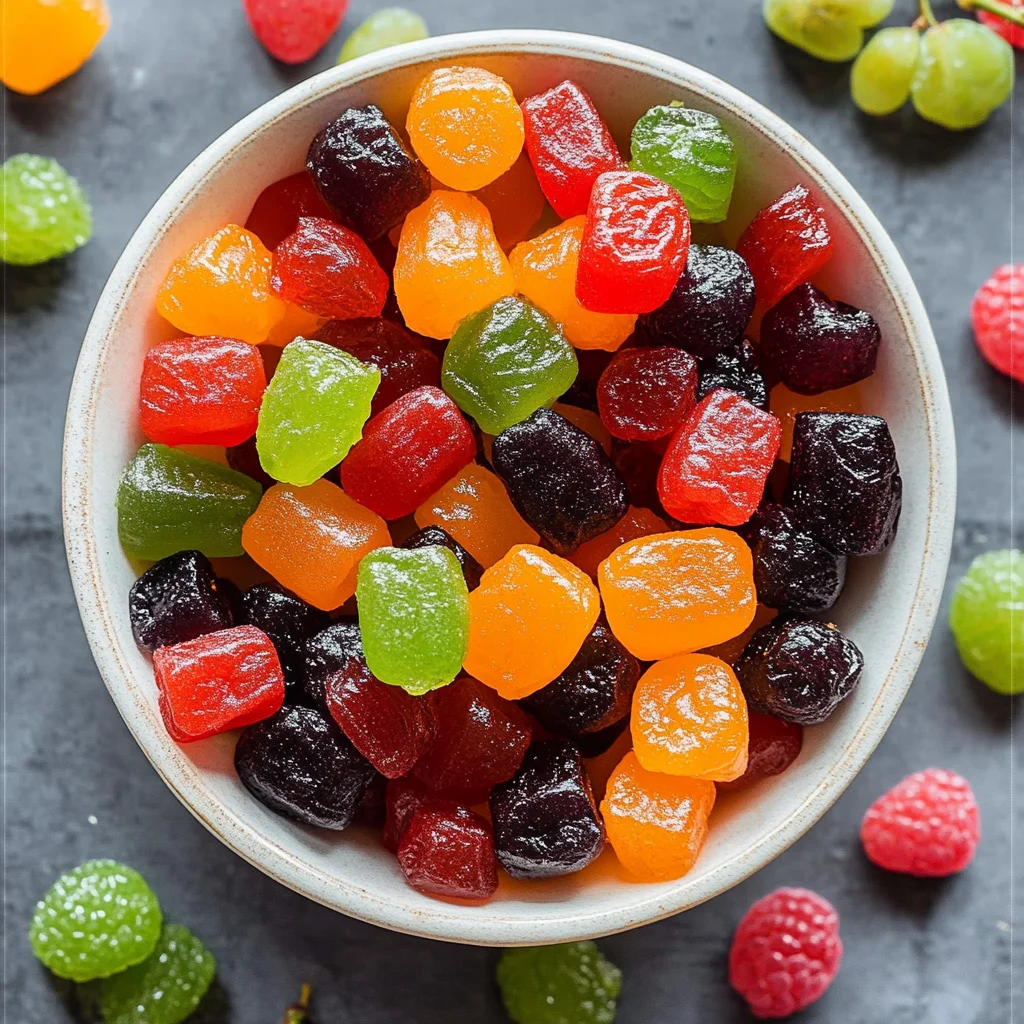
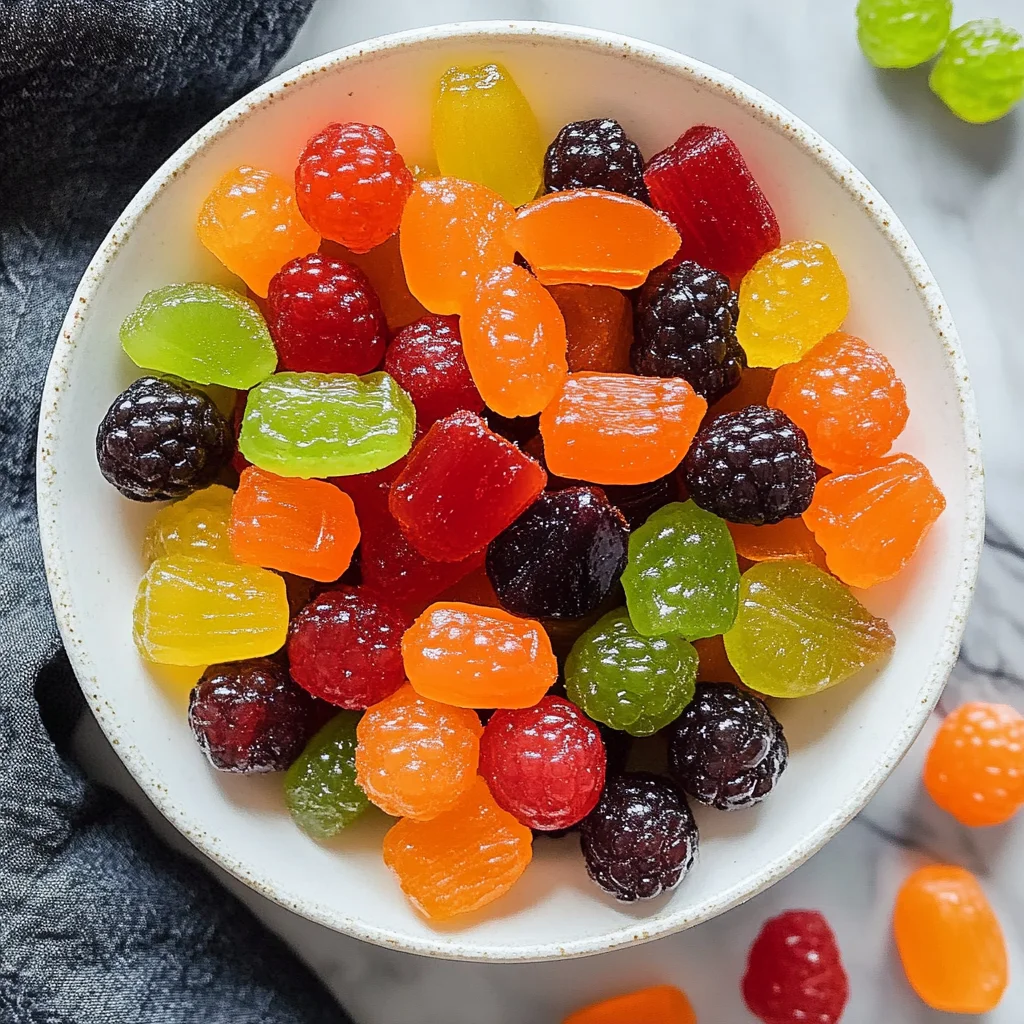
Remember those bright, chewy fruit snacks from childhood? The ones you’d sneak from your lunchbox or beg for after school? There’s something so nostalgic and comforting about that sweet, fruity burst in every bite. Well, guess what? You can recreate that magic right in your own kitchen with just a few simple ingredients. Making homemade fruit snacks is not only a fun and rewarding project, but it’s also a healthier, tastier alternative to store-bought versions packed with preservatives and artificial flavors. Plus, they’re perfect for snacking, gifting, or even lunchbox surprises. Trust me, once you try this recipe, you’ll never look back!
What I love about this recipe is how quick and straightforward it is. Whether you’re a seasoned kitchen pro or just starting out, you’ll find these fruit snacks incredibly easy to whip up. And the best part? You can customize them with your favorite fruits and sweeteners. Ready to dive in? Let me walk you through every step so you can enjoy these chewy, fruity delights in no time.
Why You’ll Love Homemade Fruit Snacks
- Fast: From start to finish, you’ll have delicious snacks ready in just a couple of hours, with minimal hands-on time.
- Easy: No fancy equipment or techniques needed—just simple ingredients and basic kitchen tools.
- Giftable: These vibrant, homemade treats make adorable, thoughtful gifts for friends, family, or teachers.
- Crowd-pleasing: Kids and adults alike will love these naturally sweet, chewy bites that you can feel good about serving.
Ingredients
Here’s what you’ll need for your homemade fruit snacks. Each ingredient plays an important role in creating that perfect texture and flavor:
- 2 cups fruit puree: Choose your favorite fruits like strawberries, mangoes, or apples. Fresh or frozen both work beautifully. Pureeing fresh fruit gives you vibrant color and natural sweetness.
- 2 tablespoons honey or maple syrup: This adds just the right touch of sweetness while keeping things natural. Feel free to adjust the amount based on your taste and the sweetness of your fruit.
- 2 tablespoons unflavored gelatin: This is the magic ingredient that firms up your fruit puree into that chewy, gummy texture. Make sure it’s unflavored for the pure fruit taste to shine!
- 1 teaspoon citric acid (optional): This brightens the flavor and helps preserve your fruit snacks longer. If you can’t find citric acid, a splash of lemon juice works as a substitute.
How to Make Homemade Fruit Snacks
Making these fruit snacks is as easy as pie—and I promise, no actual pie-making skills required! Here’s the step-by-step process to get you from fresh fruit to chewy snack perfection.
Step 1: Prepare your ingredients
Start by gathering all your ingredients. If you’re using fresh fruit, wash and hull or peel as needed. For example, hull strawberries, peel mangoes, or core apples. Measure out 2 cups of fruit pieces to blend.
Step 2: Blend the fruit
Pop your fruit into a blender or food processor and puree until completely smooth. You want a nice, thick puree without chunks. This is where the natural color and flavor of your fruit really shine. If your puree feels watery, you can gently simmer it on low heat to evaporate some liquid before proceeding.
Step 3: Combine fruit puree and sweetener
Pour the fruit puree into a medium saucepan over low heat. Add your honey or maple syrup and stir gently while warming the mixture. Keep the heat low—you don’t want it to boil, just warm enough to dissolve the sweetener and prepare for the gelatin.
Step 4: Add the gelatin
Slowly sprinkle the unflavored gelatin over the warm fruit mixture, stirring continuously to prevent lumps. This part is key to getting a smooth texture. Keep stirring for about 5 minutes until the gelatin is completely dissolved and the mixture looks glossy and uniform.
Step 5: Pour and set
Now it’s time to pour your mixture into silicone molds for fun shapes or a flat dish if you prefer to cut them into squares later. Let them cool at room temperature for about 30 minutes, then pop them into the fridge for at least 2 hours to fully set and firm up.
Step 6: Enjoy!
Once fully set, gently remove your fruit snacks from the molds or cut into bite-sized pieces. They’ll have that perfect chew and fruity flavor that’s just irresistible. Store any extras in an airtight container in the fridge, and enjoy as a sweet, healthy snack anytime.
Substitutions & Additions
One of the best things about homemade fruit snacks is how customizable they are. Here are some simple swaps and creative ideas to make the recipe your own:
- Fruit swaps: Try blending blueberries, raspberries, or even a tropical mix like pineapple and passion fruit for a fresh twist.
- Sweetener alternatives: If you want to make it vegan-friendly, swap the gelatin for agar agar powder, though the texture will be slightly different. You can also use agave syrup or coconut nectar instead of honey or maple syrup.
- Add-ins: Stir in a teaspoon of chia seeds for a fun texture and extra nutrition or a dash of cinnamon or vanilla extract for more flavor depth.
- Citric acid alternatives: Fresh lemon or lime juice works well if you don’t have citric acid, adding a bright tangy note.
Tips for Success
To make sure your fruit snacks turn out perfectly every time, here are a few tips I’ve picked up along the way:
- Don’t boil the mixture: High heat can damage the gelatin’s ability to set and change the fruit flavor. Keep the heat low and gentle.
- Stir, stir, stir: Adding gelatin slowly and stirring continuously prevents lumps and ensures a smooth texture.
- Use silicone molds: These make releasing your fruit snacks so much easier without tearing or breaking them.
- Prep ahead: You can make the fruit puree a day in advance and store it in the fridge, then complete the recipe when ready.
- Adjust sweetness after blending: Taste your fruit puree before adding sweetener so you can customize the perfect balance.
How to Store Homemade Fruit Snacks
Storing your homemade fruit snacks properly will keep them fresh and chewy for longer. Here’s what I do:
- Refrigerate: Place your snacks in an airtight container and keep them in the fridge. They’ll stay fresh for up to 1-2 weeks.
- Freeze for longer storage: You can freeze the fruit snacks in a sealed container for up to 3 months. Thaw in the fridge before enjoying.
- Avoid moisture: Make sure your snacks are fully set and dry before storing to prevent them from becoming sticky or soggy.
FAQs
Can I use frozen fruit for the puree?
Absolutely! Frozen fruit works great—just thaw it first and drain any excess liquid before pureeing. This helps keep your mixture thick and perfect for setting.
What if I don’t have gelatin? Can I use something else?
You can substitute gelatin with agar agar powder for a vegan option. However, agar agar requires different preparation and sets firmer and less chewy, so expect a slightly different texture.
Is citric acid necessary?
It’s optional but recommended if you want to add a tangy brightness and help preserve the fruit snacks longer. Fresh lemon or lime juice is a great natural alternative.
Can I make these fruit snacks sugar-free?
Yes! You can skip the honey or maple syrup if your fruit is naturally sweet enough, but keep in mind that the sweetness level will be milder. You might also try a natural sweetener like stevia, but adjust carefully as it can be quite potent.
If you’re looking for more delightful homemade treats that bring joy to your kitchen, be sure to explore recipes like the Chicago Style Bakery Apple Slices or the irresistibly creamy Pineapple Cream Cheese Pound Cake. These recipes share the same cozy, homemade vibe that makes every bite feel special.
And if you’re craving a savory break after your sweet snacks, I highly recommend trying the One-Pot Smoky BBQ Meatball Pasta—a perfect hearty meal that’s just as easy and satisfying!
Thanks for spending time with me in the kitchen today. I hope these homemade fruit snacks bring a little extra sweetness and nostalgia to your day. Don’t forget to share your creations and happy snacking!
For more inspiration and cozy recipes, follow us on Pinterest where we share all kinds of kitchen magic.
Delightfully Easy Homemade Fruit Snacks
Ingredients
Equipment
Method
- Step 1: Prepare your ingredients by washing and peeling fruit as needed. Measure 2 cups of fruit pieces for blending.
- Step 2: Blend the fruit in a blender or food processor until smooth and thick. If watery, gently simmer on low heat to evaporate excess liquid.
- Step 3: Pour the fruit puree into a medium saucepan over low heat. Add honey or maple syrup and stir gently to warm without boiling.
- Step 4: Slowly sprinkle unflavored gelatin over the warm fruit mixture, stirring continuously to dissolve completely and achieve a glossy, uniform texture.
- Step 5: Pour the mixture into silicone molds or a flat dish. Let cool at room temperature for 30 minutes, then refrigerate for at least 2 hours to set.
- Step 6: Once set, remove fruit snacks from molds or cut into pieces. Store in an airtight container in the fridge and enjoy!