Hey there, sweet friends! Today, I’m bringing you a recipe that feels like a warm hug on a plate. Remember those cozy autumn evenings, the air crisp and inviting, when a simple, nourishing dish just hit the spot? That’s exactly what these baked sweet potatoes deliver. There’s something so comforting and deeply satisfying about a perfectly roasted sweet potato, its skin slightly crispy, its flesh meltingly tender and naturally sweet. And guess what? It’s ridiculously easy to achieve that perfection right in your own kitchen!
You might think a baked sweet potato is too simple to warrant a whole article, but trust me, getting it just right transforms it from a humble root vegetable into a star side dish or even a light meal. It’s quick, it’s wholesome, and it’s a recipe that will save your weeknights and elevate your holiday spreads. Let’s get baking!
Why You’ll Love Baked Sweet Potato
- Fast: Minimal prep time means more time for you!
- Easy: Seriously, if you can wash and rub, you can make this.
- Giftable: Okay, maybe not “giftable” in the traditional sense, but these are a fantastic potluck contribution or a comforting dish to bring to a friend in need.
- Crowd-pleasing: Naturally sweet and incredibly versatile, everyone loves a good baked sweet potato!
Ingredients
You’ll be thrilled by how few ingredients you need for this recipe. Quality really shines through here!
- 4 medium-sized, long and thin sweet potatoes: Look for firm, unblemished potatoes. Longer, thinner ones tend to cook more evenly and quickly than very thick, round ones.
- 1 tablespoon olive oil: Our secret weapon for that perfectly crispy skin and moist interior. Any good quality olive oil will do the trick.
- 1 teaspoon sea salt or kosher salt: Don’t skip the salt! It balances the sweetness of the potato and brings out all its delicious flavors.
How to Make Baked Sweet Potato
Get ready for simplicity at its finest! You’re just a few steps away from sweet potato bliss.
- First things first, let’s get that oven roaring! Preheat your oven to a cozy 400°F (200°C). This temperature is key for getting the sweet potato tender on the inside and just a little bit caramelized on the outside.
- Next, grab your sweet potatoes. You’ll want to give them a good scrub under running water and then dry them thoroughly with a clean towel. Removing any dirt and making sure they’re dry helps the olive oil adhere better and makes for a crispier skin.
- Now for the magic touch! Drizzle that tablespoon of olive oil over your clean, dry sweet potatoes. Use your hands to rub each potato, ensuring they are coated evenly all over. This creates a barrier that locks in moisture and helps the skin crisp up beautifully.
- Once they’re gleaming with oil, it’s time to season. Sprinkle a generous amount of sea salt or kosher salt over the sweet potatoes. Again, give them a little rub to distribute the salt. Don’t be shy with the salt; it really helps to enhance the natural sweetness.
- Place your sweet potatoes directly on the oven rack. If you’re worried about drips (especially if your potatoes are extra juicy!), you can place them on a baking sheet lined with foil. I often just put them right on the rack for maximum air circulation, which helps with that crispy skin.
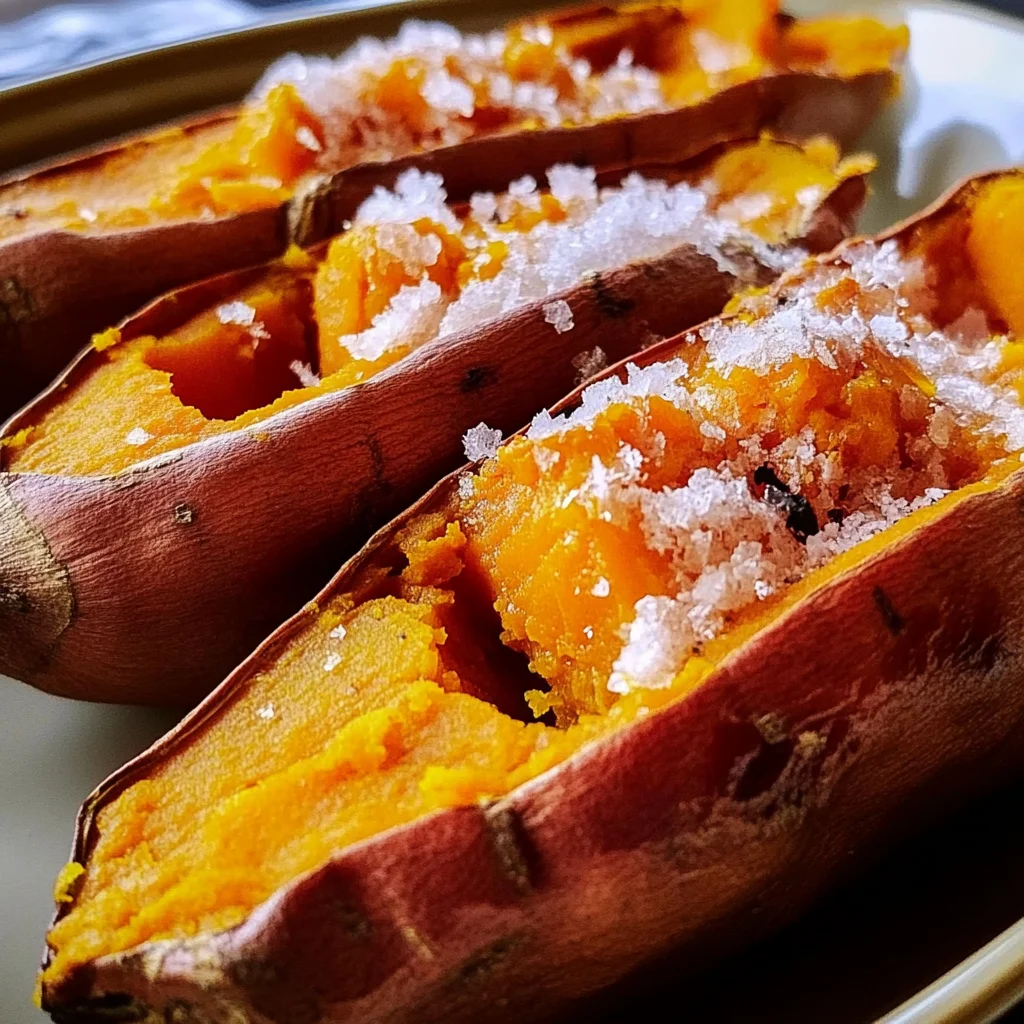
- Bake for 45-55 minutes, or until the sweet potatoes are tender when pierced with a fork. The cooking time can vary based on the size of your potatoes, so keep an eye on them! You want them soft all the way through, not firm in the middle. These truly shine as a simple, healthy side for almost any main dish, from grilled chicken to a hearty One-Pot Smoky BBQ Meatball Pasta for a busy weeknight.
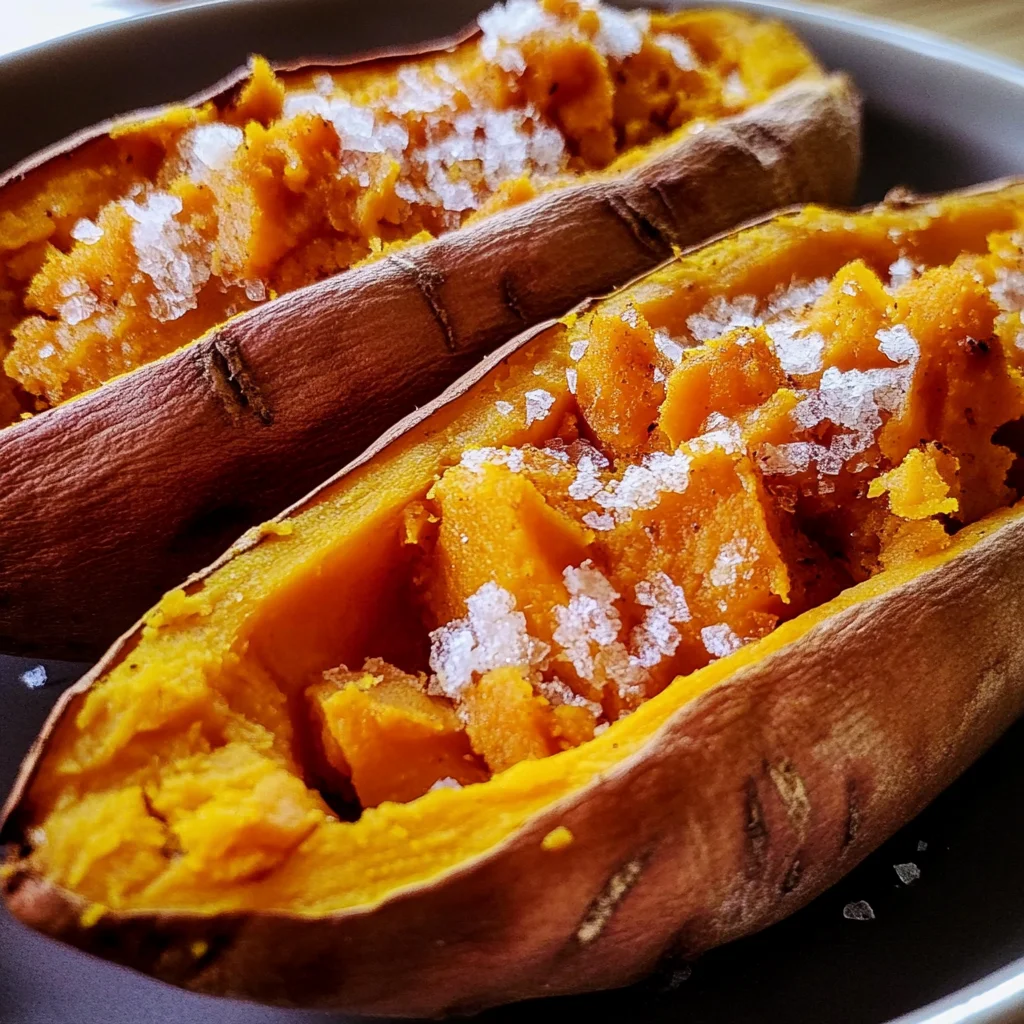
- Finally, carefully remove them from the oven. Let them cool slightly before serving, as they’ll be piping hot inside. You can slice them down the middle and fluff the inside with a fork, ready for your favorite toppings!
Substitutions & Additions
This basic baked sweet potato is fantastic on its own, but it’s also a blank canvas for so many delicious additions! Get creative!
- Savory Toppings: A dollop of sour cream or Greek yogurt, a sprinkle of fresh chives or green onions, a pat of butter, some crumbled bacon bits, or even a sprinkle of chili powder or smoked paprika for a kick. These soft, sweet potatoes are also a staple at our holiday table, pairing beautifully with a Cranberry Orange Glazed Turkey Breast or a simple roast chicken.
- Sweet Toppings: A drizzle of maple syrup or honey, a sprinkle of cinnamon, a dollop of butter and brown sugar, or even some mini marshmallows melted under the broiler for a few minutes.
- Full Meal Mode: Turn your baked sweet potato into a complete meal! Stuff it with black beans, corn, salsa, and avocado for a Mexican-inspired dish. Or load it with pulled pork, shredded chicken, or a savory ground beef mixture.
- Herb Infusion: Before baking, you could rub the potatoes with a little garlic powder or rosemary for an aromatic twist.
Tips for Success
- Don’t Poke Before Baking: Unlike regular potatoes, sweet potatoes don’t tend to “explode” in the oven, so you don’t really need to poke them beforehand. The olive oil rub helps keep the skin intact and crispy.
- Even Sizing: Try to choose sweet potatoes that are roughly the same size so they cook evenly. This prevents some from being overcooked while others are still hard.
- High Heat is Key: Don’t be tempted to bake at a lower temperature for longer. The 400°F oven helps caramelize the sugars in the sweet potato, giving it that wonderful flavor and texture.
- Test for Doneness: The best way to know your sweet potato is ready is to gently squeeze it or pierce it with a fork. It should feel soft and yield easily.
- Prep Ahead: While best served fresh, you can bake these ahead of time and gently reheat them. They make for a super easy meal prep component! If you’re looking for more simple, crowd-pleasing sides that deliver big on flavor, you might also love our Cheesy Garlic Butter Skillet Corn.
How to Store Baked Sweet Potato
Got leftovers? Lucky you! Baked sweet potatoes store beautifully.
Once your baked sweet potatoes have cooled completely, you can store them in an airtight container in the refrigerator for up to 3-5 days. To reheat, you can pop them back in the oven at 350°F (175°C) until warmed through, microwave them, or even slice and pan-fry them for a crispy twist!
FAQs
Q: Can I microwave a sweet potato instead of baking?
A: Yes, you can! Microwaving is much faster (usually 5-10 minutes depending on size), but you won’t get that delicious crispy skin or caramelized flavor that baking provides. It’s a great option in a pinch, though!
Q: Do I need to peel sweet potatoes before baking?
A: Absolutely not! The skin of a sweet potato is thin, nutritious, and becomes wonderfully tender and slightly crispy when baked. Just make sure to wash it well.
Q: How can I tell if a sweet potato is ripe?
A: Sweet potatoes should be firm to the touch, with no soft spots, bruises, or sprouts. The skin should be smooth and even-colored.
Q: Can I use different types of sweet potatoes?
A: You bet! While I prefer the longer, thinner varieties for their even cooking, any type of sweet potato (like Garnet, Jewel, or Hannah varieties) will work with this method. Just adjust cooking time as needed for their size.
For more delicious and easy recipes, make sure to follow us on Pinterest!
The Easiest & Most Delicious Baked Sweet Potatoes (A Weeknight Favorite!)
Ingredients
Equipment
Method
- Step 1: Preheat your oven to 400°F (200°C).
- Step 2: Scrub sweet potatoes under running water and dry them thoroughly with a clean towel.
- Step 3: Drizzle the olive oil over the clean, dry sweet potatoes. Use your hands to rub each potato, ensuring they are coated evenly all over.
- Step 4: Sprinkle a generous amount of sea salt or kosher salt over the sweet potatoes. Give them a little rub to distribute the salt.
- Step 5: Place your sweet potatoes directly on the oven rack. (If worried about drips, you can place them on a baking sheet lined with foil).
- Step 6: Bake for 45-55 minutes, or until the sweet potatoes are tender when pierced with a fork. Cooking time may vary based on potato size.
- Step 7: Carefully remove from the oven. Let them cool slightly before serving, then slice down the middle and fluff the inside with a fork, ready for your favorite toppings.