Oh, the holidays! There’s nothing quite like the scent of freshly baked cookies wafting through your home, instantly transporting you back to childhood memories of twinkling lights, cozy evenings, and pure joy. For me, Christmas isn’t truly Christmas without a batch (or five!) of homemade cookies. And while there are countless festive treats to choose from, sometimes you just need something utterly classic, utterly comforting, and utterly easy. That’s where these Winter Wonderland Chocolate Chip Christmas Cookies come in. They’re everything you adore about a classic chocolate chip cookie, but dressed up in their most festive attire, ready to bring smiles to every face. This recipe is so quick, so simple, and so incredibly memorable, it’s bound to become a cherished part of your holiday baking tradition.
Why You’ll Love Winter Wonderland Chocolate Chip Christmas Cookies
- Fast: From mixing bowl to oven in under 15 minutes! Perfect for those last-minute holiday cravings or unexpected guests.
- Easy: No fancy techniques, no chilling required. Just straightforward, feel-good baking.
- Giftable: Pack them up in a cute tin with a bow, and you’ve got the perfect homemade gift for neighbors, teachers, or friends. Everyone loves a cookie delivery!
- Crowd-pleasing: Who can say no to a warm, chewy chocolate chip cookie? The added festive candies just make them extra special and irresistible.
Ingredients
Gathering your ingredients is the first step to holiday magic!
- 1 cup (2 sticks) unsalted butter, softened: Make sure it’s truly softened, not melted! This is key for that perfect creamy texture when beating with sugar.
- 1 cup granulated sugar: Our classic white sugar, for sweetness and crispness.
- 1 cup light brown sugar, packed: This adds a lovely chewiness and a hint of caramel flavor that makes these cookies irresistible.
- 2 large eggs: Room temperature eggs incorporate better into the batter. If you forget, a quick warm water bath for a few minutes does the trick!
- 2 tsp vanilla extract: Don’t skimp on the vanilla! It’s the soul of a good cookie.
- 3 cups all-purpose flour: The backbone of our cookie dough.
- 1 tsp baking soda: Helps with spread and browning.
- 1/2 tsp baking powder: Gives a little lift and makes them extra tender.
- 1/2 tsp salt: Balances the sweetness and enhances all those delicious flavors. Trust me, it’s essential!
- 1 cup semi-sweet chocolate chips: The classic! They melt beautifully.
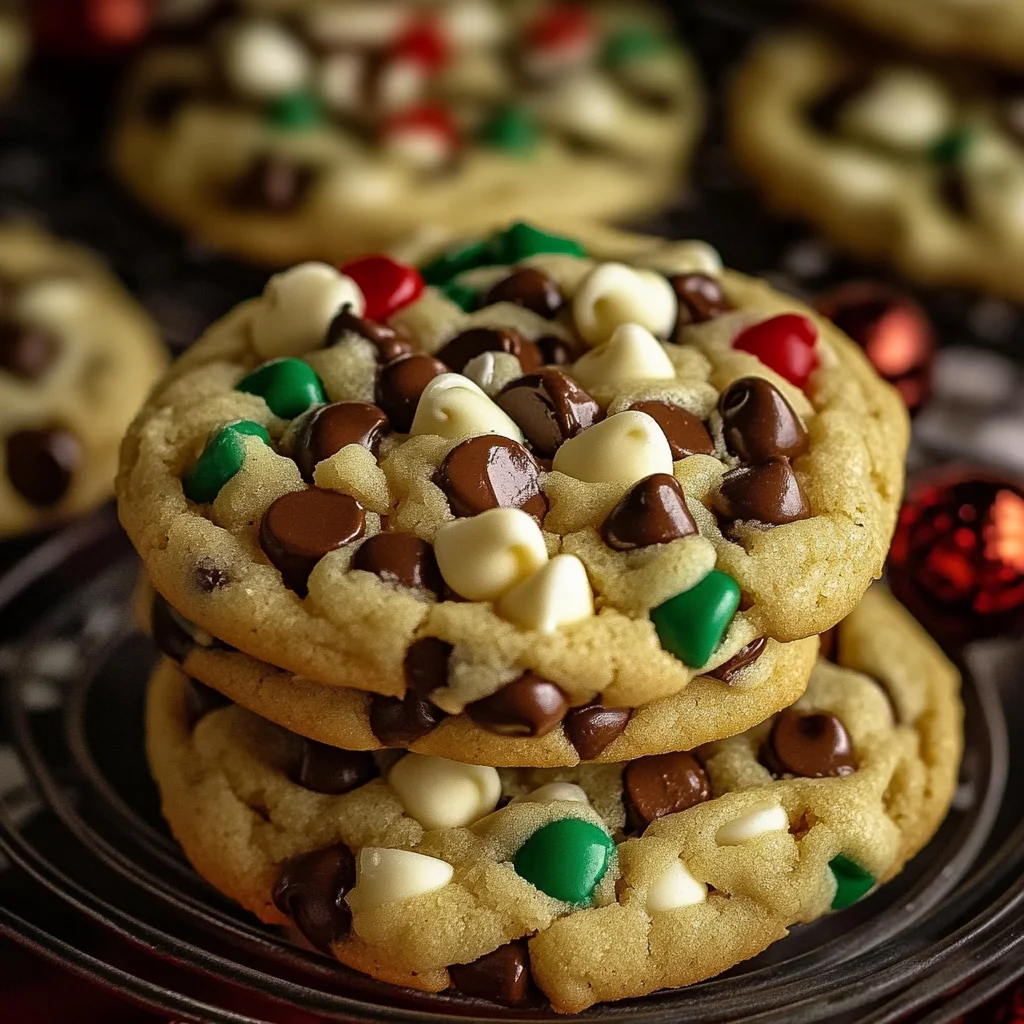
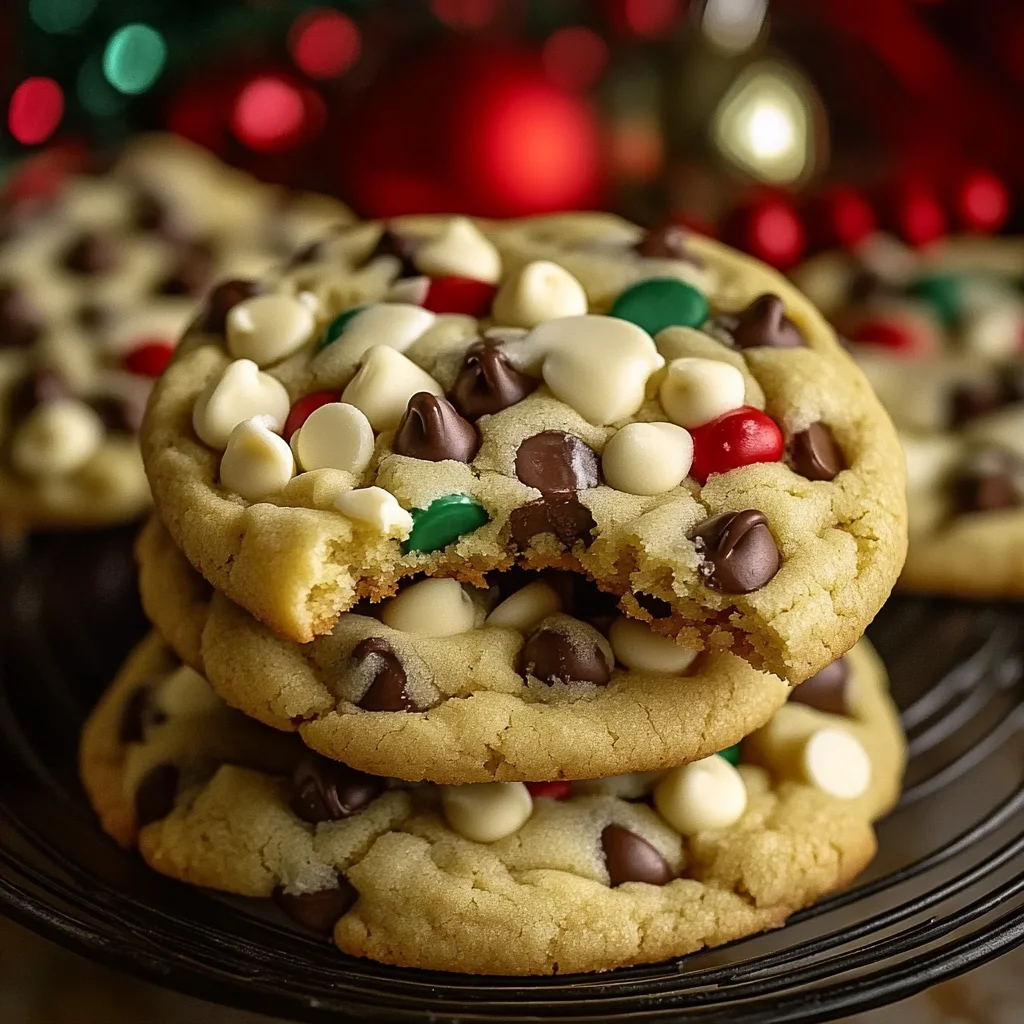
- 1 cup white chocolate chips: Adds a creamy sweetness and a lovely “snowy” look.
- 1 cup red & green candy-coated chocolates (such as M&M’s): These are the “winter wonderland” part! They bring that festive pop of color and a delightful crunch.
How to Make Winter Wonderland Chocolate Chip Christmas Cookies
Get ready for some holiday baking joy!
- First things first, let’s get your oven ready. Preheat it to a cozy 350°F (175°C). While that’s warming up, grab a baking sheet and line it with parchment paper. This little trick makes cleanup a breeze and helps your cookies bake evenly.
- In a large mixing bowl, the fun begins! Toss in your softened butter, granulated sugar, and packed light brown sugar. Now, get that mixer going and cream them together until the mixture is beautifully light and fluffy. This usually takes a couple of minutes and is super important for the cookie’s texture.
- Next up, beat in your eggs, one at a time. Make sure each egg is fully incorporated before adding the next. Then, stir in that glorious vanilla extract. It’s truly a game-changer for flavor!
- In a separate, medium-sized bowl, whisk together your dry ingredients: the all-purpose flour, baking soda, baking powder, and salt. Give them a good whisk to ensure everything is evenly distributed.
- Now, gradually add this dry mixture to your wet ingredients. Mix until everything is just combined. Be careful not to overmix here; overmixing can lead to tough cookies, and we’re aiming for soft and chewy!
- Time for the festive mix-ins! Gently fold in the semi-sweet chocolate chips, white chocolate chips, and those cheerful red & green candy-coated chocolates. This part is where the cookies really start to look like Christmas magic.
- Scoop out about 2 tablespoons of dough for each cookie. I like to use a cookie scoop for consistent sizing, which helps them bake evenly. Place them onto your prepared baking sheet, leaving a little space in between for spreading.
- Bake for 10-12 minutes, or until the edges are lightly golden, but the centers still look wonderfully soft. Remember, cookies continue to cook a little after they come out of the oven, so slightly underbaked is often the secret to a perfectly chewy cookie. If you love that soft, chewy texture, you might also adore our Soft Chewy Pumpkin Spice Sugar Cookies – another fantastic option for your holiday cookie platters!
- Allow your beautiful cookies to cool on the baking sheet for about 5 minutes. They’ll be delicate right out of the oven! After 5 minutes, carefully transfer them to a wire rack to cool completely. Or, if you’re like me, snatch one while it’s still warm and gooey – it’s a baker’s privilege!
Substitutions & Additions
Want to get creative? Here are a few ideas to customize your Winter Wonderland cookies:
- Nutty Twist: Add a 1/2 cup of chopped pecans or walnuts for an extra layer of flavor and crunch. This makes them even more decadent, much like the richness you’d find in a classic easy pecan pie!
- Extract Variations: Try adding a 1/2 teaspoon of peppermint extract for a festive minty kick, or almond extract for a subtle, sophisticated flavor.
- Different Candies: Instead of or in addition to M&M’s, consider using chopped candy canes for a peppermint crunch, or other holiday sprinkles for extra sparkle.
- Chocolate Overload: Mix in milk chocolate chips or dark chocolate chunks for a more varied chocolate experience.
- Zesty Brightness: A teaspoon of orange or lemon zest can add a beautiful, bright note that complements the sweetness.
Tips for Success
- Don’t Overmix: This is my number one cookie rule! Once you add the flour, mix just until no streaks of flour remain. Overmixing develops the gluten too much, leading to tough cookies.
- Room Temperature Ingredients: Ensure your butter and eggs are at room temperature. This helps them emulsify better, creating a smoother, more uniform dough.
- Parchment Paper is Your Friend: It prevents sticking and ensures easy cleanup. Plus, your cookies will slide right off!
- Don’t Overbake: For soft and chewy cookies, pull them out when the edges are set and lightly golden, but the centers still look a little soft. They will firm up as they cool.
- Consistent Sizing: Use a cookie scoop to ensure all your cookies are roughly the same size. This means they’ll bake evenly, and you won’t have some burnt and some raw.
- Pre-Ahead: You can prepare the dough up to 3 days in advance and keep it in the fridge. Just let it sit out for 15-20 minutes before scooping and baking. You can also freeze scooped dough balls for up to 3 months, then bake from frozen, adding a minute or two to the bake time.
How to Store Winter Wonderland Chocolate Chip Christmas Cookies
These cookies are so good, they might not last long enough to need storing! But just in case:
- At Room Temperature: Store cooled cookies in an airtight container at room temperature for up to 5-7 days. To keep them extra soft, you can place a slice of bread in the container; the cookies will absorb moisture from the bread.
- Freezing Baked Cookies: Once completely cooled, place cookies in a single layer on a baking sheet and freeze until solid (about 1-2 hours). Transfer the frozen cookies to a freezer-safe bag or airtight container. They’ll keep well for up to 3 months. Thaw at room temperature or warm them gently in the microwave for a fresh-baked feel.
- Freezing Dough: As mentioned in tips, you can scoop dough balls and freeze them on a baking sheet. Once solid, transfer to a freezer bag. Bake from frozen, adding a couple of minutes to the baking time. This is a brilliant way to have fresh cookies whenever the craving strikes!
FAQs
Here are some common questions you might have:
Q: My cookies spread too much! What happened?
A: This can happen if your butter was too soft (or melted!), your oven temperature was too low, or you didn’t measure your flour accurately. Ensure your butter is just softened, not greasy, and double-check your oven temperature with a thermometer if you suspect it’s off.
Q: Can I use different types of candy?
A: Absolutely! Feel free to swap the red & green M&M’s for other festive candies, sprinkles, or even chopped-up holiday chocolate bars. Just make sure they’re oven-safe! And if you’re looking for another show-stopping sweet to add to your spread, our Pineapple Cream Cheese Pound Cake is always a hit for special occasions.
Q: Do I really need both baking soda and baking powder?
A: Yes! Each plays a slightly different role. Baking soda helps with browning and spread, while baking powder gives the cookies a bit of a lift and a softer, more tender crumb. Using both creates a balanced texture that’s just perfect.
For more delicious recipes and baking inspiration, be sure to follow us on Pinterest!
Winter Wonderland Chocolate Chip Christmas Cookies
Ingredients
Equipment
Method
- Step 1: Preheat oven to 350°F (175°C). Line a baking sheet with parchment paper.
- Step 2: In a large mixing bowl, cream together softened butter, granulated sugar, and packed light brown sugar until light and fluffy (about 2 minutes).
- Step 3: Beat in eggs one at a time, ensuring each is fully incorporated before adding the next. Stir in the vanilla extract.
- Step 4: In a separate, medium-sized bowl, whisk together the all-purpose flour, baking soda, baking powder, and salt.
- Step 5: Gradually add the dry mixture to the wet ingredients. Mix until just combined; do not overmix to ensure soft and chewy cookies.
- Step 6: Gently fold in the semi-sweet chocolate chips, white chocolate chips, and red & green candy-coated chocolates.
- Step 7: Scoop out about 2 tablespoons of dough for each cookie onto the prepared baking sheet, leaving space in between for spreading. Use a cookie scoop for consistent sizing.
- Step 8: Bake for 10-12 minutes, or until the edges are lightly golden and the centers still look wonderfully soft. (Cookies continue to cook a little after coming out of the oven).
- Step 9: Allow cookies to cool on the baking sheet for about 5 minutes, then carefully transfer them to a wire rack to cool completely.